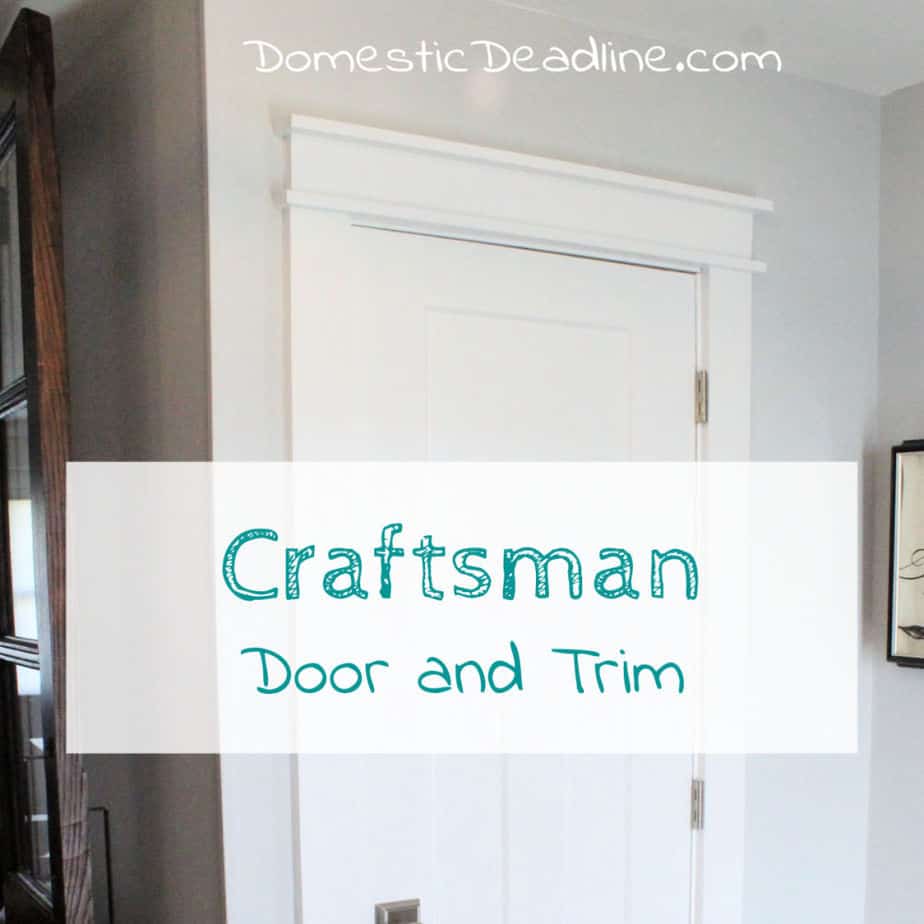
When we bought our new house, we inherited not only several styles of doors but several styles of door knobs and molding! All this was ripped out before working on the floors. After floors, it was time to add some real style to this 1970’s house. Wanting to add character to the house we decided to put in Craftsman doors and trim.
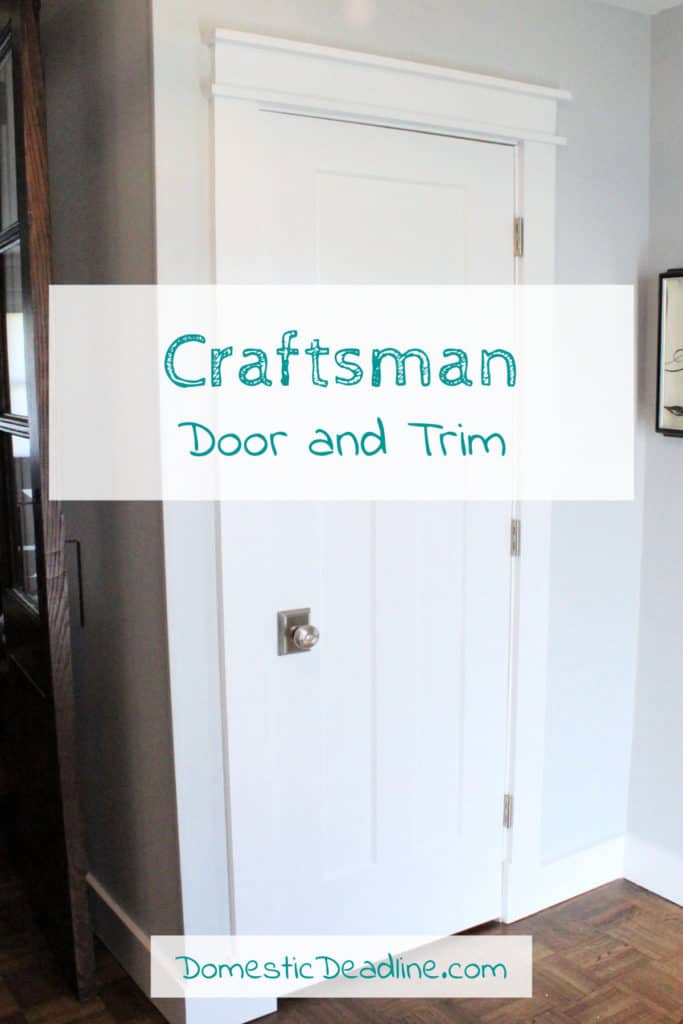
Craftsman Doors and Trim
IronFish and I are definitely on the same page here. We both love the American Craftsman style, not easily found in a 1970’s neighborhood. Plus, the layout of this house really suits our family. Craving a cohesive look, we turn this house into our home.
I knew the doors were going, but I guess I never took pictures of all of them specifically. Think mirror, flat core, solid wood 6 panel (those ones were actually nice) and hollow core 6-panel doors. Then there were the door knobs. The only thing they had in common was they were all gold tone originally, but not so much anymore.
Pre-Hung
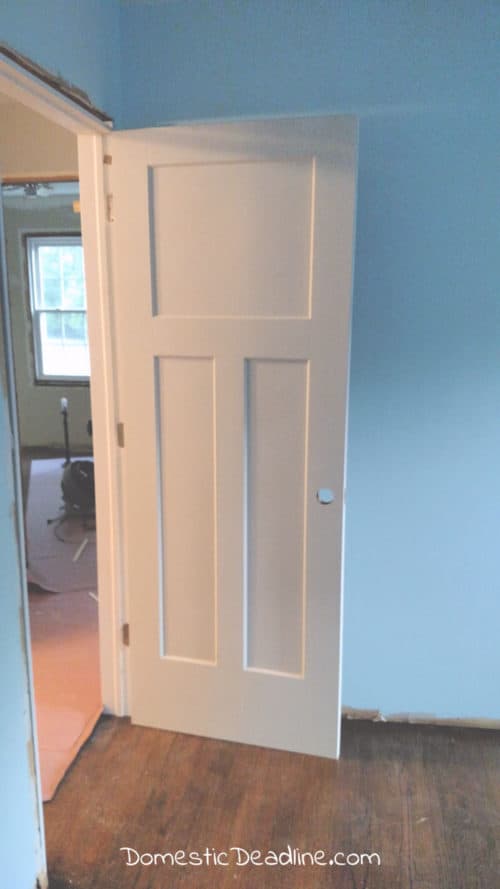
When deciding on doors, it is much easier to install a pre-hung door than to fabricate a slab door. The difference in cost is worth it, in my opinion. Two days of hard work resulted in hanging all the doors. Fabricating each door would be so much more time-consuming.

Selecting pre-primed solid core doors over stainable solid wood is a great way to stay budget conscious. Saving money on hollow core doors for the closets is another easy choice. Using doors all by the same manufacturer means they all match. Aside from lifting the doors, there is no visible way to tell the hollow ones from the solid ones. Ordering from a local lumber yard was our least expensive option, including delivery!
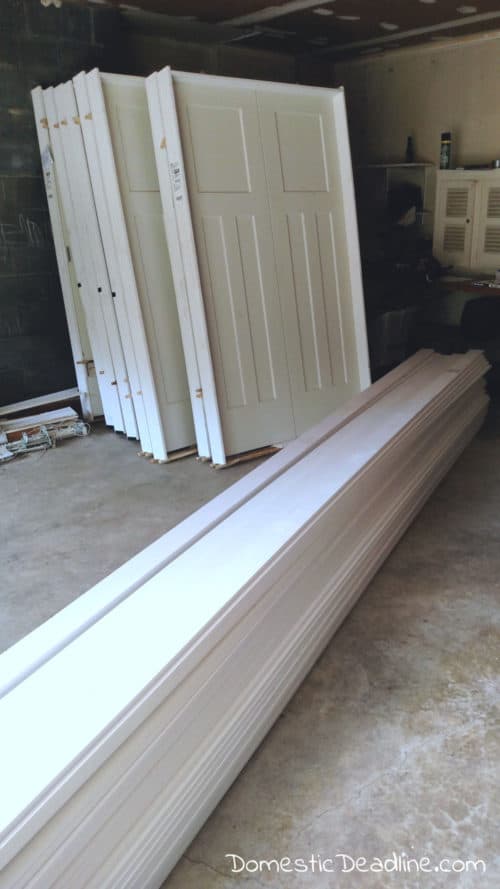
A Lot of Doors
It’s a good thing we finally have a garage…
Here is an excellent video on how to install pre-hung doors. We use a nail gun instead of screws, however. If additional reinforcement is required, after installation, use longer screws in the hinge against the door jam. Nail gun holes are much easier to fill than screw heads!
Speaking of nails and screws… Be sure you check for hidden nails or screws that may be holding the door into the frame. Otherwise, you might be spending a good half hour trapped in a closet…..
Craftsman Trim
Every door and window needs to be trimmed. New windows were professionally installed. And, don’t forget, we ripped out the base molding in the entire house too! In our old house, we used corner rosettes and fluted molding to trim the doors. I was ready for something completely different in this house!
The base molding was simple 1×6 pre-primed pine. For the doors and windows, we found this great post on craftsman style trim. This gave us a great base for figuring out how we wanted to do ours.
How To:
We used pre-primed pine since the factory finish priming makes it simple to paint. Using 1x8s, we cut 4″ wide plinth blocks for the base of the vertical trim.
Measuring from the top of the door frame to the top of the plinth block, we calculated our vertical trim. Cut from pre-primed 1×4″ pine.
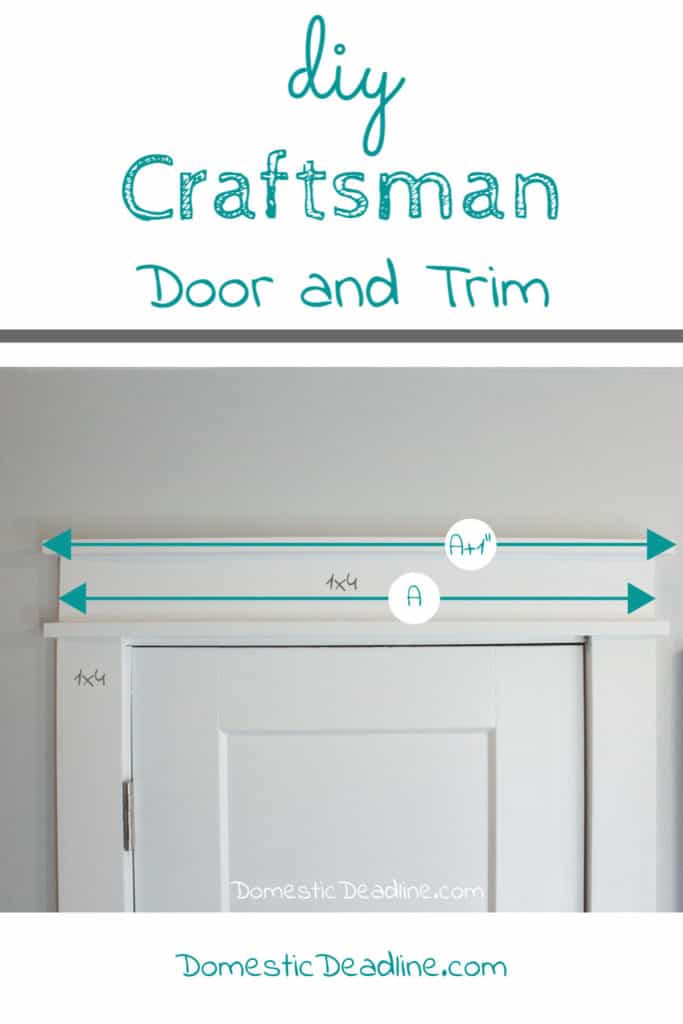
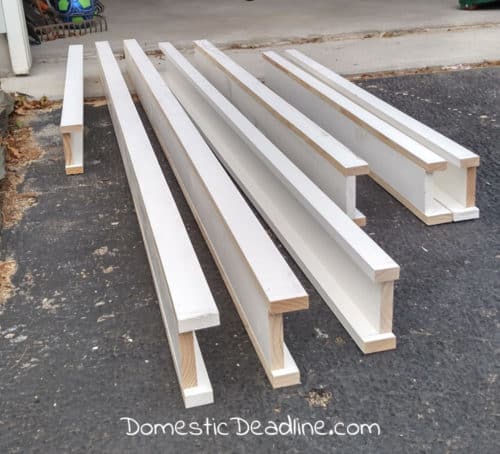
To reduce the cost, we simplified the headers by using two 1x4s. Cutting the middle piece to exactly the width of the door plus the two verticals. The second piece of 1×4 was cut one inch longer, marking a half inch from each end. A square enabled us to make a straight line across the board at those half inch marks.
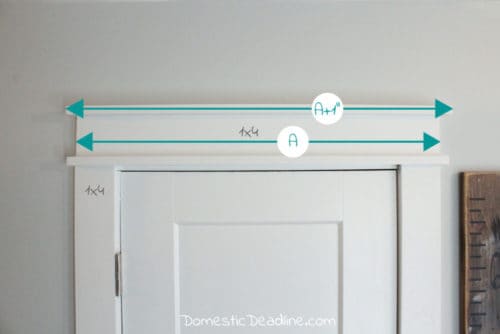
Setting up the table saw to two inches, we fed the longer of the two pieces through (the one an inch longer). One by fours are not exactly 4 inches, more like 3.75 inches. So we ended up with a 2-inch strip for the top and a 1.75″ strip for the bottom piece.
Since we had marked the lines prior to using the table saw, we lined up the shorter of the two 1x4s and nail gunned them together. Repeating for the top piece.
Be sure to mark the back of the finished header with the room and side of the door it belonged to (ie Master bedroom/hallway side). Especially if you’re going to be making several of them.
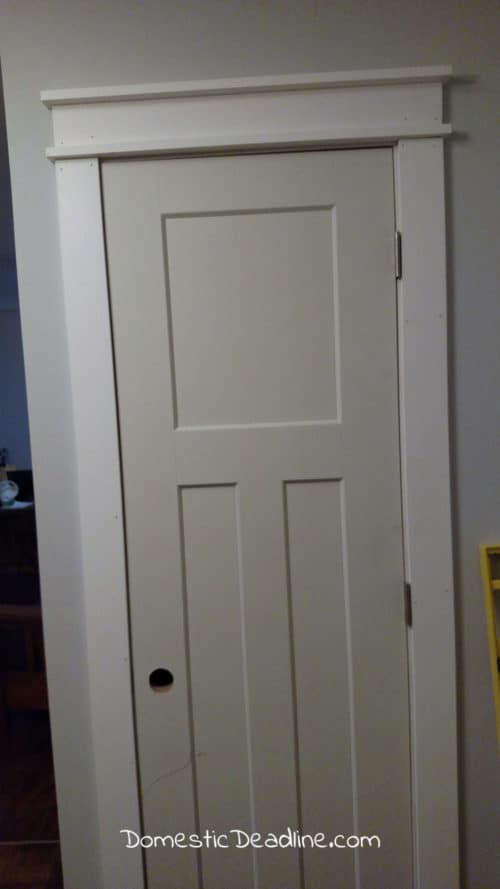
Obviously, we had a few doors (or windows) that were smack against the wall, so we only cut the second 1×4 a half inch longer, or the same length for the few doors that couldn’t extend past at all. We took measurements of an area we knew the nail gun hose would reach, then made all of those headers, brought them all in and nailed them in place. Then we moved on to another area the hose would reach.
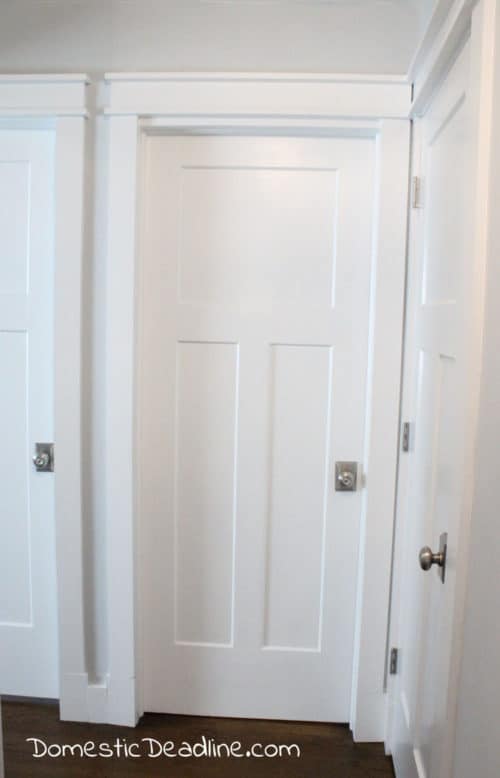
Assembly Line
Two headers per door needed to be made… except for the closets… the inside of my closets are not fancy, basic clamshell or whatever was already there was reused.
Both sides of openings between rooms also have the fancy headers. Don’t mind the junk… the kitchen is a whole nother story!
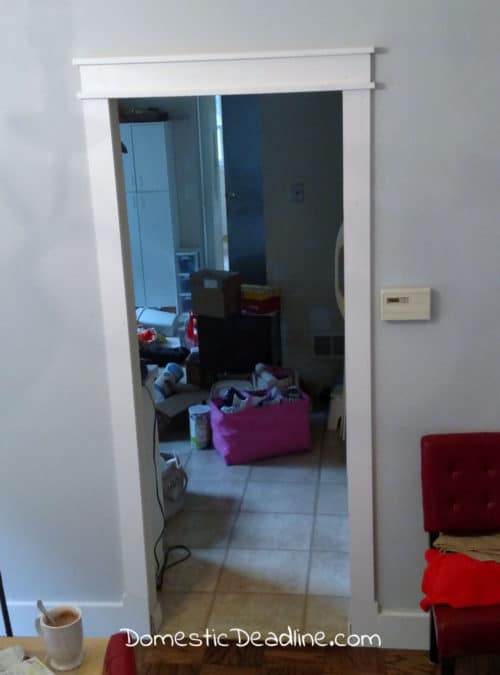
In three evenings we constructed all of the Craftsman trim for the doors and window. Another four evenings and so many tubes of caulk (I lost count) to caulk all gaps and fill all nail holes. THEN we finally started painting every door and window (we did the base moldings before we moved furniture into the house).
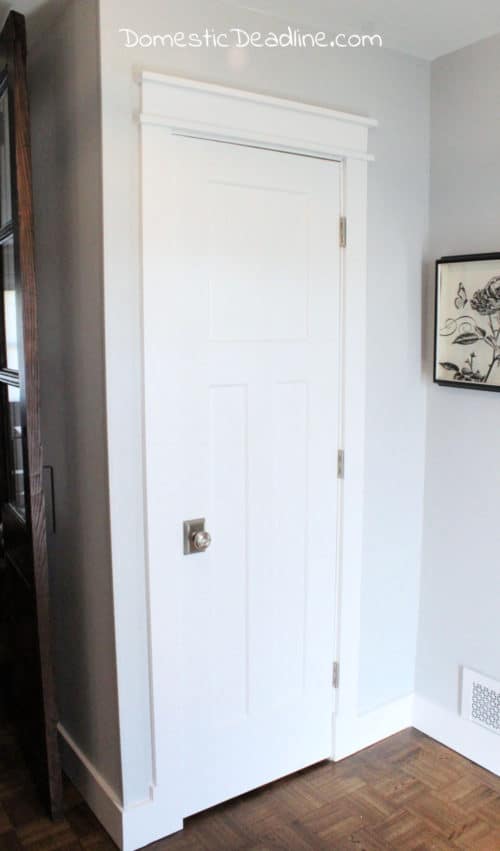
The process was definitely long, but so worth it in the end! There was a good length of time when we didn’t have door knobs. The day I finally gave up on finding knobs that I wanted, I ordered basic brushed nickel knobs. A few minutes later, I found another option: EXACTLY what I wanted! Thank goodness the first ones were returnable! The perfect ones were a bit more expensive, and I contemplated if it was worth the extra money. But a quick group text to my mom and all my sisters resulted in a unanimous decision, and I don’t regret it for a moment!
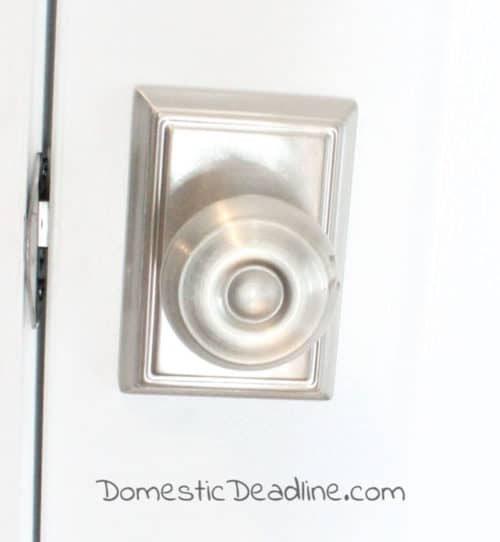
Every time I walk through a door in my house, I still love the finished results!
WANT TO REMEMBER THIS? SAVE THE CRAFTSMAN DOOR AND TRIM TUTORIAL TO YOUR FAVORITE DIY PINTEREST BOARD!







5 Comments