Each month I’m participating in the #CraftDestashChallenge with a great group of bloggers. What I love about the challenge is, it forces me to come up with a project using materials I already have on hand. Ever since the first challenge in January, I’ve gotten the bug to change up my mantel for the holidays and seasons. Since it’s the first day of spring, Easter is around the corner, and the recent snow storm ruined my daffodils, I decided to create a little spring arrangement. Honestly, I wasn’t sure it would work, but I’m excited to share my DIY no-sew fabric daffodils with you today.
This post may contain affiliate links. Which means, if you click the link and buy something, I may receive a percentage of sales at no additional cost to you. Thank you for supporting Domestic Deadline.
Supplies and Tools
My craft room is overflowing. I even recently donated tons of fabric to a local Linus Project. One advantage of that is I now have a bit more knowledge of what fabrics I currently have… and where they are!
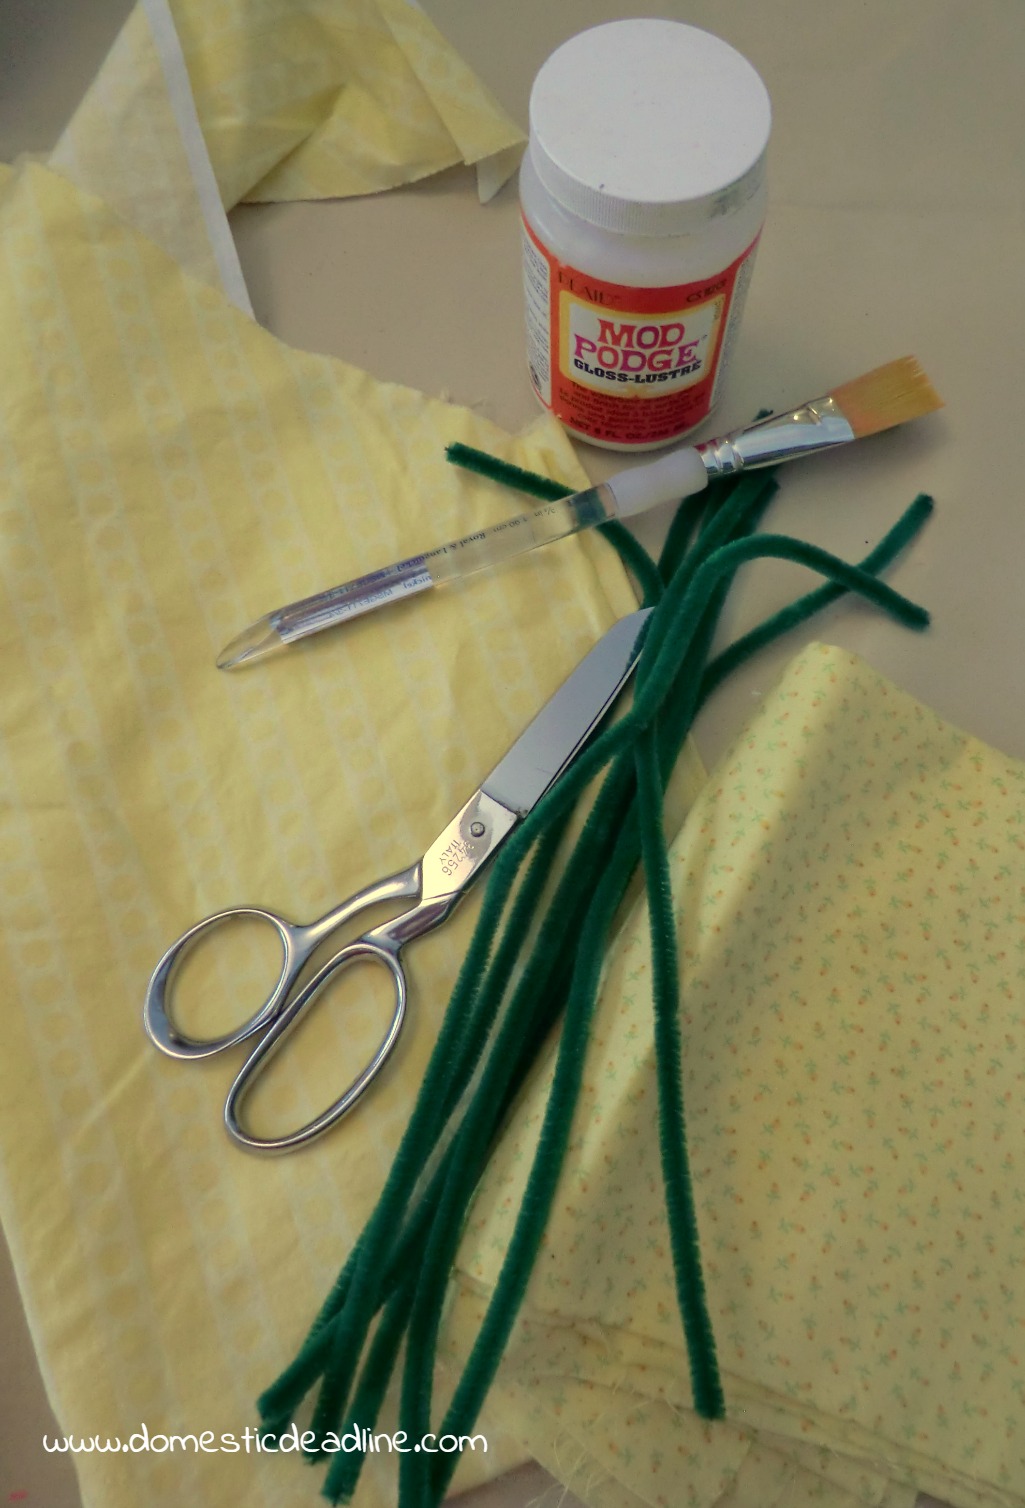
- Two different light yellow fabrics (about 1/8 yard of each is enough to make 5-6 flowers)
- Scraps of an off-white muslin (a few strips are plenty)
- Pipe cleaners or floral wire (I had pipe cleaners on hand)
- Floral tape (I couldn’t find mine, so I picked up a roll at a dollar store)
- Mod Podge or watered down school glue
- Glue gun and glue sticks
- Paint brush
- Scissors
Cut and Prep Fabric
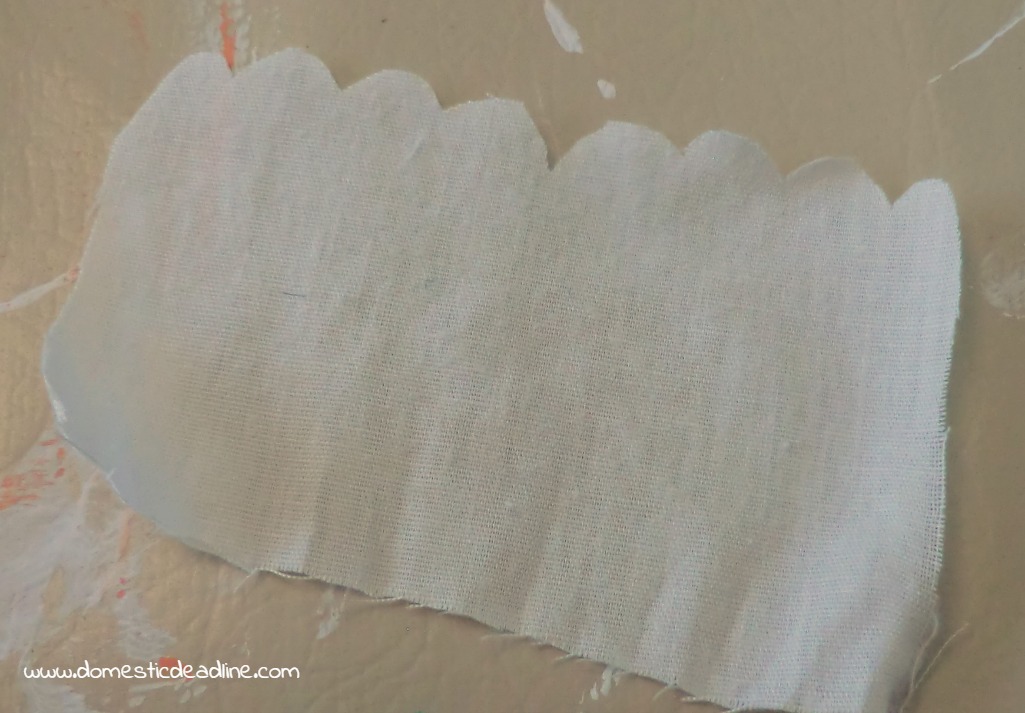
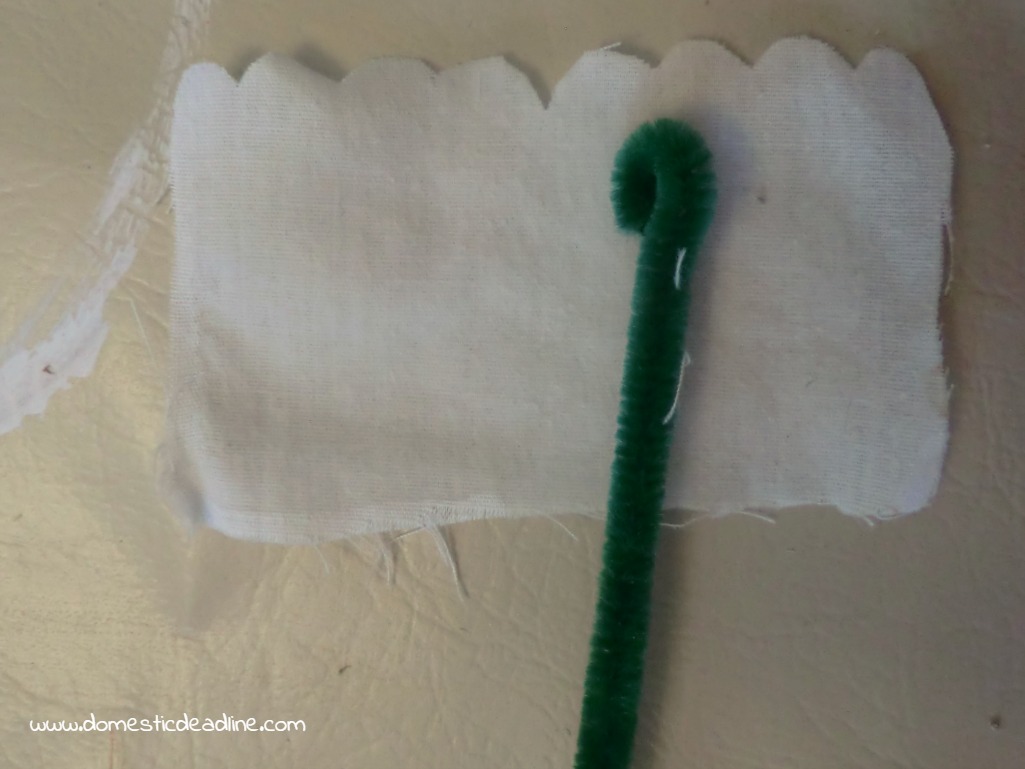
Each flower takes 3 pieces of fabric. First is a 1.5”x3.5” strip of muslin or off-white fabric to be used as the center of the flower. This could also be a darker yellow or even orange. Technically, either of those colors would probably be more accurate than off-white! I was going for light yellow, pastel and not bright and bold. Cut a scallop along one long side of the muslin.
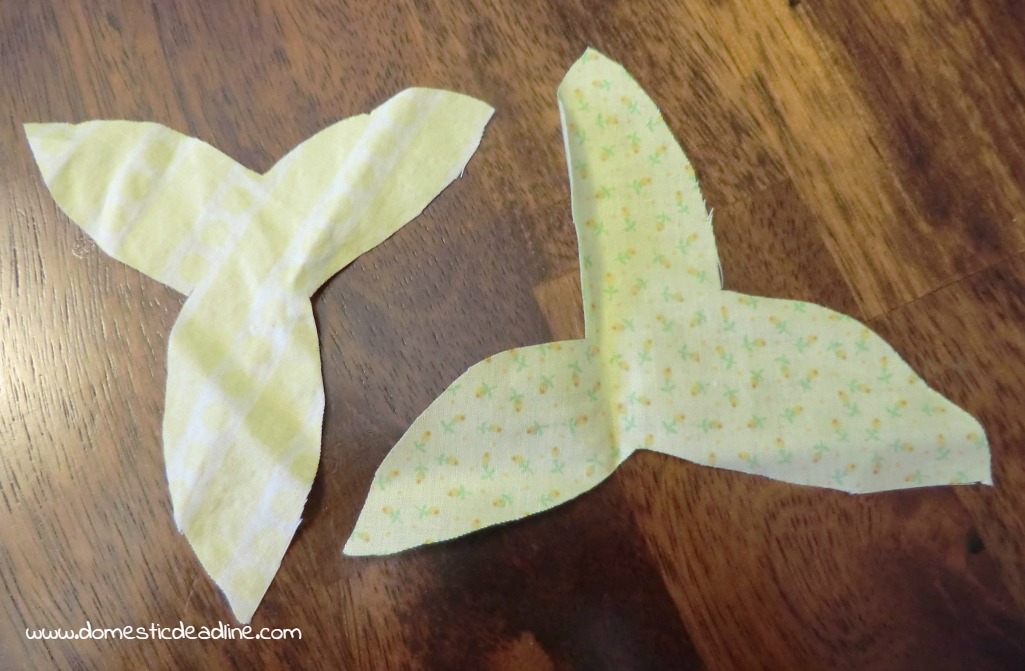
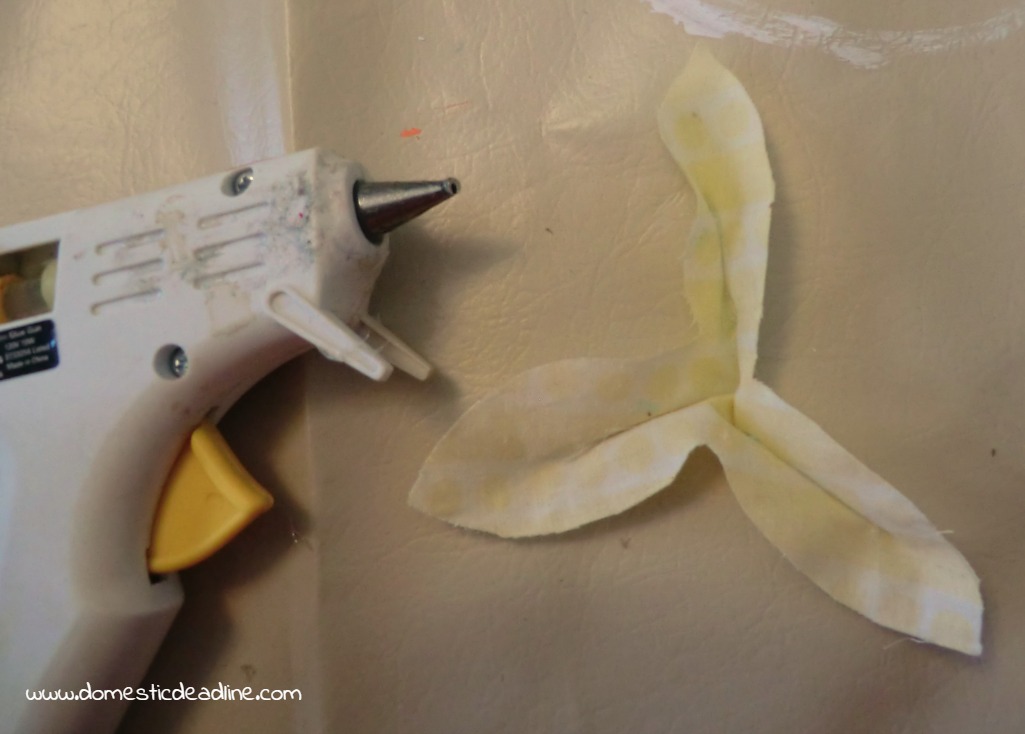
Each flower takes 2 pieces of fabric cut into a 3-petal shape. I sketched one out (each petal is about 3 inches long) and then just used it as my template for the rest.
Decide how many flowers you want to make and cut out all your pieces at once. When all the pieces are cut, paint a coat of mod podge on both sides of each piece of fabric. Let them dry for a little while. The mod podge will reduce fraying fabric and stiffen the flowers up so they hold their shape.
Assemble the Flowers
We had a fire burning so it only took about 20 minutes for my fabric pieces to be dry enough to move on to the next step. Time to fire up the glue gun.
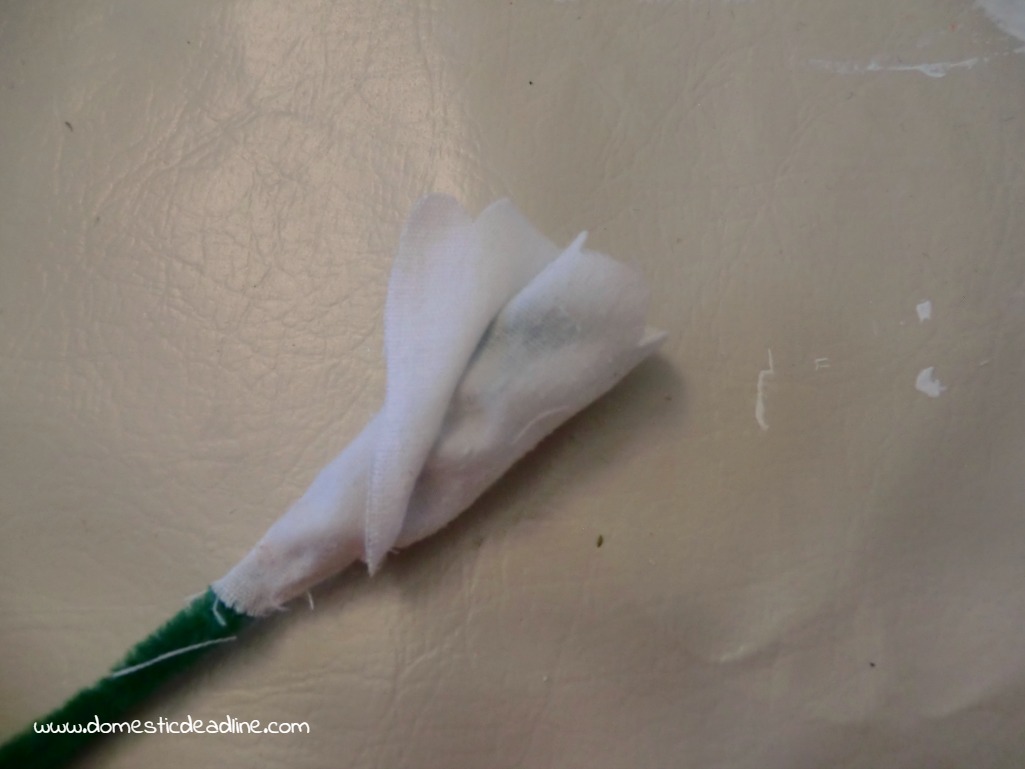
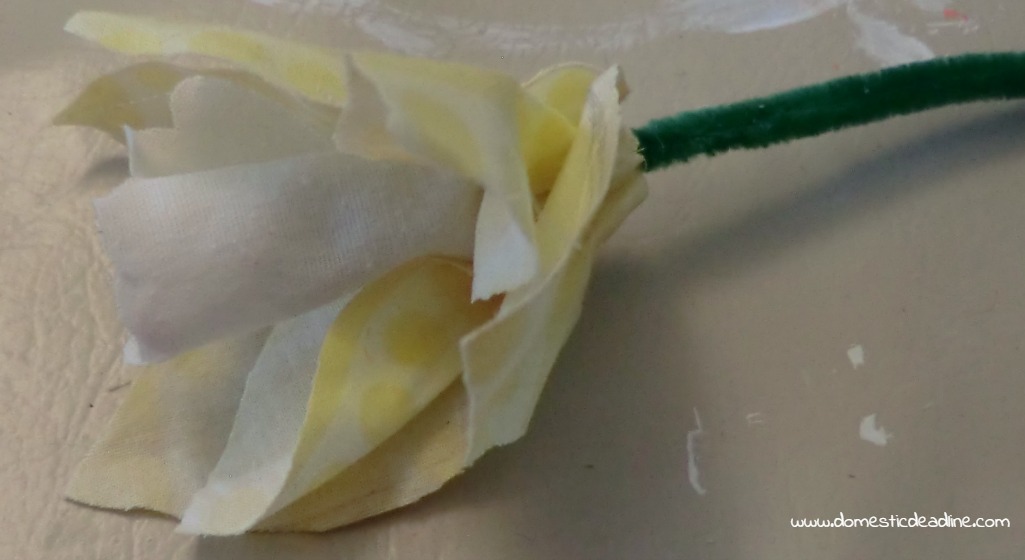
Curl over one end of the pipe cleaner or a length of floral wire. Starting at one end of the muslin strip, roll it around the pipe cleaner, gluing occasionally and at the end. I didn’t really want the green pipe cleaner to be visible in my finished flower.
Now, in half of the petal pieces, we are going to run a bead of glue down the center of each petal and fold the petals over to give them more shape. These will be the inner petals. The other half of the petal pieces that aren’t glued will be the outer petals.
Here are all the pieces ready to assemble. Don’t mind the paint in the background of all my pictures, I use an old vinyl table cloth when painting and gluing on my dining room table.
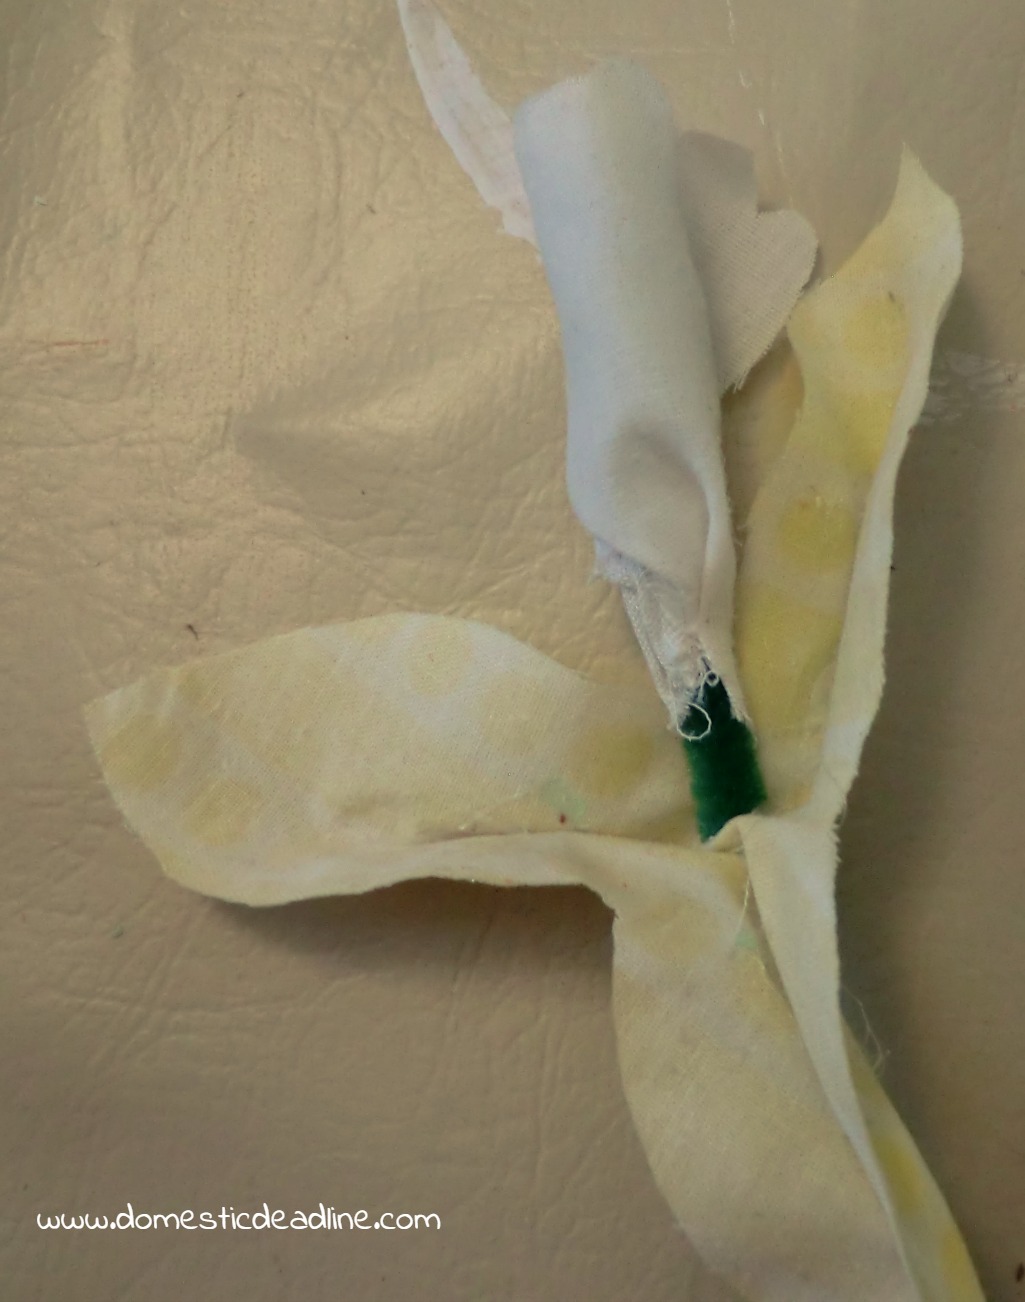
Next, we will add the inner petals to the pipe cleaner. Gather the petals together and snip a small hole in the center.
Slide the pipe cleaner through the hole. Do the same for the outer petals.
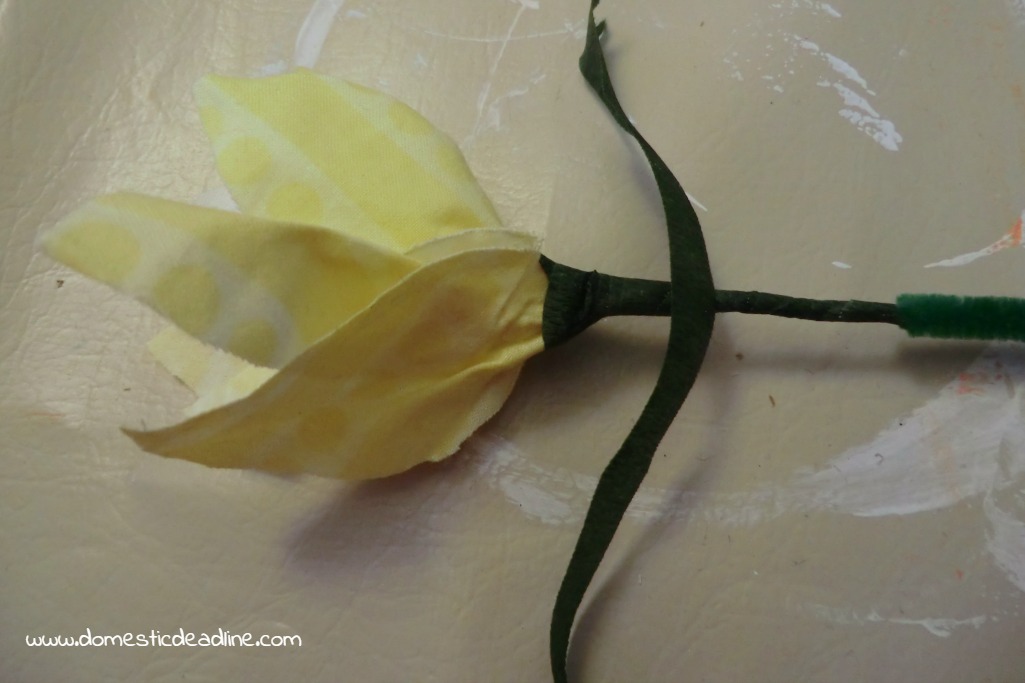
Arrange the petals so they do not line up. Add a bit of hot glue at the base where the petals and the pipe cleaner meet. Then, use floral tape to cover the base and the rest of the pipe cleaner.
DIY No-Sew Fabric Daffodils
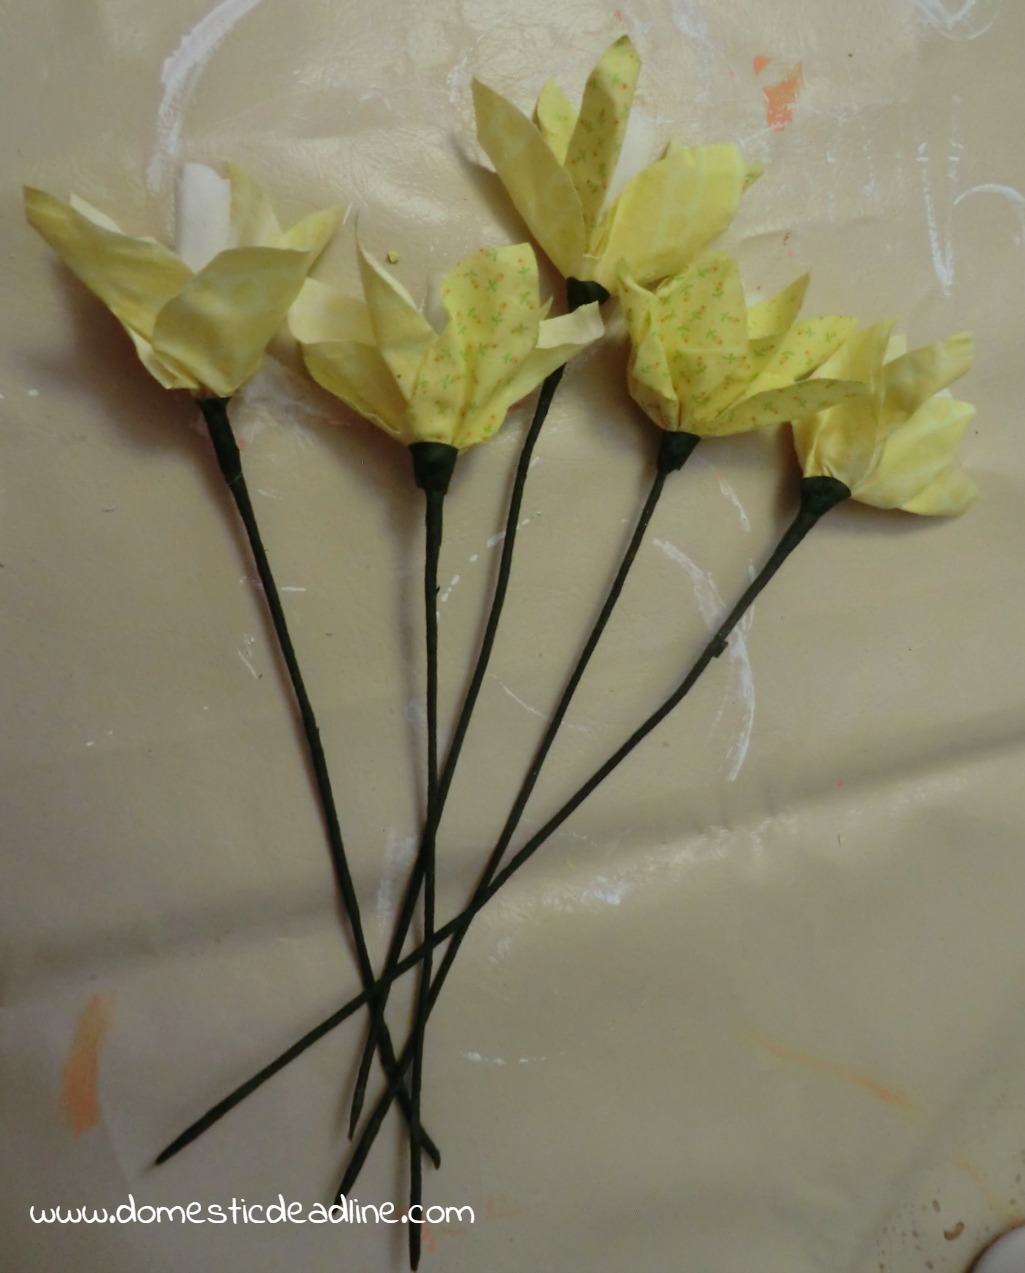
As you can see, I made several. Some with matching petals, some with petals from both fabrics.
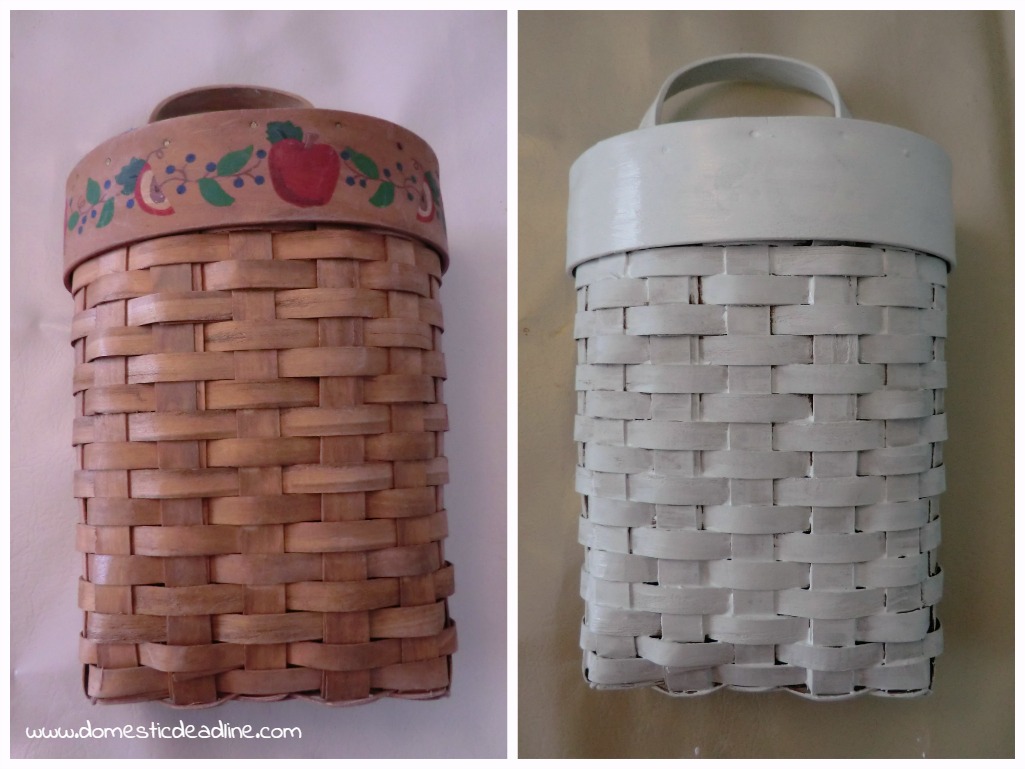
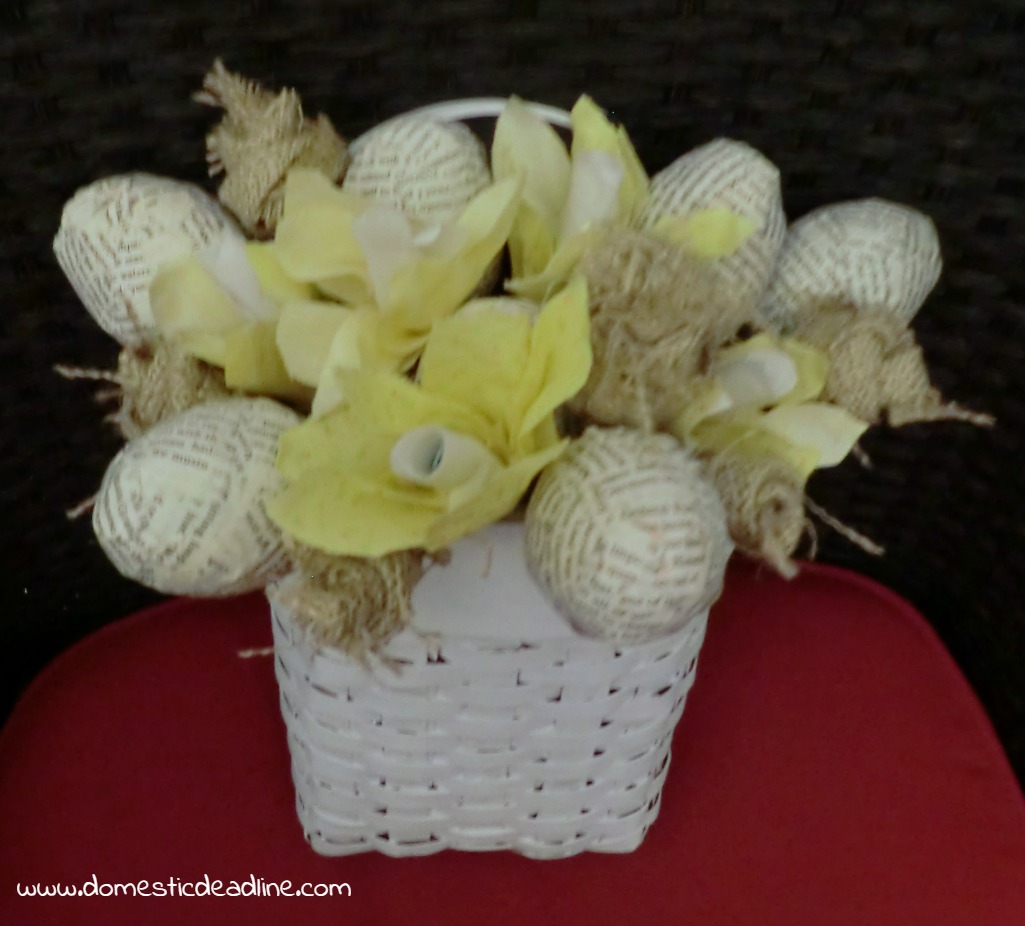
While my mod podge dried, I painted a hanging basket I picked up ages ago at a thrift store. It’s been sitting in my craft room waiting to be freshened up and used.
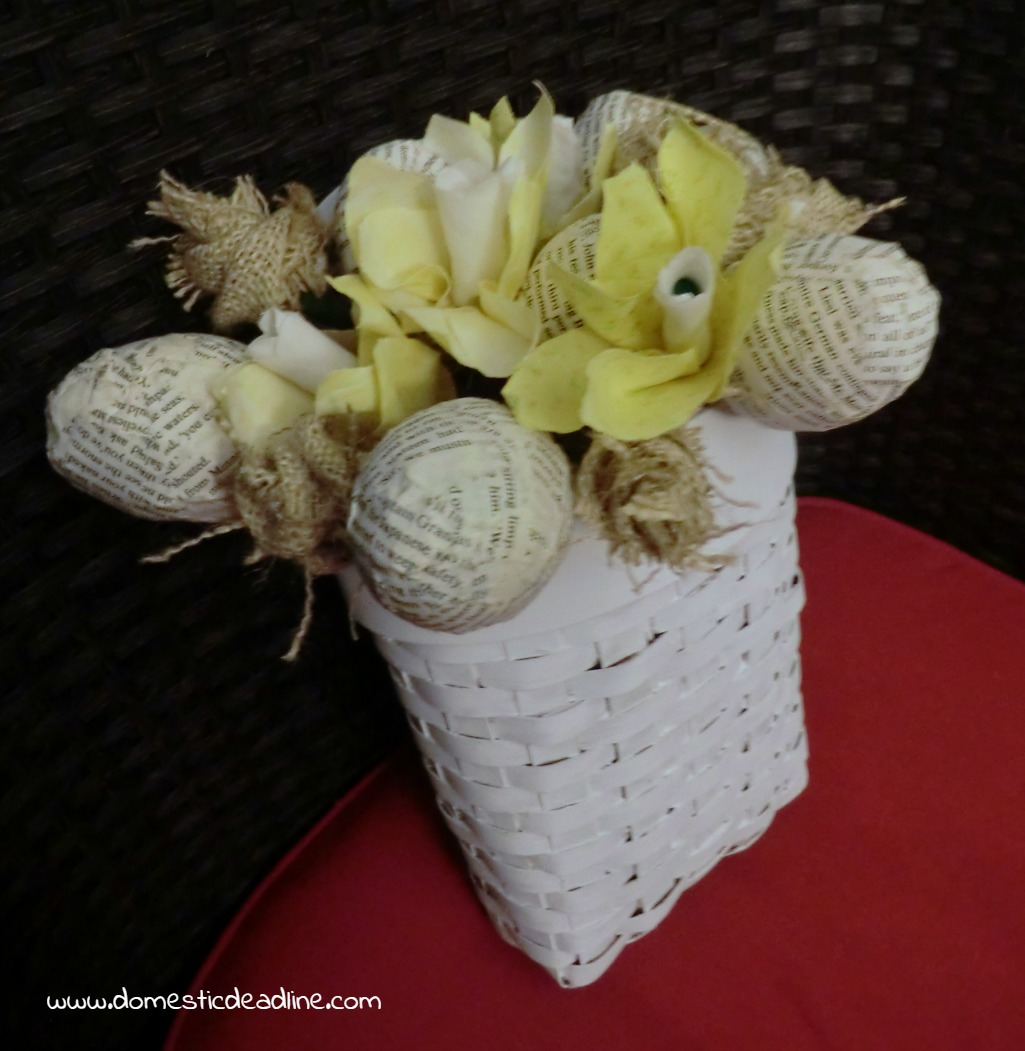
I mixed the flowers in with some Styrofoam eggs I covered in old book pages using mod podge. Our Crafty Mom has a tutorial on how made hers and used them for a darling Easter wreath. The arrangement needed a bit more to fill it in, so I made some roses from burlap scraps.
My photography skills are lacking, but here is another shot of the finished arrangement up close.
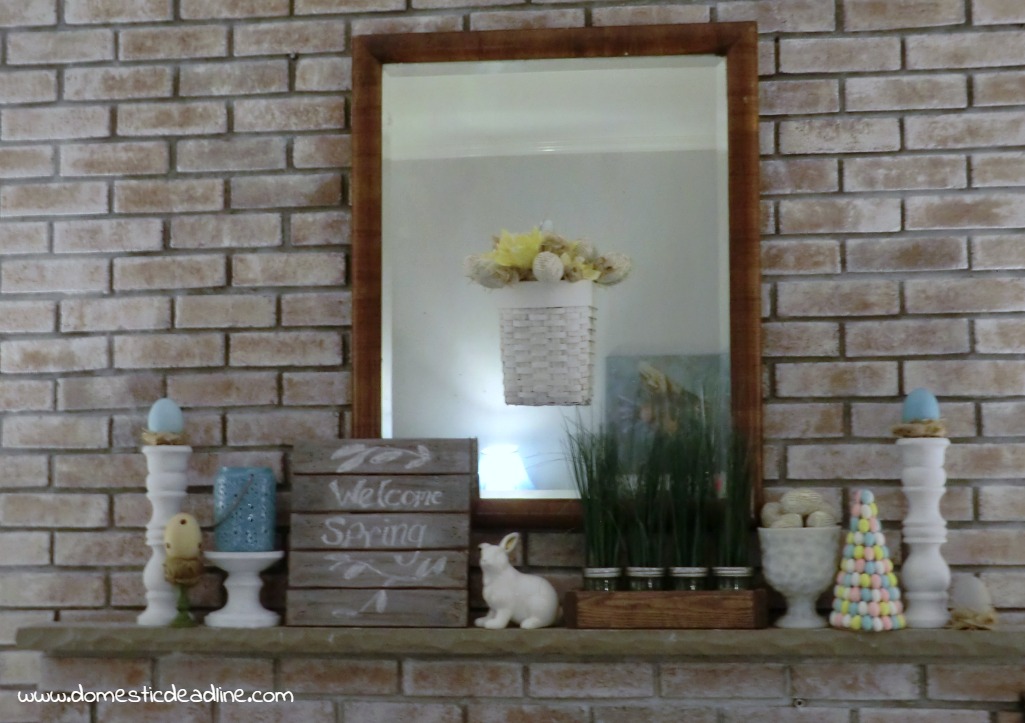
Above my mantel is a large mirror that once belonged to great-grandparents, and part of the bedroom set I had in my childhood bedroom. It’s heavy and huge and the best place for it in the house is above the mantel. But, thanks to clear Command Hooks, there’s no reason I can’t hang smaller things on top of it! This hanging basket was perfect to hang on the mirror.
My DIY barn wood chalkboard got a new saying, along with a white porcelain bunny from Target and a few other Easter projects I’ll be sharing soon and my mantel came together nicely… If I do say so myself!
Check out what these other talented bloggers have been up to. Remember, we had to use supplies we already had on hand, spending no more than $10 for necessities to finish the project (I spent a dollar on floral tape).







18 Comments