The kitchen is coming along. With demo done the first major project is tiling the floor. I selected a large scale pattern of two sizes of the same tile. Tiling from the mudroom through the kitchen and into the dining room brings the space together. My dream kitchen is becoming a reality!
Please note: I’m sharing the pictures as I go, writing a bit about the process. This post isn’t meant to be a tutorial, just sharing my behind the scenes of my own renovation reality!
Demo Done
With all the demo done, the last thing we needed to do was to move “the twins” out of their home. The twins are my matching fridge and freezer built into the wall of the kitchen. Moving them out was the easy part. Moving them back in over the tile later, proved to be possible but much harder.
If you need a refresher as to where we are in the renovation, here are the previous posts:
- Planning
- Built-In Fridge and Freezer on a Budget
- Lighting plan with Denney Electric
- Before
- Demo Day 1
- Demo Day 2
Selecting Tile
When selecting my floor tile, I had a few things in mind. I knew I wanted a large scale pattern, NOT diagonal. I wanted something unique and timeless. There has been a big push for laying the tile on a diagonal over the past several years and it’s already starting to look dated to me.
So, I wanted a pattern using the same tile in more than one size. Something in a dark charcoal gray. I felt I would know it when I saw it.
And I was right. As soon as I took one look at this tile, I knew it was the one. It was the only sample board I took home. Originally I figured I’d bring 2-3 options home for IronFish to help me decide on. Nope, just this one. Good thing he loved it too!
Tiling a Pattern
My pattern consists of one 24″ square tile with 6 24×12″ tiles around it. The combination results in a 48″ square. Before laying the first square, I marked off lines. This enabled me to work at a perfect 90-degree angle and keep my working line straight through the whole process.
After the first pattern was done, I started on the next.
And kept going along that line.
Until I had completed the full length of the room. Then I moved onto another row.
Cutting Tile
Because I work with a contractor on a daily basis, I had access to a dry tile cutter. It scores and snaps. The tool is amazing.
I have a wet saw too. And a tile grinder. I did use the grinder for a few unusual cuts. Otherwise, I was able to cut all the tiles exactly as I needed with the dry cutter.
Just Keep Tiling
We always planned on taking the wall down. Thankfully, this tile came within my budget and I was able to extend the tile into the dining room. The space will really flow together with the unified floor.
Did I mention this was 450 square feet of floor space?
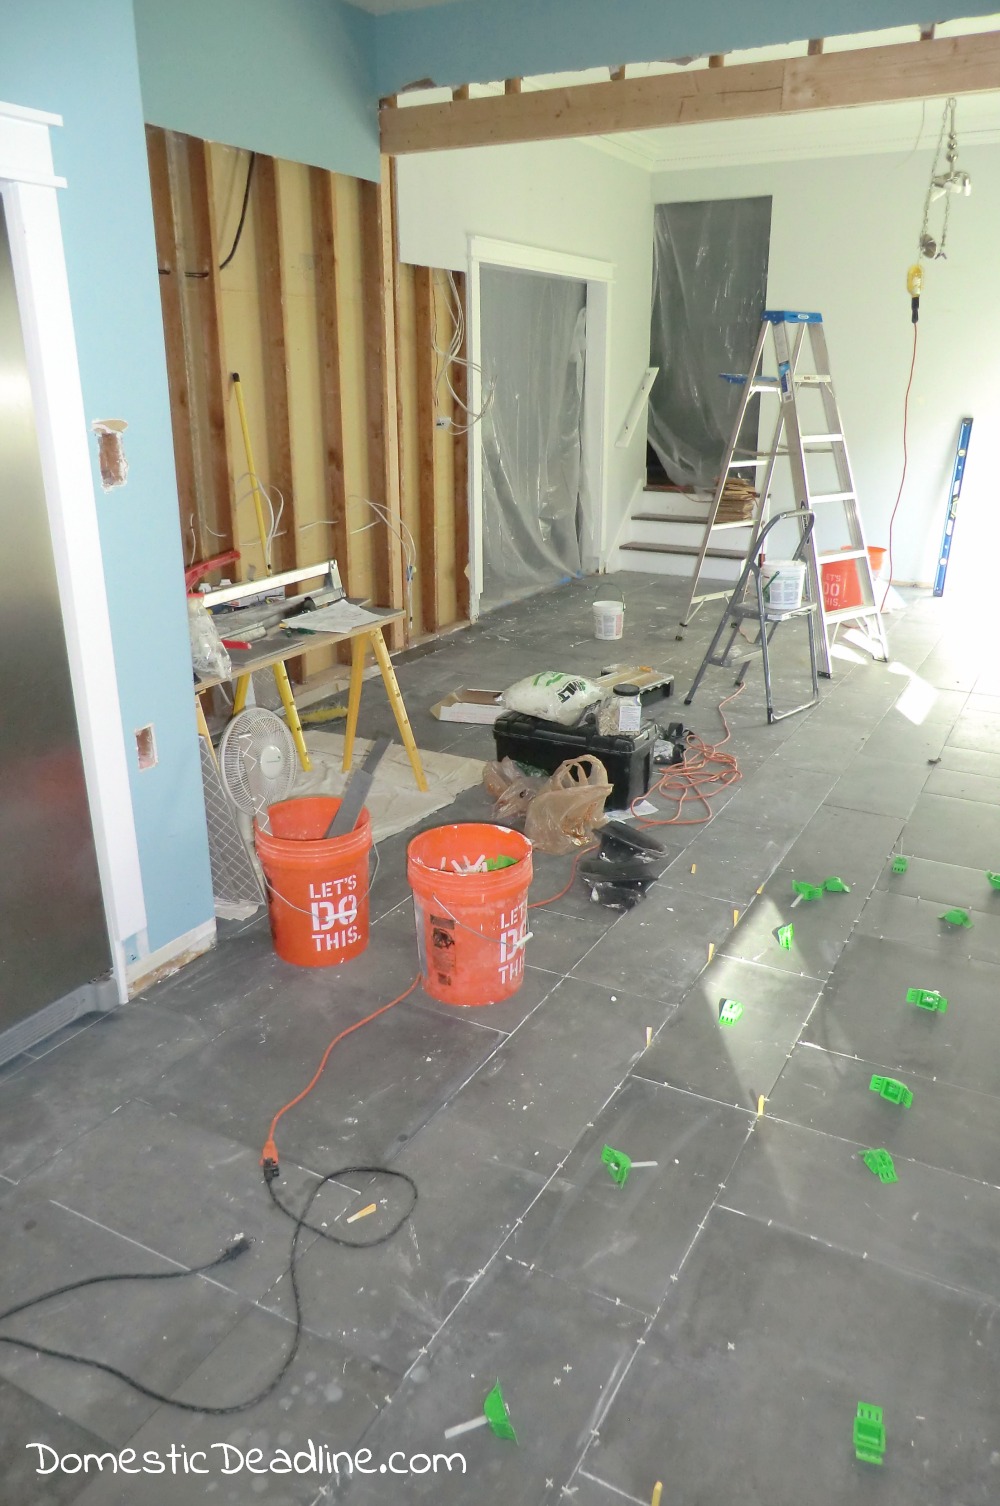
I worked at least 15 hours a day tiling. For four straight days. Thankfully, I had some friends who helped with back buttering the tiles for me while IronFish was at work.
Home Stretch
The tile extended from the dining room into the kitchen. Then down short hallway past my powder room and into the mudroom. When we finished the mudroom, we didn’t do anything with the floor, knowing we would eventually be continuing the tile from the kitchen.
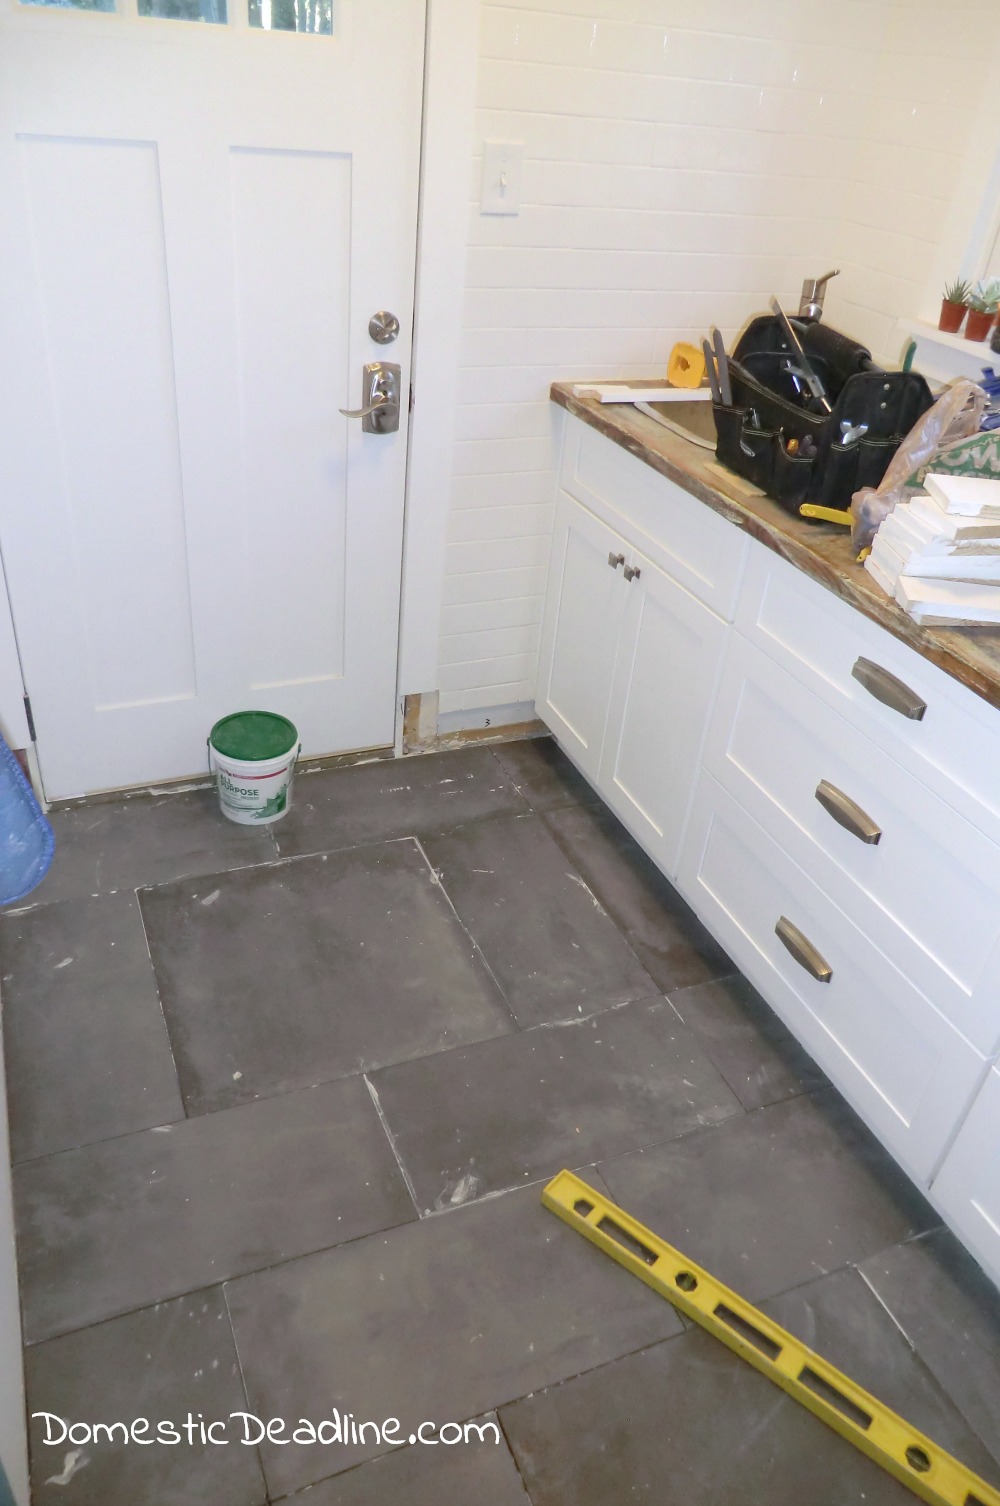
My house has 4 entrances. Three of them, the tile floor ran past. Periodically I had signs outside saying “do not enter!”
Finished Tile Floor
The tile floor was a major under taking.
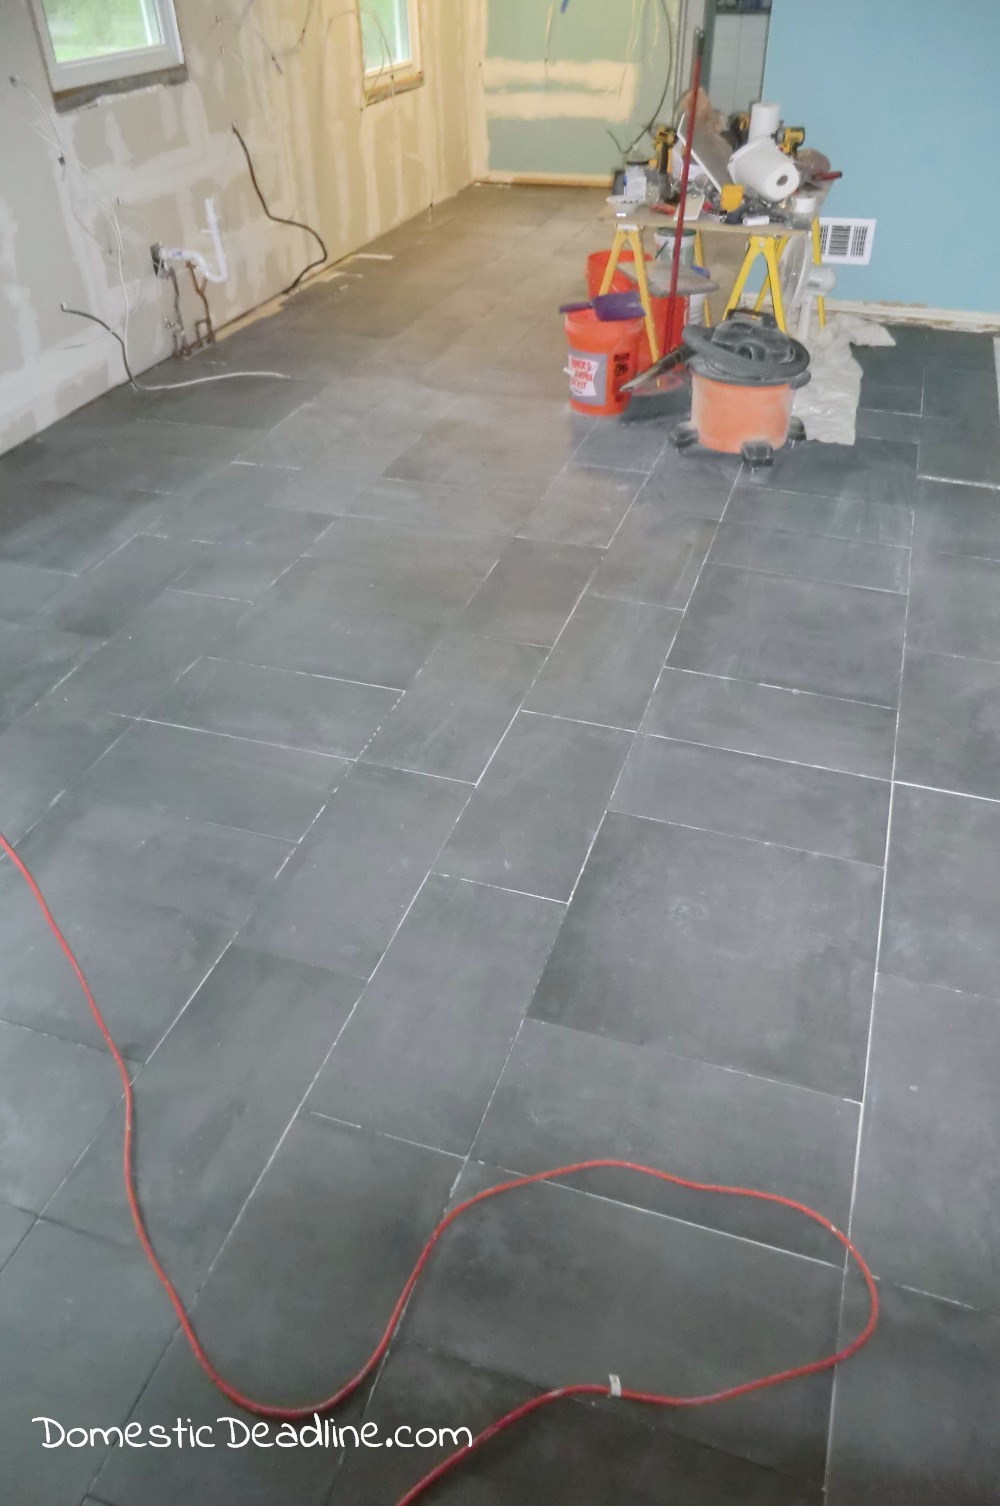
But, I’m so happy with the final results.
Don’t mind the extension cords and tools. The electrical is being reworked in the whole space, including a new lighting plan from Denney Electric. But, some extension cords have been necessary while we work.
Since some of them go to lights, the cords just show up in the pictures! It’s part of that behind the scene’s charm!
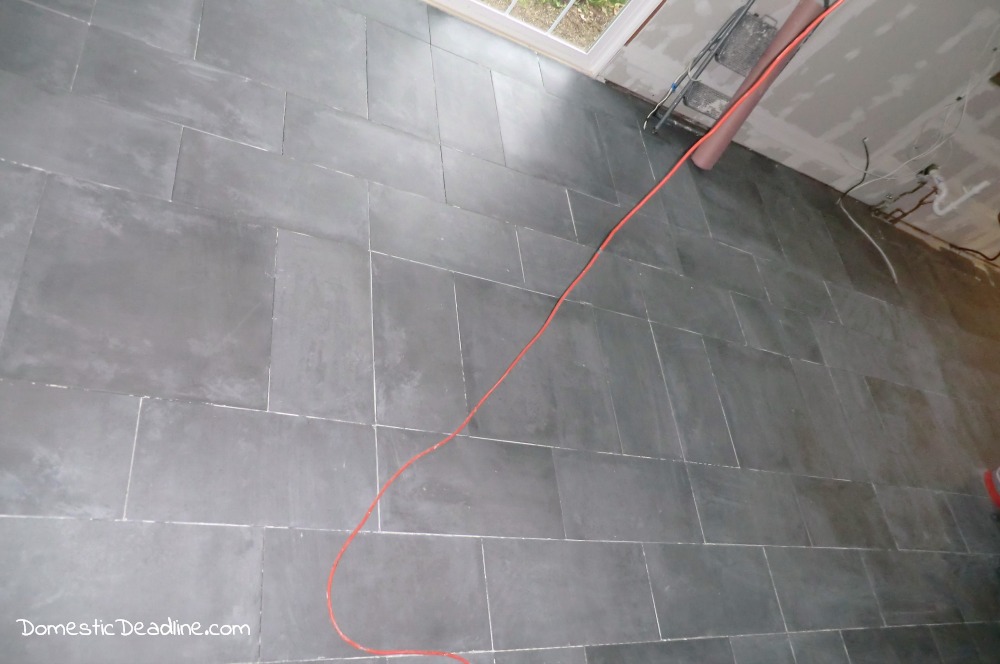
The floor will get grouted with a dark charcoal grout. I love how the tile looks like a well-used chalkboard.
Have you ever laid a tile floor?
WANT TO REMEMBER THIS LATER? POST THIS KITCHEN FLOOR TILE ARTICLE TO YOUR FAVORITE PINTEREST BOARD








13 Comments