Most of the time when I peruse Pinterest, I get general ideas, I don’t typically want to copy something exactly. The few times I have wanted to copy something… well, let’s just say, that doesn’t always work out for me! This is a prime example. Making wreaths for my front door has never been my specialty. But, after the success of my Valentine’s Crocheted Roses Wreath, I decided it was time to try a spring wreath. The How To Mom has a beautiful DIY tulip wreath and her technique looked like something I could handle. That is, until I couldn’t find the same materials and ended up with my spring wreath being totally different.
DIY Spring Wreath Supplies
Like I said, I set out to make the exact same tulip wreath I was inspired by.
I should probably back up and mention, I put myself on a craft diet a few years back.
While packing up all my craft supplies to move, I quickly realized my new craft room wasn’t big enough to hold the abundance of supplies I have collected over the years. Purging projects and supplies I didn’t see myself finishing or using, I got the space in usable condition and promised myself I wouldn’t buy any more supplies unless it was something necessary to finish a project.
The easiest way to do this was to stay out of Michaels, JoAnn’s and AC Moore. This has been quite a feat for me, but I have to say, I actually wondered through one the other day and left without anything!
That was because I couldn’t find the mini tulips used in the inspiration wreath.
Moving on to the dollar store, the tulips there were large and flimsy, not at all what I wanted a full wreath covered in.
JuneBug pulled out a cluster of peach dahlias, commenting how fun the color was. A completely different spring wreath was born.
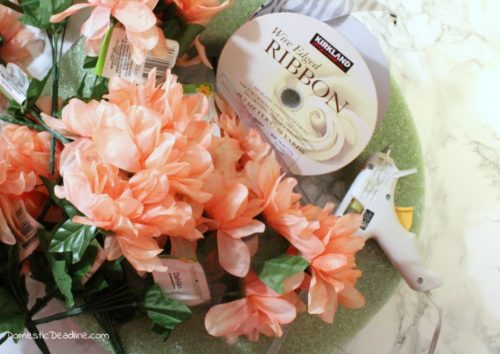
I also didn’t have the same wreath form from the tulip wreath. My options on hand were the same type of wire one I used for my crocheted roses wreath or a less dense foam wreath that had sharper edges. I went with the second option… because the first one didn’t work at all… I tried!
From the picture above, you can see I also used a glue gun and ribbon, although, the pictured ribbon is not what I ended up using.
DIY Spring Wreath
After using wire cutters to clip off the blossoms, I removed all the green leaves… I’m still trying to figure out what to do with them…
Using the hot glue, I glued the ribbon to the back of the wreath and began wrapping the ribbon around the flower stems as in the original tutorial.
Since these were not mini tulips, it didn’t look very good.
But, since I had the less dense foam wreath, I just began sticking the wire stems into the wreath. I guess that’s actually the purpose of this type of wreath.
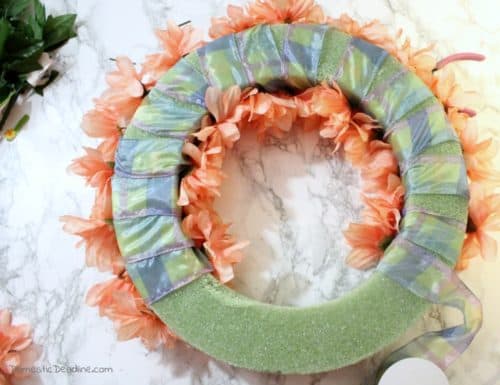
Still wrapping the ribbon, so the back had a nicer look, I continued around the wreath. Yep, I’m tellin’ it like it is… my back doesn’t look nearly as nice, I have quite a few bare spots!
Notice from the back how the edges are angular?
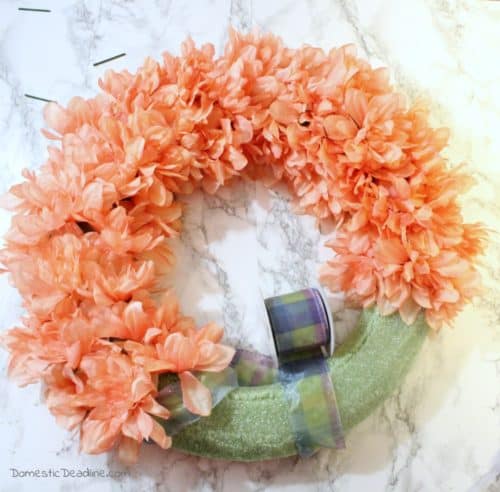
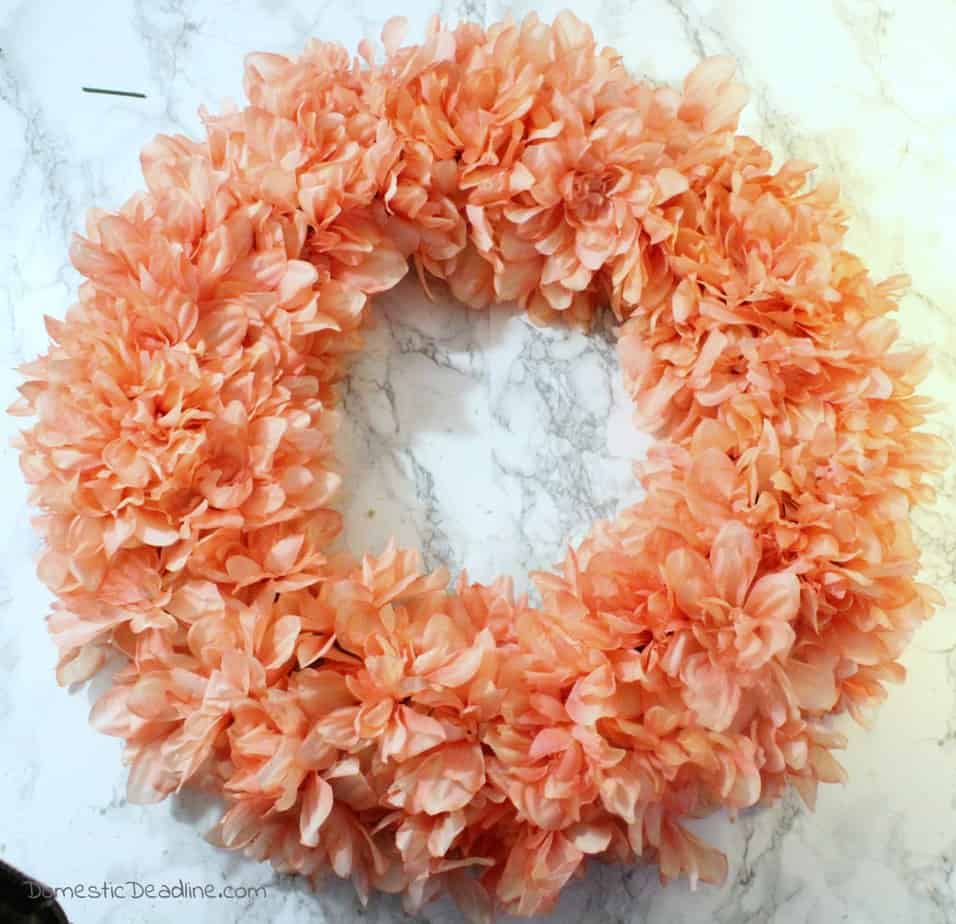
The front started out the same way, but I didn’t like how the flowers laid, so I took a knife and cut the edges off, rounding it out. I made sure to cover the front completely so the ribbon didn’t show from the front.
Ultimately, I used 15 bunches of flowers from the dollar store.
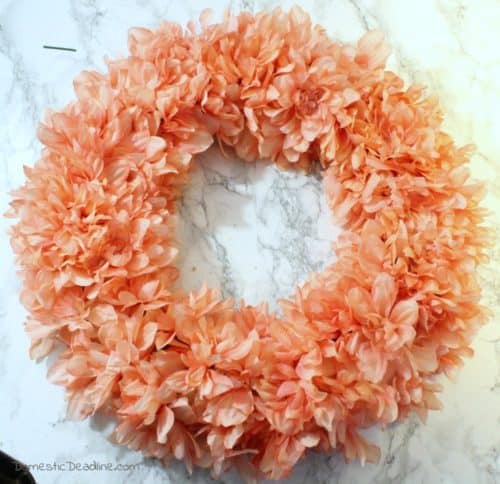
I already had the ribbon on hand and the wreath. The wreath is usually $6-8 but with the 40% off coupons always offered at the craft stores, the wreath can be made for right around $20.
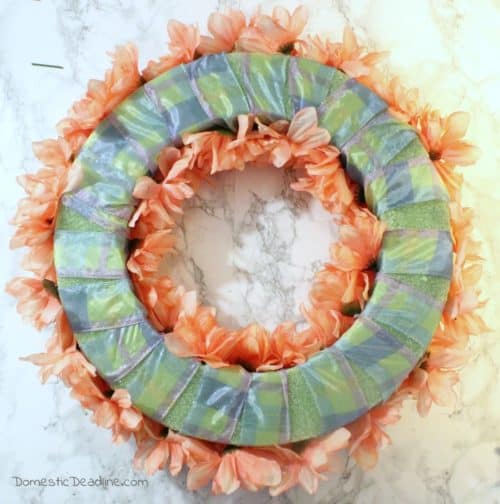
So, the back didn’t turn out perfect… it still looks better than just the green peeking through my front door.
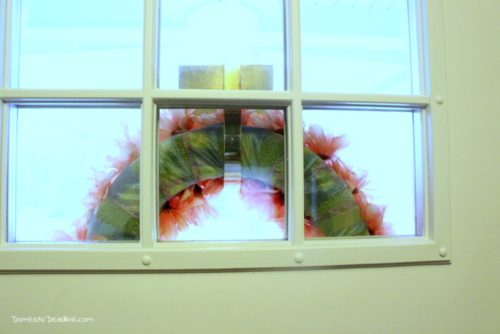
If I use this method for future wreaths, I’m sure I’ll get better at wrapping the wreath. Maybe I’ll just wrap the wreath first then push the wire stems through the ribbon next time.
Punch of Color
The peach is such a pretty color. Our house is gray on the outside and since redoing our front walkway, in need of landscaping. But in the meantime, the punch of color makes me happy when I pull up to the front of the house.
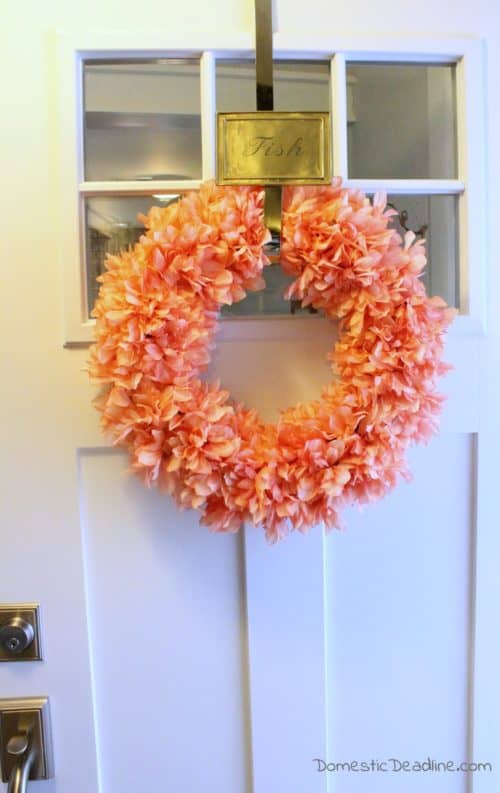
The girls think I need to make another one for summer in the insanely unnatural teal color of flowers the dollar store has! Admittedly, I’m seriously considering it…








14 Comments