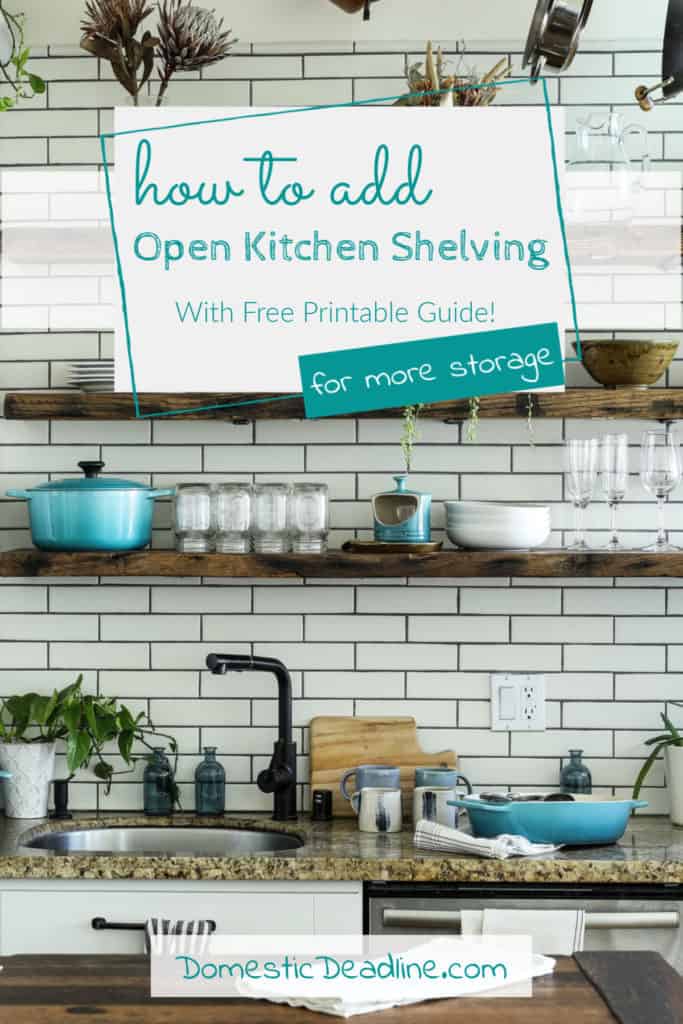
Before you say, I’m way too messy to have open shelving in my kitchen, hear me out. Open shelving is a great way to functionally decorate your kitchen. At any given moment, my open shelves are the neatest part of the entire kitchen. Don’t worry, I’m going to share my tips and tricks to making use of this great way to increase the storage in your kitchen.
Let’s start with where it all began for me and how I learned to look at it differently.
Pair Like Things
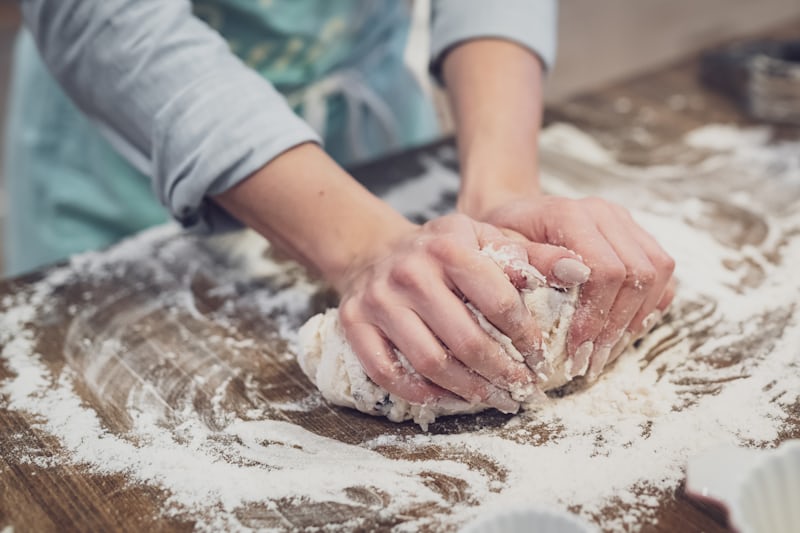
I have a love-hate relationship with baking. I love to eat yummy homemade treats, but I hate to clean up the mess it makes! Add to that getting all of the supplies together in one place… I felt like I’d run a marathon by the time the timer went off!
Ok, so maybe that is an exaggeration.
But hauling my big Tupperware containers of flour and sugar from the pantry. Digging for bowls and measuring cups.
Crawling into the blind cabinet to get the mixer…
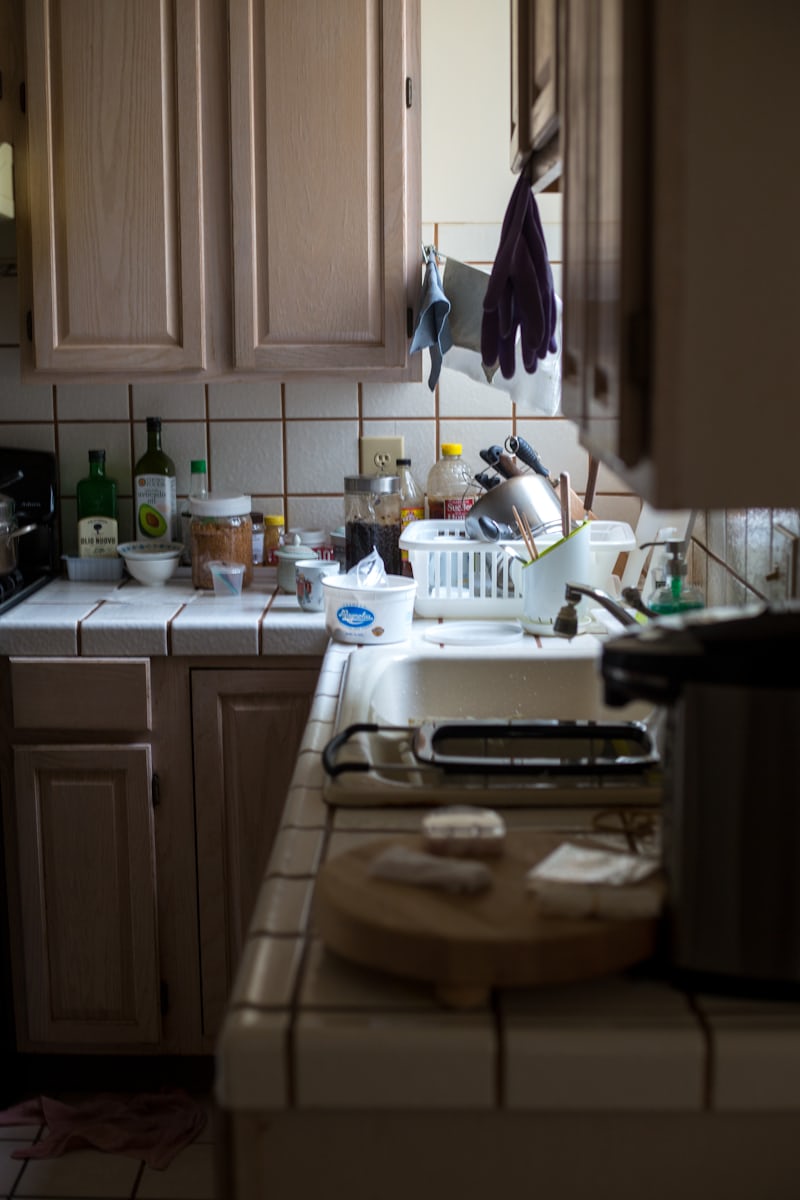
I am famous for getting out everything I need, doing a project, and walking away leaving a mess…
You could argue I had already paired like things. Dry goods in the pantry. Bowls with dishes. Mixer with small kitchen appliances.
The Ah-Ha Moment
When I started baking bread almost daily, I left everything out on the counter. I was going to use it again the next day… why put it all away only to get it out again?
Obviously, I’m more of the “Joy of Leaving Your Sh*t All Over the Place” than “The Life-Changing Magic of Tidying Up.”
But clutter does take a tole.
So, I put everything away.
And didn’t bake bread for a while.
And my family was sad…
The ah-ha moment came when I was trying to figure out how to get more stuff in my kitchen (which was small with limited storage, to begin with). Adding open shelves to a wall was really my only option.
We walk into a coffee shop or bakery like this and think it’s quaint and beautiful…
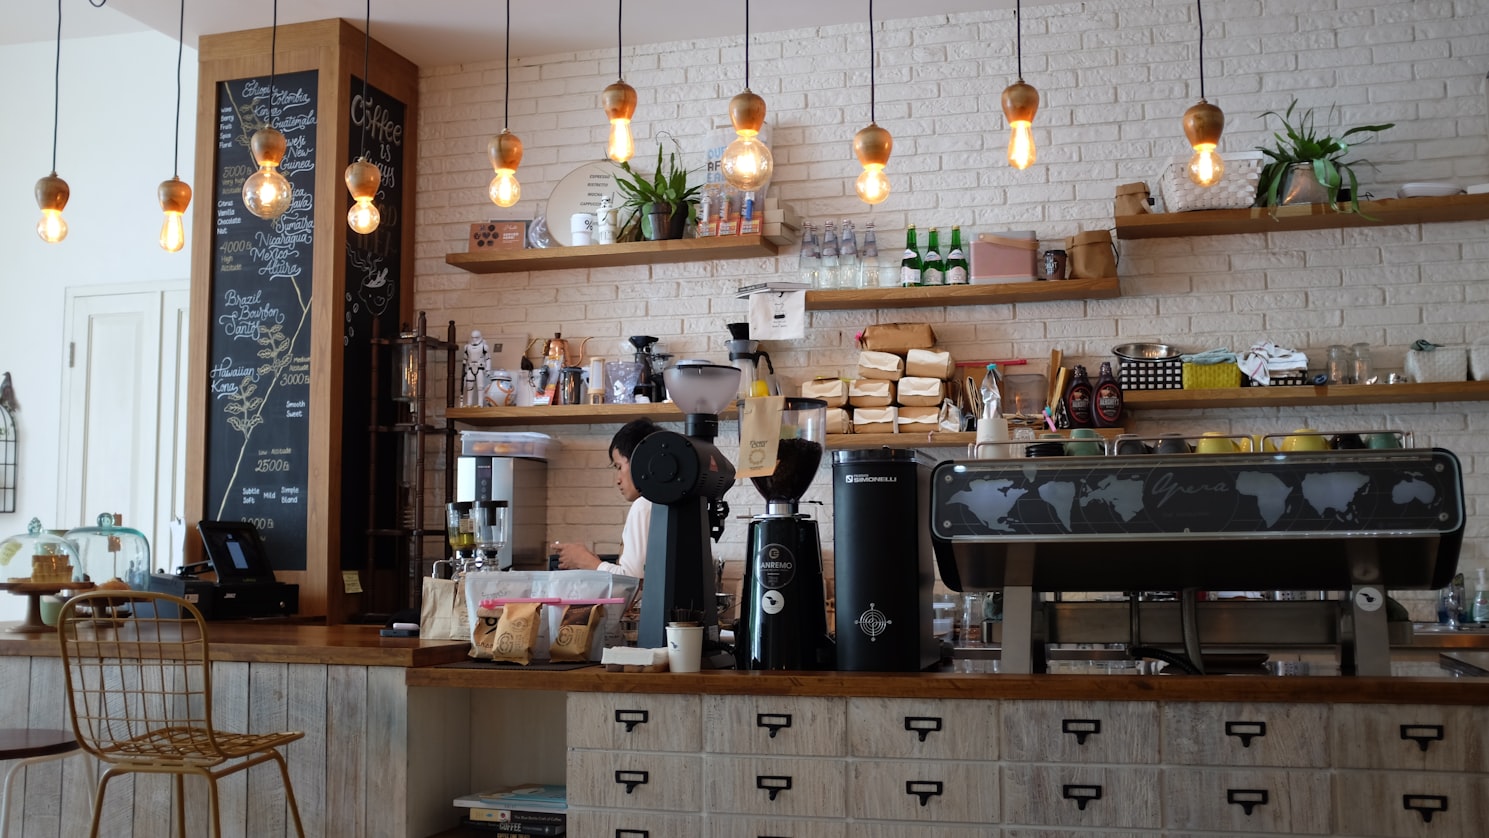
So why am I always trying to find a place to hide everything away?
Open Shelving is Your Friend
Seriously, find a blank wall, even if it is the only one, and add some shelves.
Display your colorful miss-matched bowls and plates collected from family members and thrift stores.
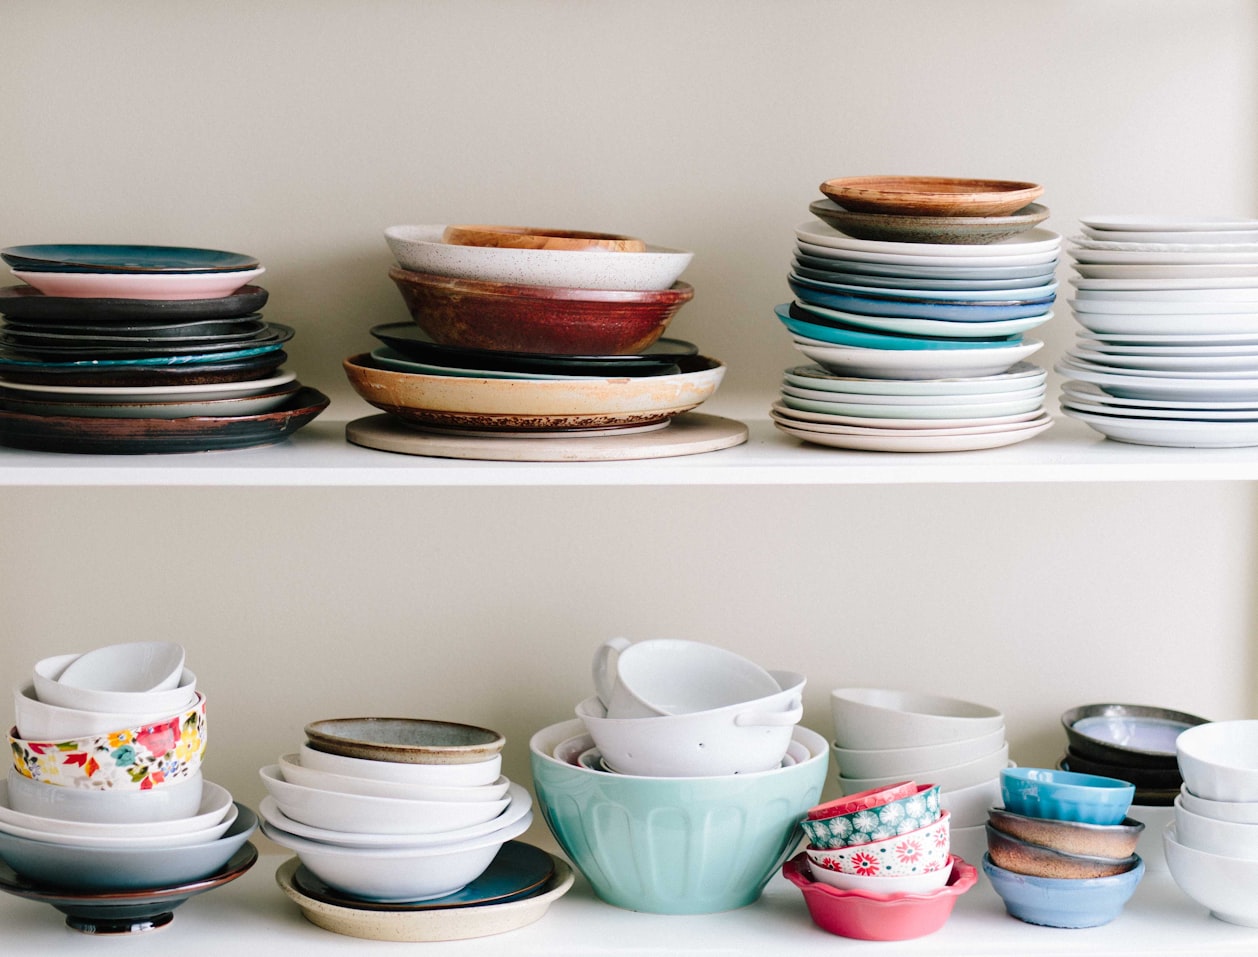
Use the closed cabinets to hide the sippy cups.
Or display the full matching set that hardly ever all gets used. Ahem, wedding gifts!
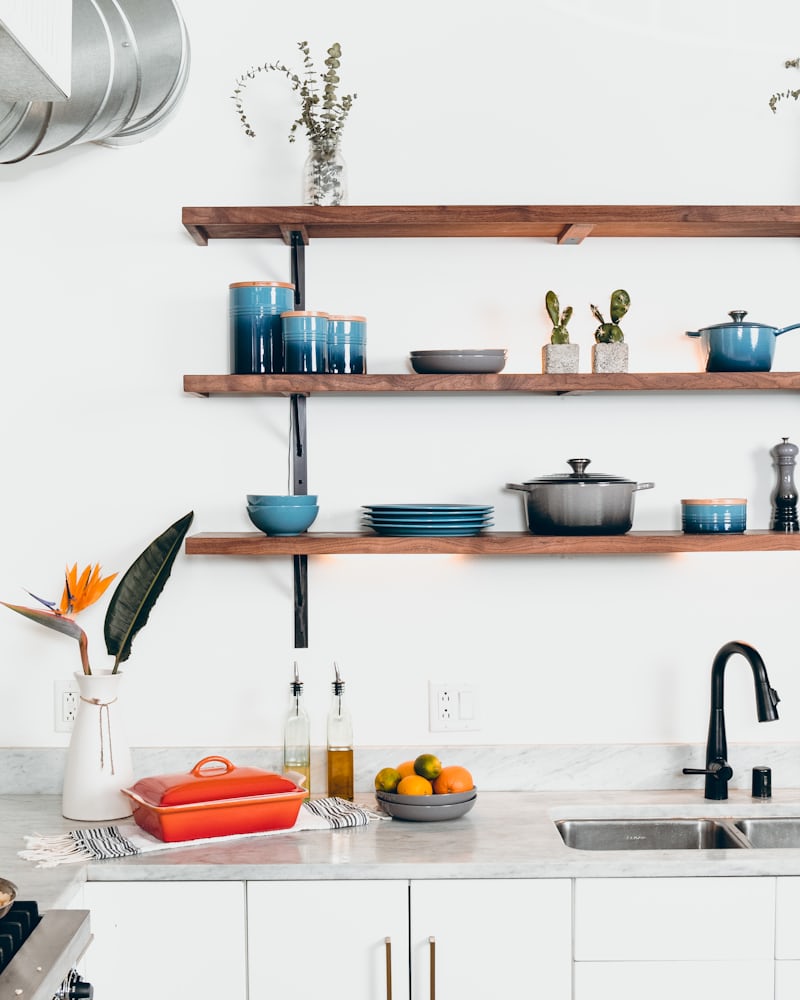
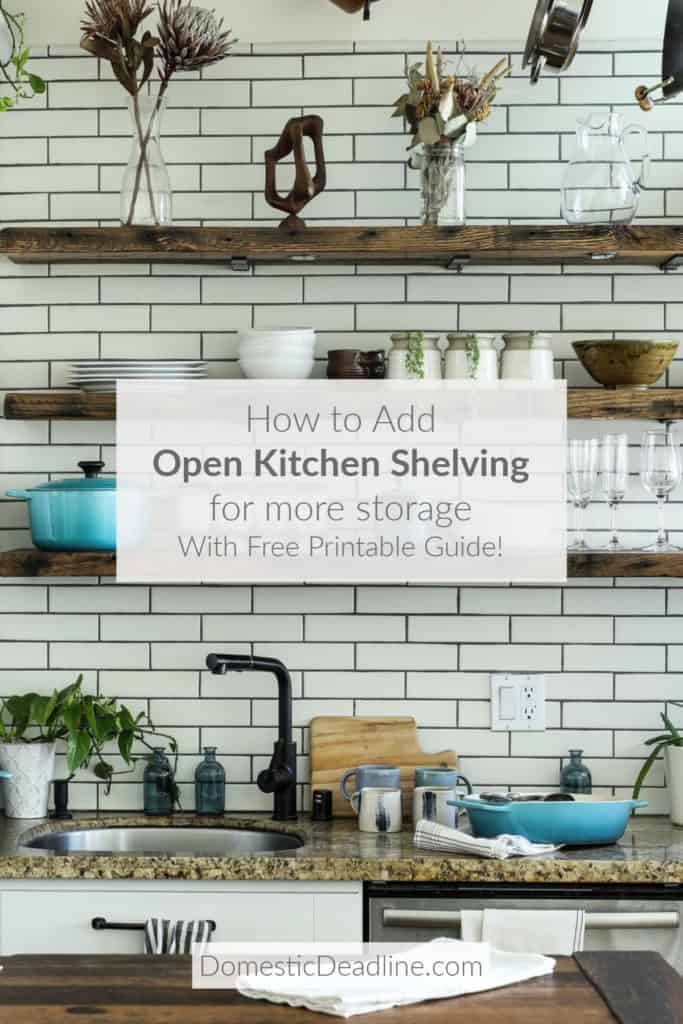
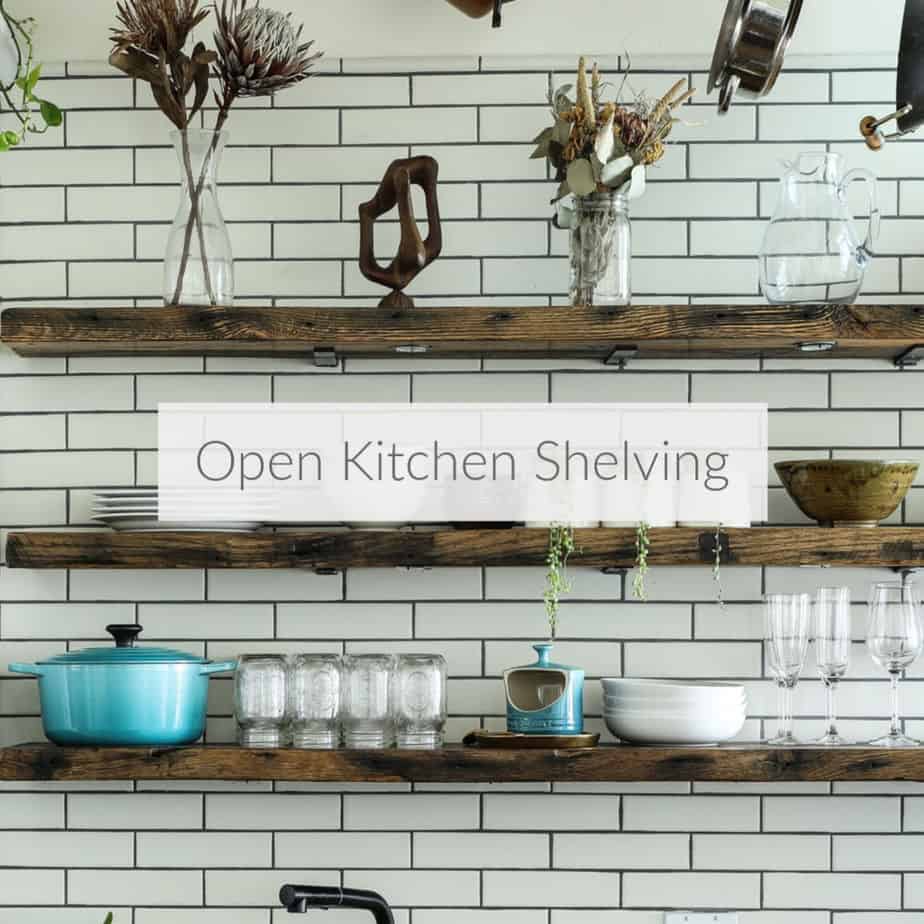
Ok, so obviously that kitchen has never seen children. But it’s a great example of a functional display in a kitchen using open kitchen shelves.
Or shelves designed to display dishes, bowls, mugs and more.
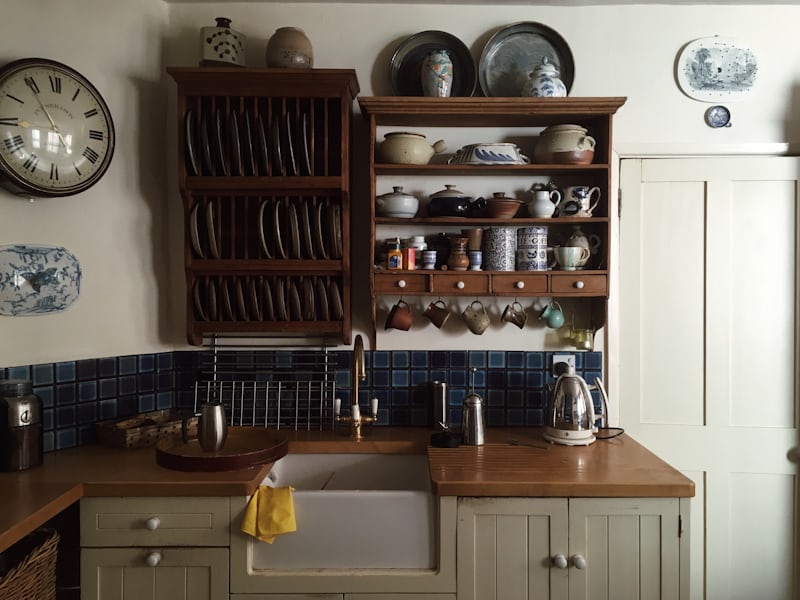
Yes, these examples are beautifully staged but they are still great examples of how you can have open kitchen shelving and functionally decorate.
In Real Life
To solve my baking problem in our first house, I added some inexpensive shelves on a blank wall above the counter. Three shelves at 36″ wide… it was almost as much storage as 2 of my existing cabinets!
If I came home from the grocery store with a sack of sugar, 10 lbs of flour, a can of baking powder and stuck it all on the shelf… Well, I would have created storage where I needed it… But, I would probably go crazy and think it looked like another mess.
An amazing thing happens when you pour that flour into a simple jar.
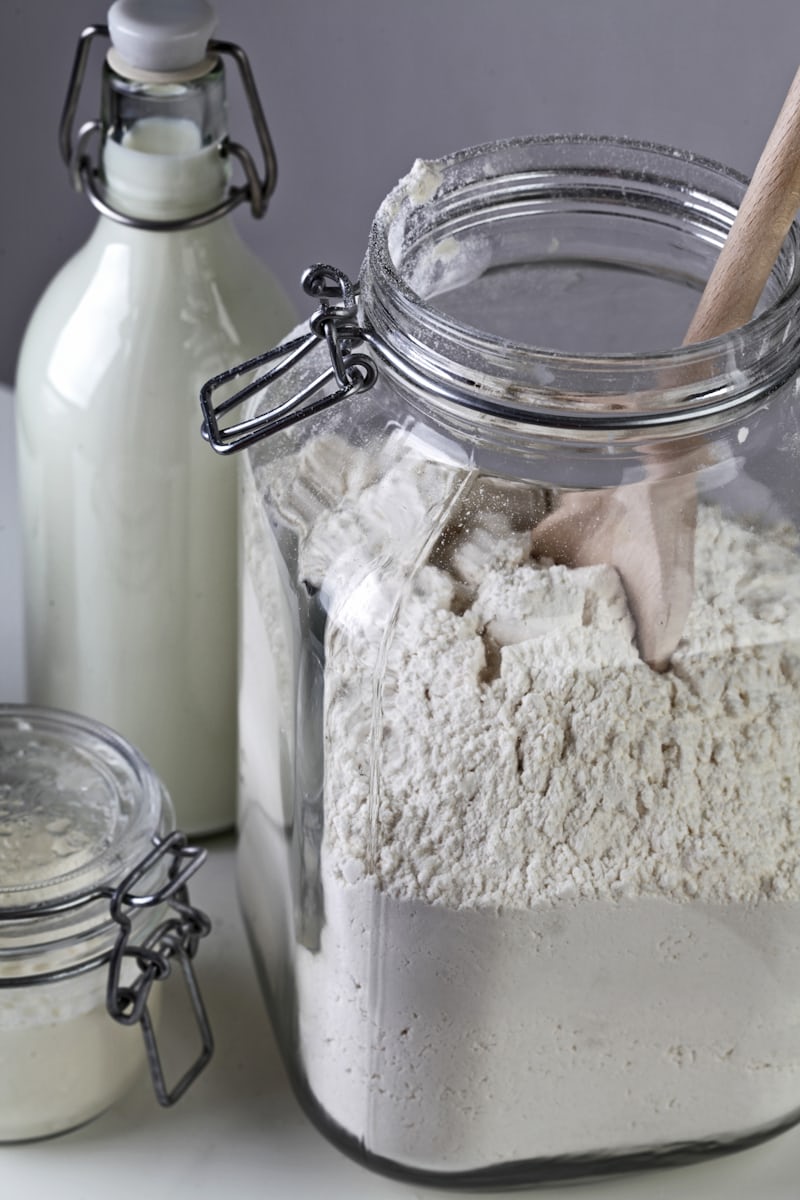
Not only does it now look pretty… it’s going to stay fresh longer! Or get used up faster!!!
Do the same thing will all of your baking supplies… functionally decorating.
In my kitchen, my kids were little. I didn’t want anything that would break. All my baking supplies went into matching, stackable Tupperware-type containers.
I didn’t actually use glass jars until my current kitchen. Acrylic jars would have also been a great option.
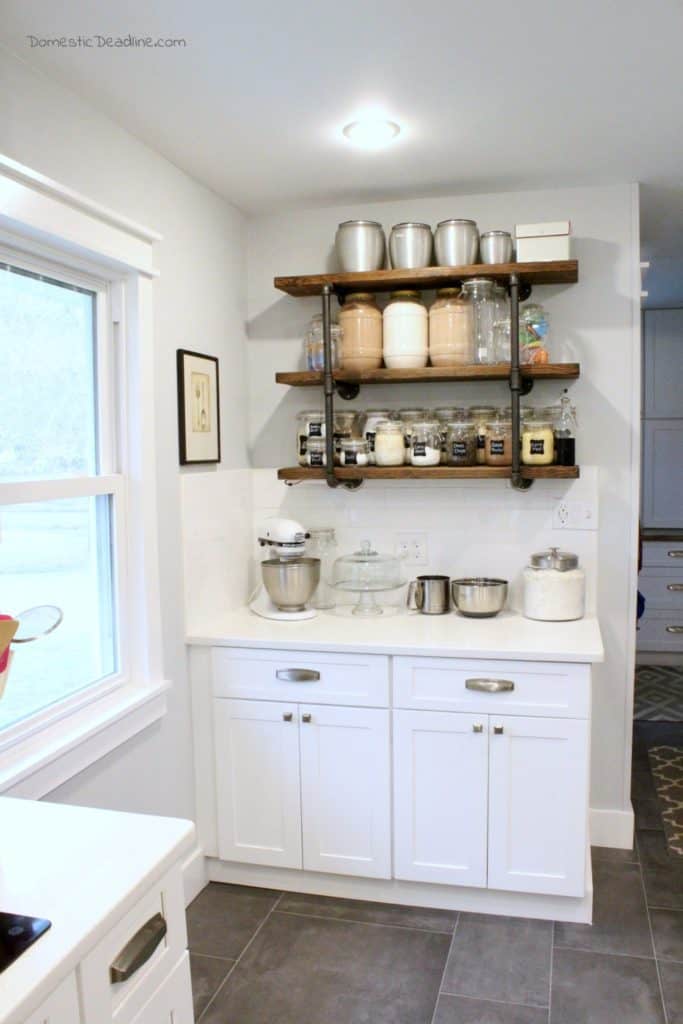
Maybe matching canisters is more your style.
Get creative and recycle. The big jars on my middle shelf are actually pretzel containers! I later added labels to them, so they match the jars below.
Try upcycling pickle jars or plastic snack jars. Spray paint coffee canisters or that 1970’s set your mother-in-law gave you when she bought herself new ones.
More Storage
Open shelves are a great place to display your favorite or family-heirloom cookbooks. Purge the ones rarely used and accept that you’re more likely to look on Pinterest than in a cookbook.
Or copy out your favorites. Gather handwritten recipes in a pretty recipe box to display. Better yet, have a personalized recipe box made!
Use the cookbooks to create interest in your functional decorating. Stack a few below a basket, bowls or recipe box.
Nest more utilitarian bowls inside a pretty antique bowl.
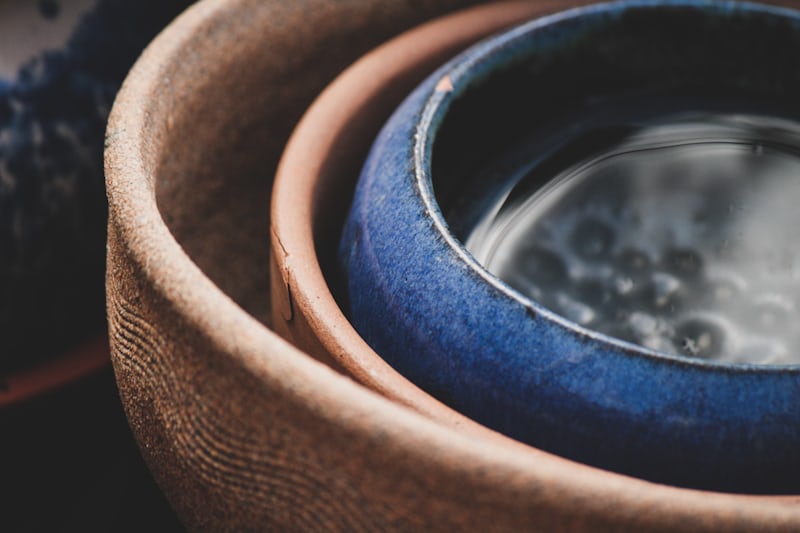
Or treat yourself to a new set of stainless nesting bowls. Simple and classic.
Add a few matching baskets to corral other little things together. You can even lay boxed brownie and cake mix down inside a basket so it’s right where you need it instead of in the pantry!
Functional Decorating
Now that you’ve installed shelves and gathered “like items,” don’t be afraid to display everything!
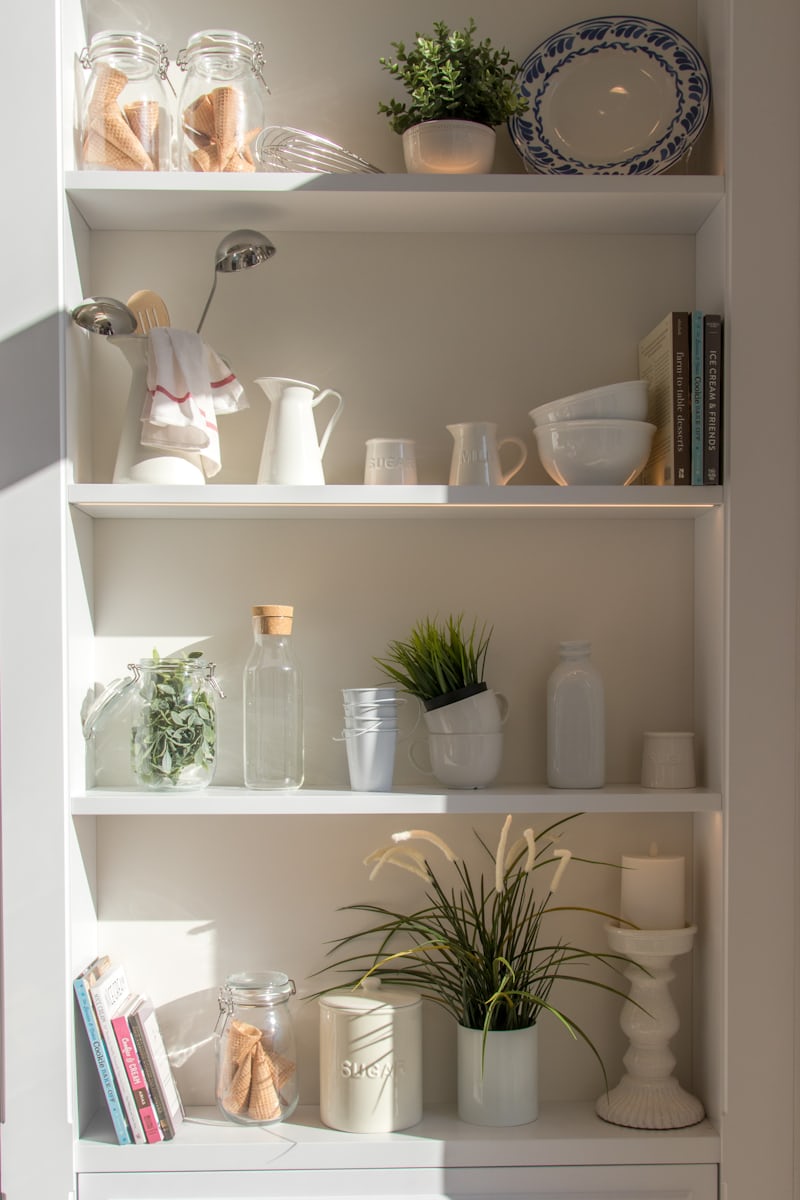
You can even add some greenery or seasonal decor.
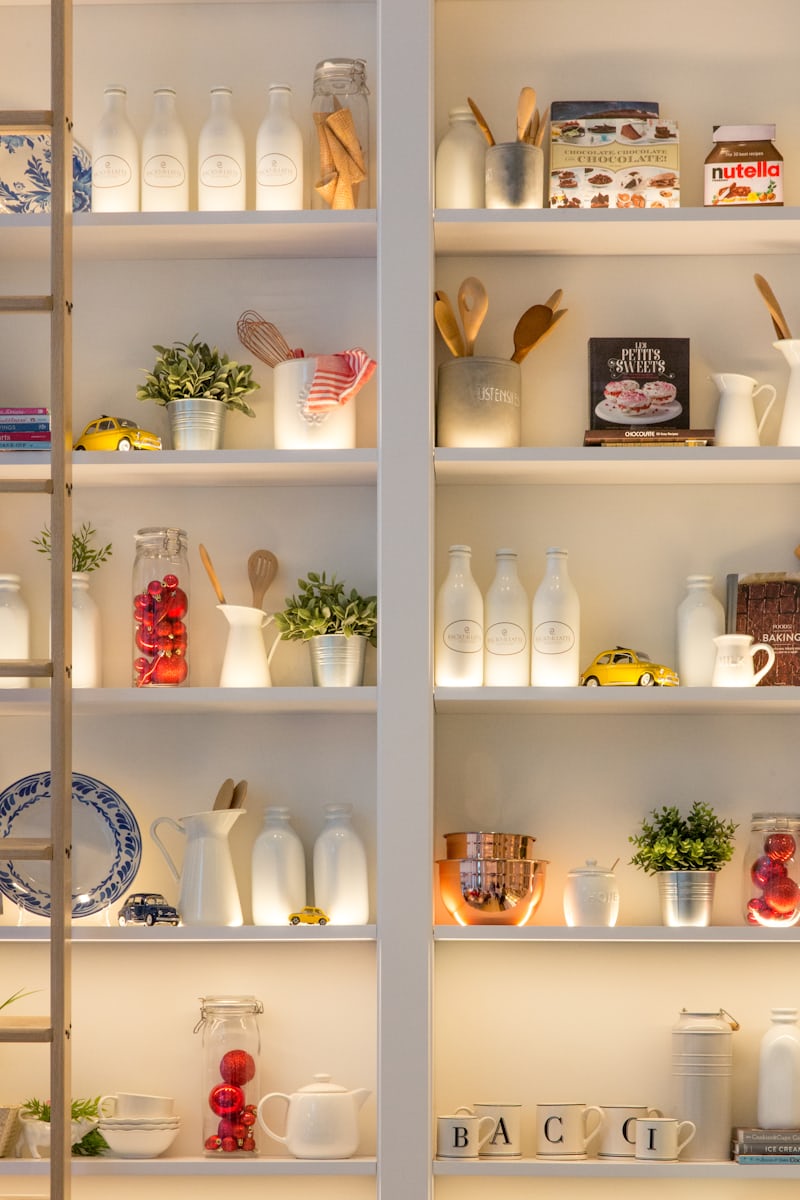
Yes, more pretty images for inspiration. Reality probably has a lot less empty space.
That’s okay! I’ll walk you through how to display everything. It’s a little different than styling bookshelves in the living room. Here’s my method:
The first thing I do is consider what will be reached frequently and by whom. Then I consider the sizes of those items.
Start with the most used things. For our house, it was all my smaller and medium jars of baking supplies. Because of the quantity, I layer the smaller jars in front of the medium jars.
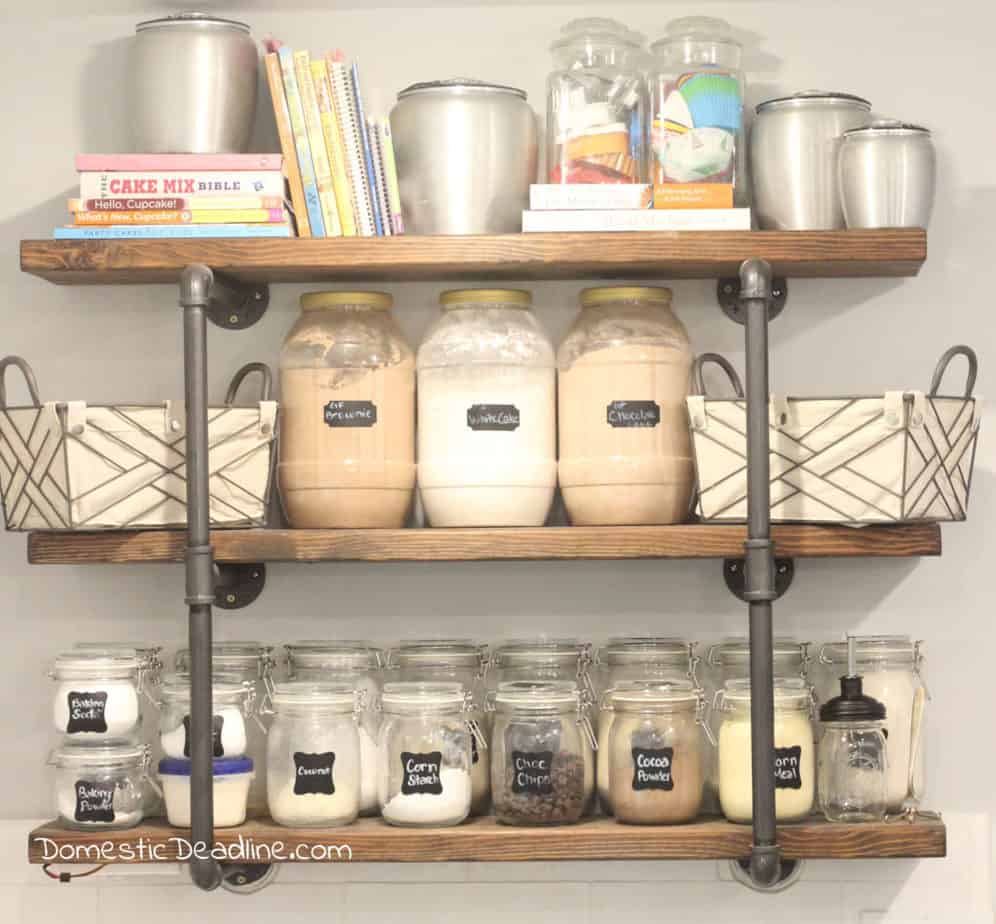
Most households probably don’t have 8 types of flour and 6 types of sugar and natural sugar-substitutes. We often bake gluten-free or low-carb, so we have a lot of options.
I wanted the kids to be able to reach these supplies easily enough. If we didn’t have so many, a bowl of bowls would also be on this bottom shelf.
Next, look at the big stuff. Make sure there is enough space for this. Use it to visually anchor the shelves.
For me, this was our upcycled pretzel containers turned cake and brownie mix jars. The gluten-free pre-made baking mixes are expensive… I probably made up a year’s worth in each jar!
Even though the kids do get these down, they are plastic. I’m less worried about them trying to reach them and dropping the jars! Plus, the girls are almost as tall as me now.
Finally, I look at what is left. For me, this is my cookbooks, antique canisters and a host of little things. If those old metal canisters didn’t have sentimental meaning to me, I’d probably try to work in some greenery. Faux because I forget to water everything!
Baskets contain all the little things. Cake decorating supplies, natural food coloring and decorations, and…? I filled one thrift store jar with cookie cutters and another one with cupcake liners.
The baskets fit on the middle shelf, so that decision was easy.
Laying some books on their sides elevated the canisters and kept other cookbooks in place.
Is there a lot of stuff on my baking shelves? Yes. Would I like there to be more “empty space” to allow the eyes to rest? Also, yes.
But guess what most people’s reaction to my open baking shelves is… “Wow, you must love to bake!” or “I wish I could have all my baking supplies so handy.”
See how I built my industrial kitchen shelving!
But, Dust!
I won’t try to fool you, things on open shelves will get dusty.
But, think about it, if you store your pretty serving pieces in the basement or tucked away in a box or high cabinet… you still should be cleaning them off before using.
I don’t throw parties on a weekly or even monthly basis. My punch bowl, serving platters and fine china only gets taken out 3-4 times a year.
Ok, I don’t really have fine china…
Either way, it still needs to be cleaned before using it.
Why not display those pretty things and enjoy them?
The higher up you look on my open shelves, the less often it gets used.
Plates, bowls, glasses, and mugs are used daily. Use, wash, put back on the shelf. Repeat.
Periodically when the cabinets need a good cleaning, I give the shelves a good cleaning too. Remove everything from one shelf, wipe down the shelf, dust or clean the items and put them back.
Easy enough to do while a casserole is baking or a pot is soup is simmering for dinner.
How to Rock Open Shelving in Your Kitchen
Ready to free up cabinet space and add open shelving to your kitchen? Here's a step-by-step guide for adding decorative and functional storage to your kitchen.
Materials
- Shelves
- Baskets
- Jars or Canisters
- Decorative Items
Tools
- Measuring Tape
- Stud Finder
- Screwdriver
- Screws
- Optional: Saw
Instructions
- Measure the height and width of the space available
- Determine the best shelves to fit your space and style
- Use a stud finder and mark the studs
- Install brackets directly into the studs for maximum support
- Add shelves to brackets
- Fill decorative jars, baskets, and canisters with everyday items such as baking supplies, cereals, pasta, snacks, and other dry goods.
- Place items most commonly used within easy reach
- Place seasonal or less commonly used items on higher shelves
- Add in cookbooks, greenery, and sentimental items
- Decide what to use your freed-up cabinet space for!
Notes
Use plastic or non-breakable containers for things kids need to reach.
Many home improvement stores will cut wood for shelves to length for a nominal fee.
It's ok to use standard sizes. If you have 44" of space, use 36" shelves and center them instead of custom lengths.
Can't decide exactly how far apart to place the shelves? Go with adjustable and change them as your needs change.
Recommended Products
As an Amazon Associate and member of other affiliate programs, I may earn a commission from qualifying purchases.
-
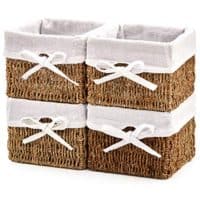 EZOWare Set of 4 Natural Woven Seagrass Wicker Storage Baskets Shelf Organizer Container Bins with Linen Liner - Brown
 -
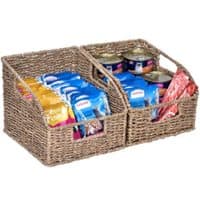 StorageWorks Hand Woven Magazine Wicker Basket with Insert Handles, Seagrass Trapezoid Storage Baskets, 8.7 x 9.8 x 7.5 inches, 2-Pack
 -
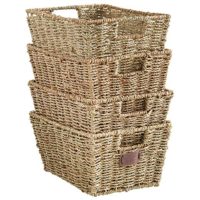 VonHaus Set of 4 Seagrass Storage Baskets with Insert Handles Ideal for Home and Bathroom Organization - 12(L) x 9(W) x 6(H) inches
 -
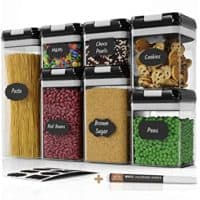 Chef's Path Airtight Food Storage Container Set - 7 PC Set - 10 Chalkboard Labels & Marker - Kitchen & Pantry Containers - BPA-Free - Clear Plastic Canisters with Improved Durable Lids
 -
 Bellemain 4 Piece Airtight Acrylic Canister Set, Food Storage Container
 -
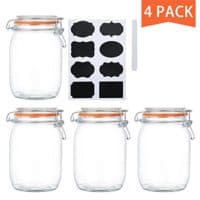 Encheng 32 oz Glass Jars With Airtight Lids And Leak Proof Rubber Gasket,Wide Mouth Mason Jars With Hinged Lids For Kitchen Canisters 1000ml, Glass Storage Containers 4 Pack
 -
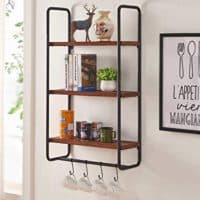 BON AUGURE 3 Tier Wall Mounted Shelf with Hooks, Rustic Wooden Kitchen Hanging Shelves for Wall, Entryway Floating Shelving Unit (Walnut)
 -
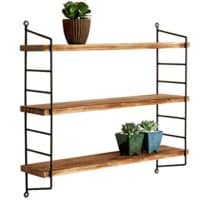 MyGift Modern Industrial Metal & Torched Wood Adjustable Wall Mounted 3-Tier Shelf
 -
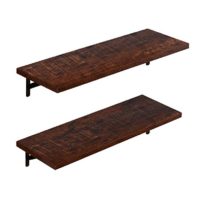 AUXLEY Wall Mounted Floating Shelves Rustic Wood Wall Storage Shelves for Bathroom, Kitchen, Bedroom and Office, L23.6 x W7.9, Walnut Brown, Set of 2 Brackets
Want to save this for later? Add this to your favorite Pinterest board!
