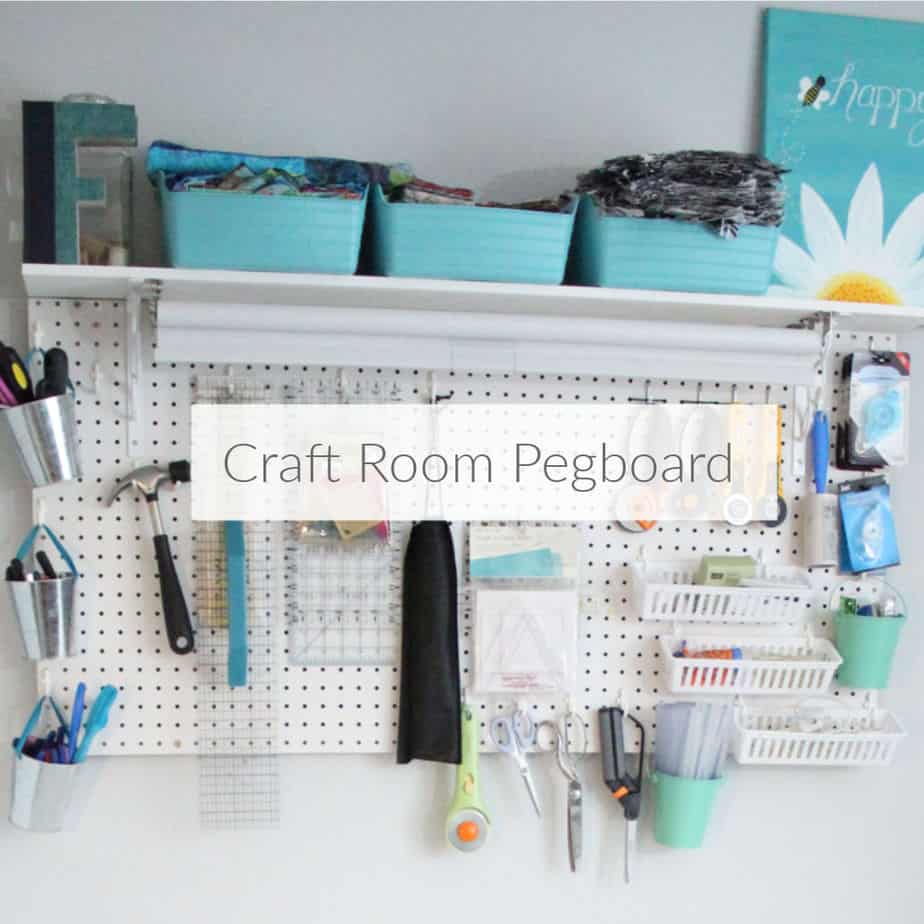
My craft room has been evolving since we moved in over 4 years ago. Maybe someday I will say it’s exactly like I want it, but since my crafting is always evolving, I’m pretty sure the craft room will continue to evolve. Storage space and workspace is a premium in my craft room. Using a pegboard to organize my craft supplies takes the storage vertical leaving me more horizontal room for actually crafting!
Inspiration
The Pinterest Challenge group has decided to have a theme for our monthly challenges. I’m loving this idea because it adds to the challenge. And I love craft challenges!
This month’s theme is organizing, something I am always trying to do more of. When I design anything in my home, I consider how it can help organize the room.
My craft room is something I’m always trying to organize better. Using vertical space is a must. A pegboard is a perfect way to use the space above my work table.
There are so many pegboards that have inspired me. Here are a few:
<a data-pin-do="embedPin" data-pin-width="large" data-pin-terse="true" href="https://www.pinterest.com/pin/417145984236305511/"></a><a data-pin-do="embedPin" data-pin-width="large" data-pin-terse="true" href="https://www.pinterest.com/pin/163748136438585115/"></a><a data-pin-do="embedPin" data-pin-width="large" data-pin-terse="true" href="https://www.pinterest.com/pin/787989266032548752/"></a>Craft Room Pegboard
My worktop is almost 5 feet wide. My local big box store had 4-foot by 2-foot pegboard in white. Not needing to cut it made it the perfect size. While I was there I also grabbed a few shelf brackets and a 1×8 board.
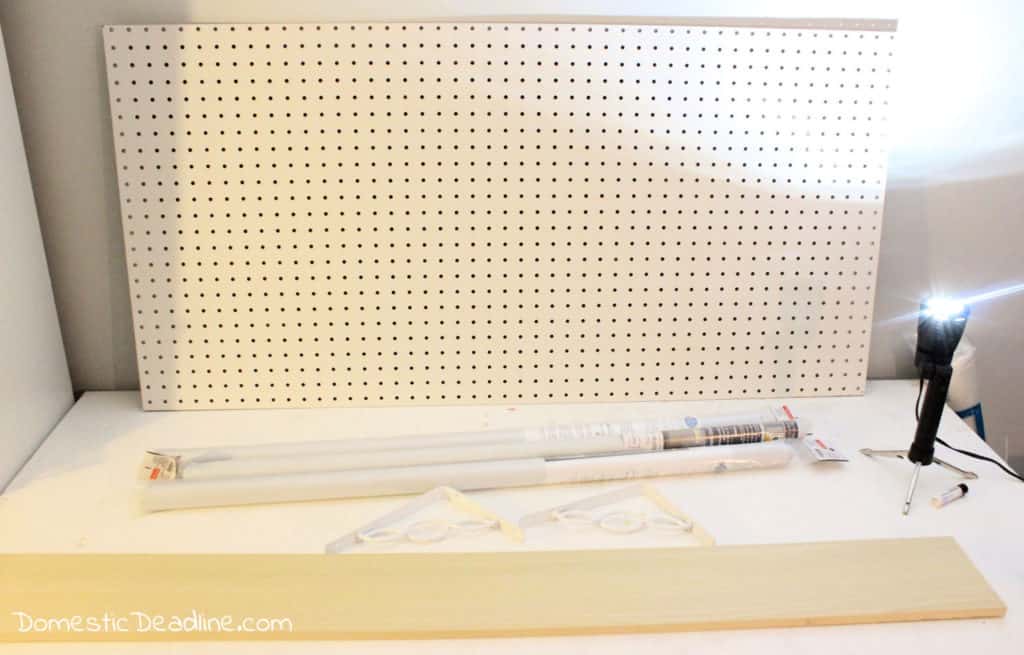
I gave the board a quick coat of white paint. To hang the pegboard I used two pieces of scrap wood I had in the garage. Using screws into the studs I hung the first piece of wood where I wanted the top of my pegboard.
Initially, I was going to hang the second in line with the bottom of the pegboard. In the end, I cut it into 3 smaller pieces and screwed them into the studs. This way, not as many holes in the pegboard were blocked by the mounting board.
The pegboard was then attached to the mounting boards using more screws.
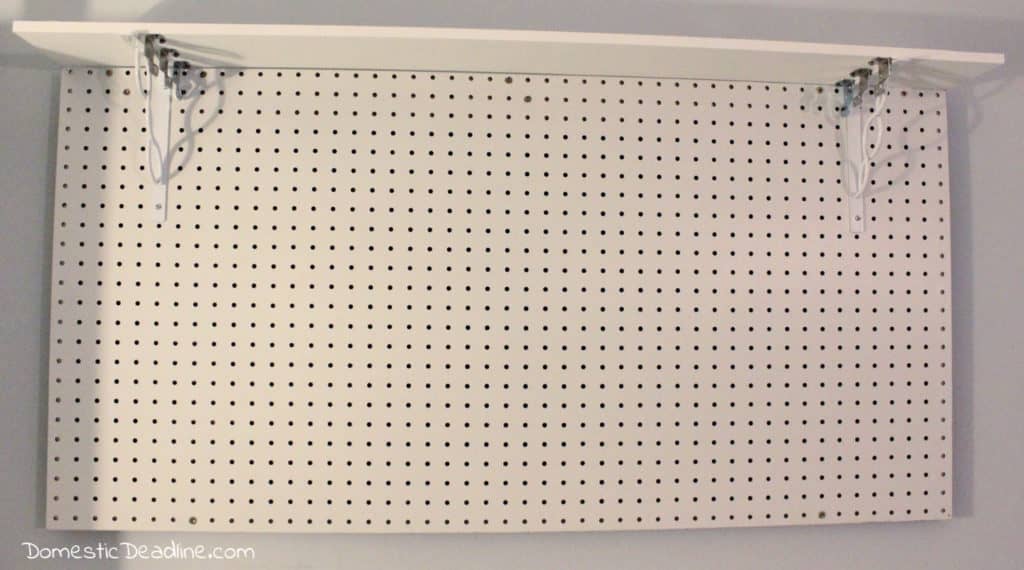
I mounted the shelf brackets a few inches in from the sides and placed the shelf board on top. Then it was time to load it up!
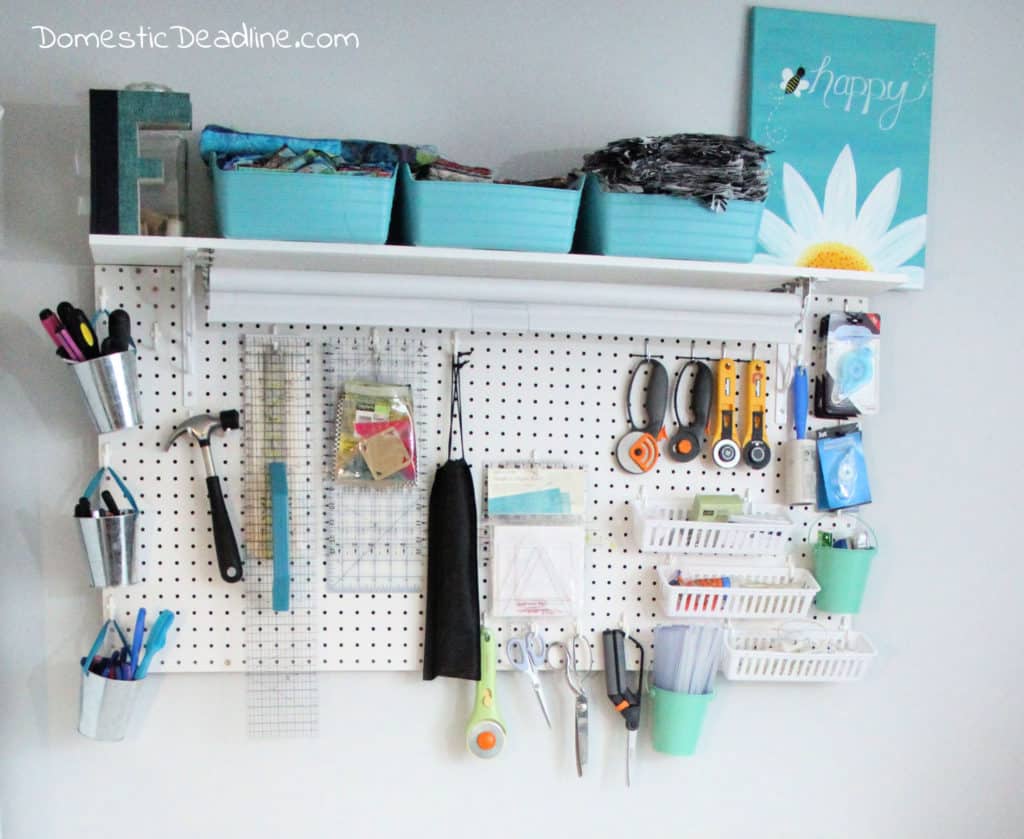
Aside from some hooks and pegs, I used what I had on hand like buckets and baskets from the Dollar Tree. Bulk packs of hooks (like these from Amazon or these) is the cheapest way to buy hooks. I also purchased this set of pegboard accessories, now it’s $1 less and comes with bins and more hooks!
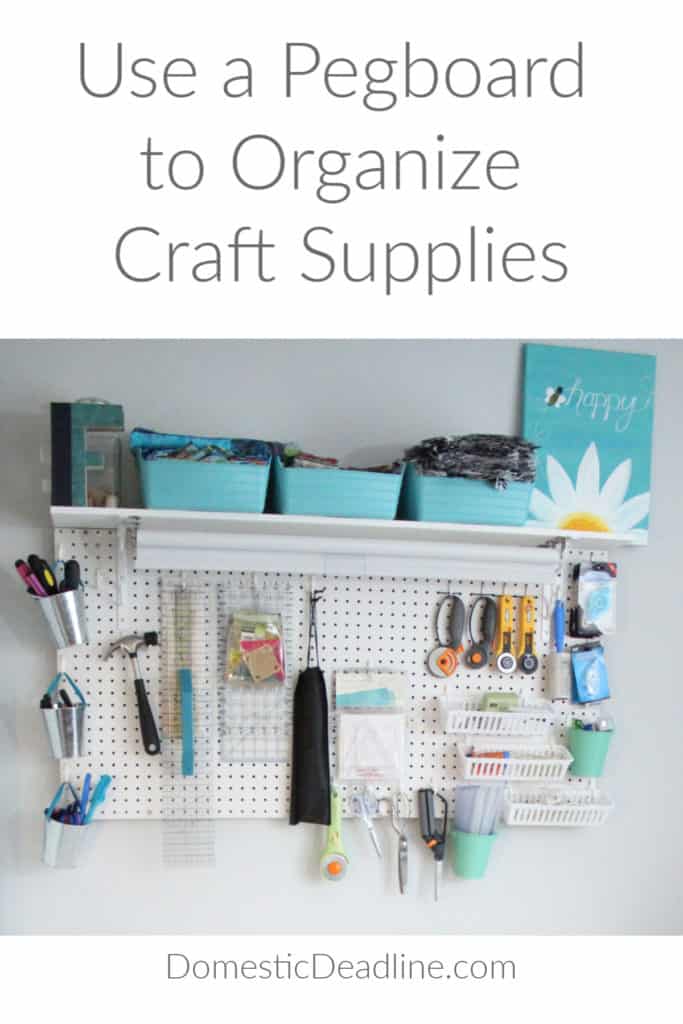
Whatever I could put in arms reach that I would want to use at my worktop is now hanging on my craft room pegboard!
I’ve rearranged it twice already and I’m still working on the best layout for my supplies… as well as organizing the rest of the room!
Maybe organizing should be our challenge each month, then maybe I will get the whole space organized… maybe?
Pinterest Challenge
TO JOIN NEXT MONTH’S #PINTERESTCHALLENGE, CLICK HERE TO SIGN-UP ⇒ February Pinterest Challenge
For more Pinterest inspired projects from this month’s Pinterest Challenge hosts, check out the links below ↓

My Pinterventures • Domestic Deadline • Elle Marie Home Cookies Coffee and Crafts • Across the Boulevard • Slices of Life Teadoddles • Farm Girl Reformed • Purple Hues and Me Decorate and More with Tip • Sew Crafty Crochet • Life Beyond Kitchen Mom Home Guide • Intelligent Domestications • Lulu & Celeste Love My Little Cottage • Eye Love Knots • My Family Thyme Create with Cynthia • Once Upon a Time and Happily Ever After Christine Faye Repurposed • Coastal Bohemian
Now let’s see what the other hosts have created!

