My craft room has looked like a bomb went off since we moved in. Brimming with supplies but no space to work. The crafty destash challenge was the motivation I needed to start using my mountain of supplies. The only rule was no more than $10 could be spent. I’ve got a rock what you’ve got attitude, so this is right up my alley.
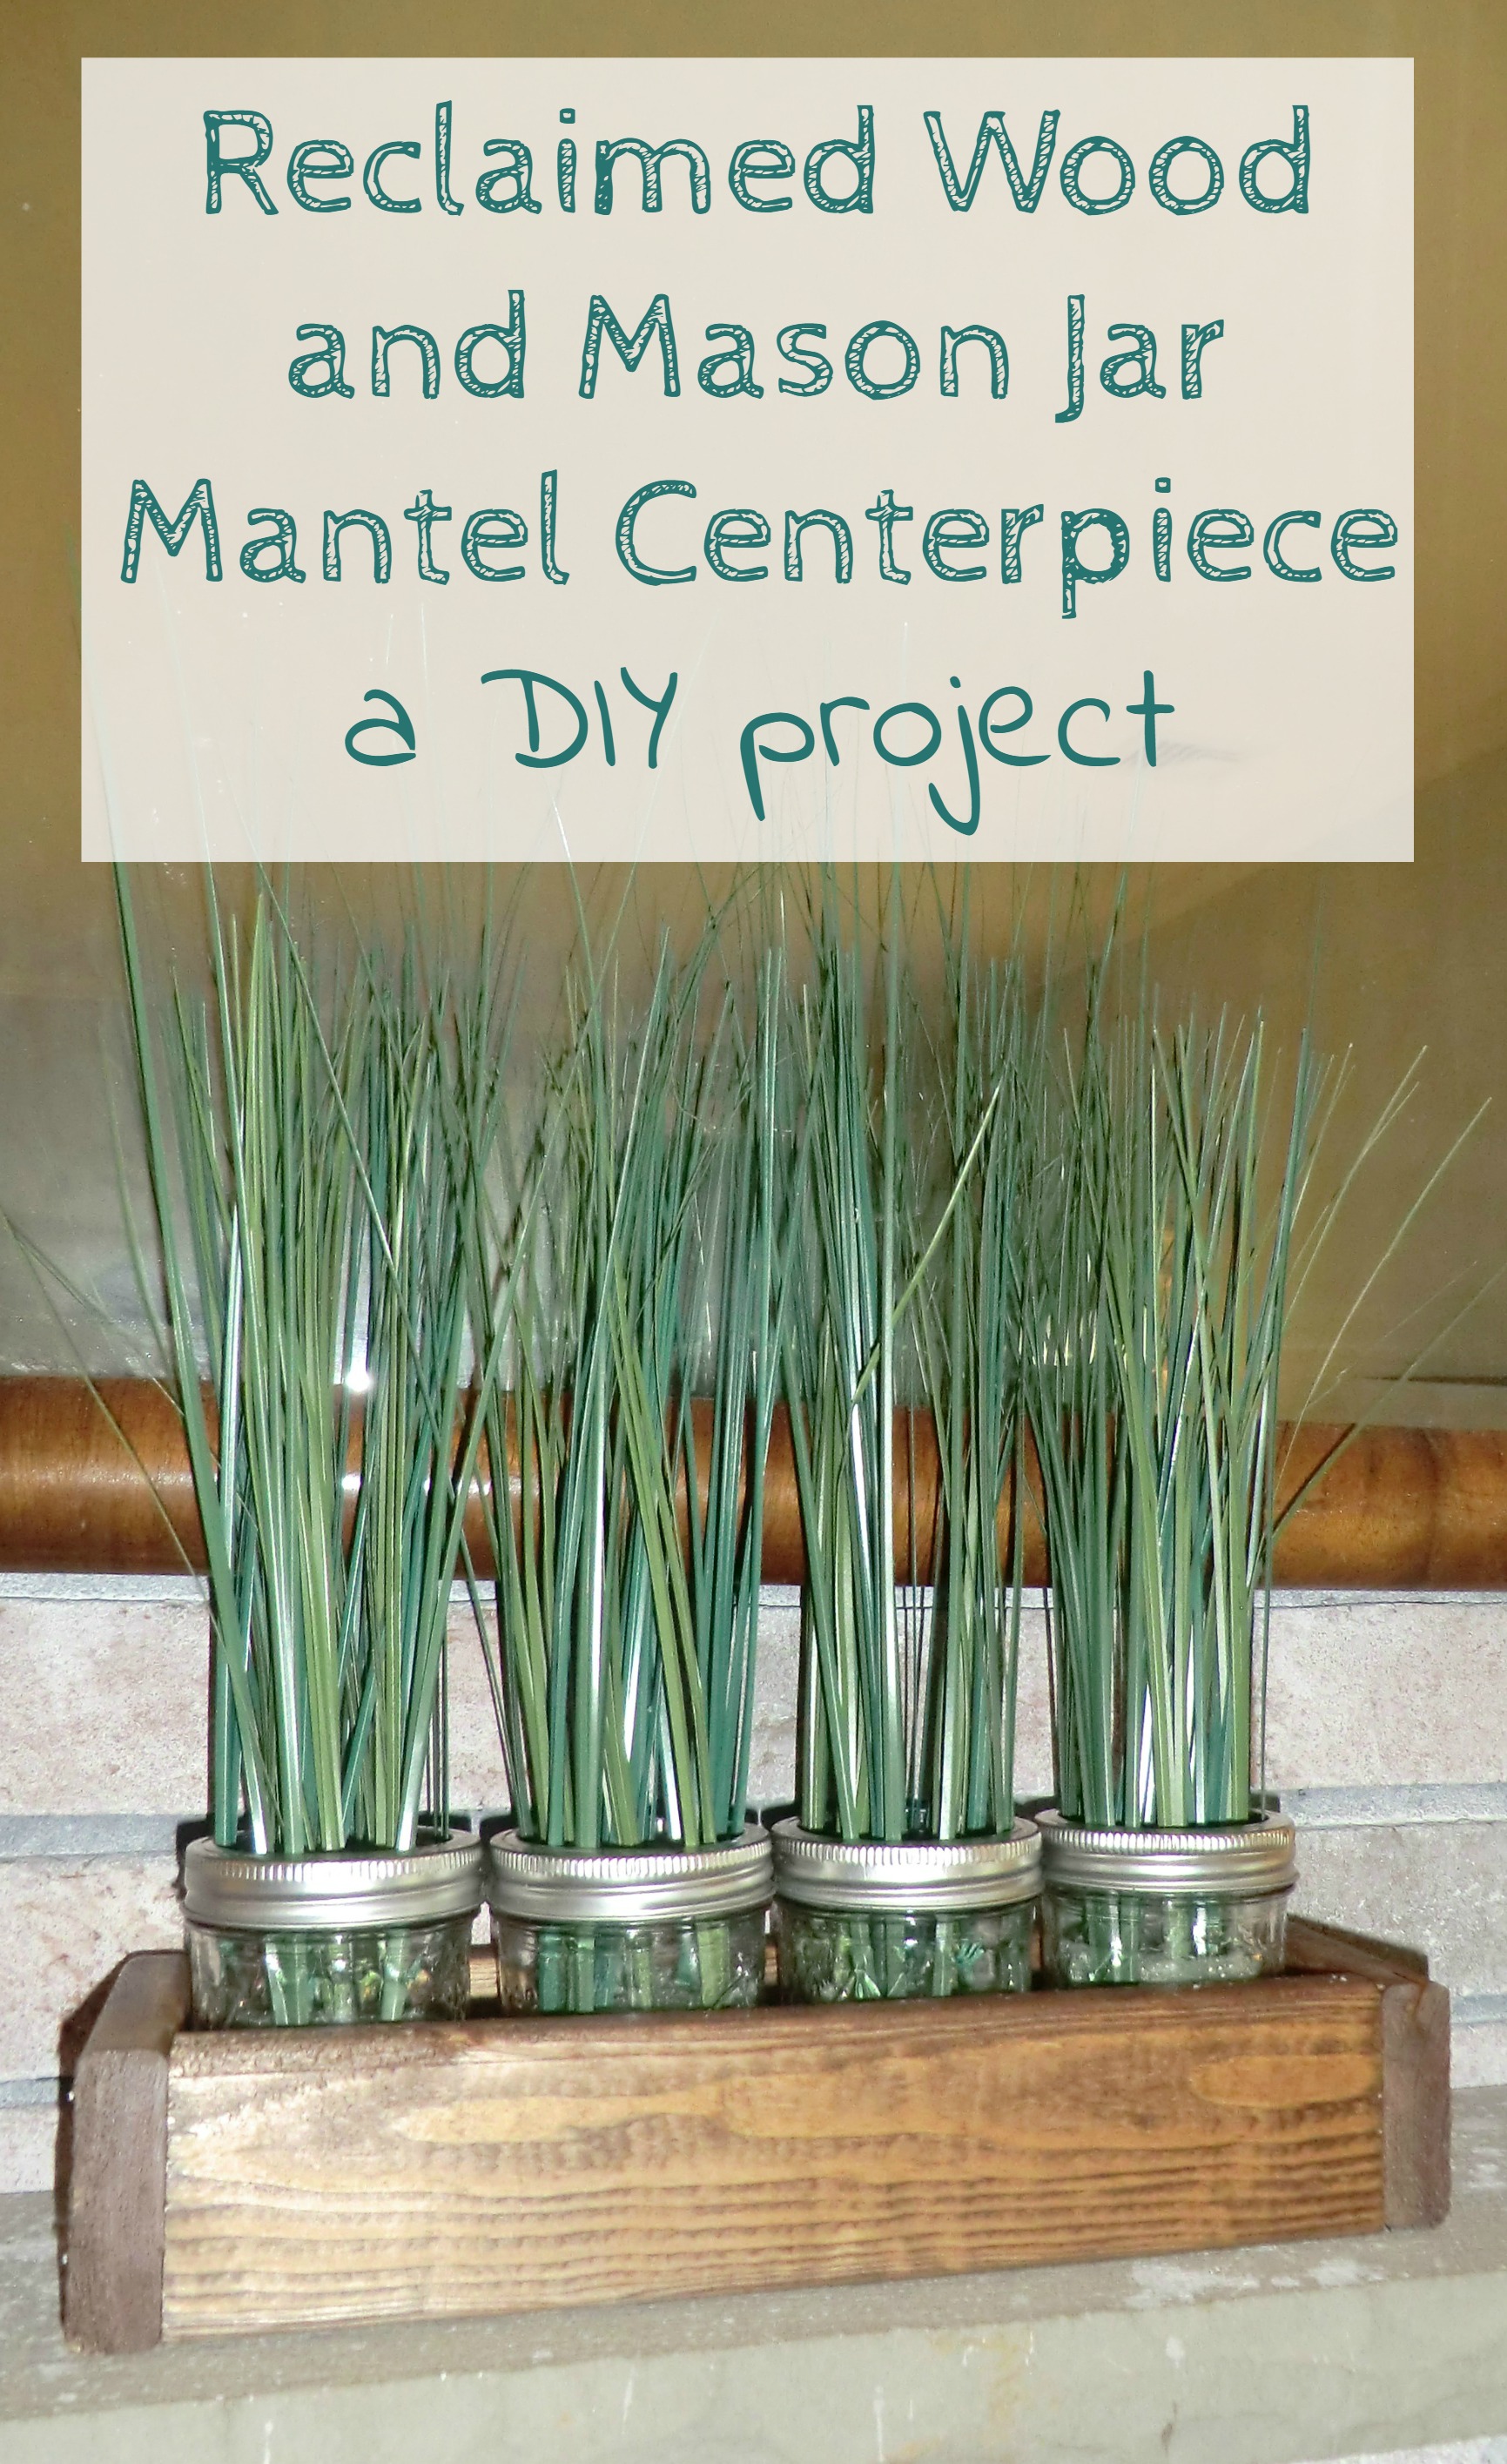
The fabric stash really needs to be cut into, but my mind has been going towards giving mantel a little more attention. With my barn wood stocking hanger tucked away until next Christmas, it’s been looking a little sad. I decided the first thing my mantel needed was some greenery.
This post may contain affiliate links. Which means, if you click the link and buy something, I may receive a percentage of sales at no additional cost to you. Thank you for supporting Domestic Deadline.
Materials
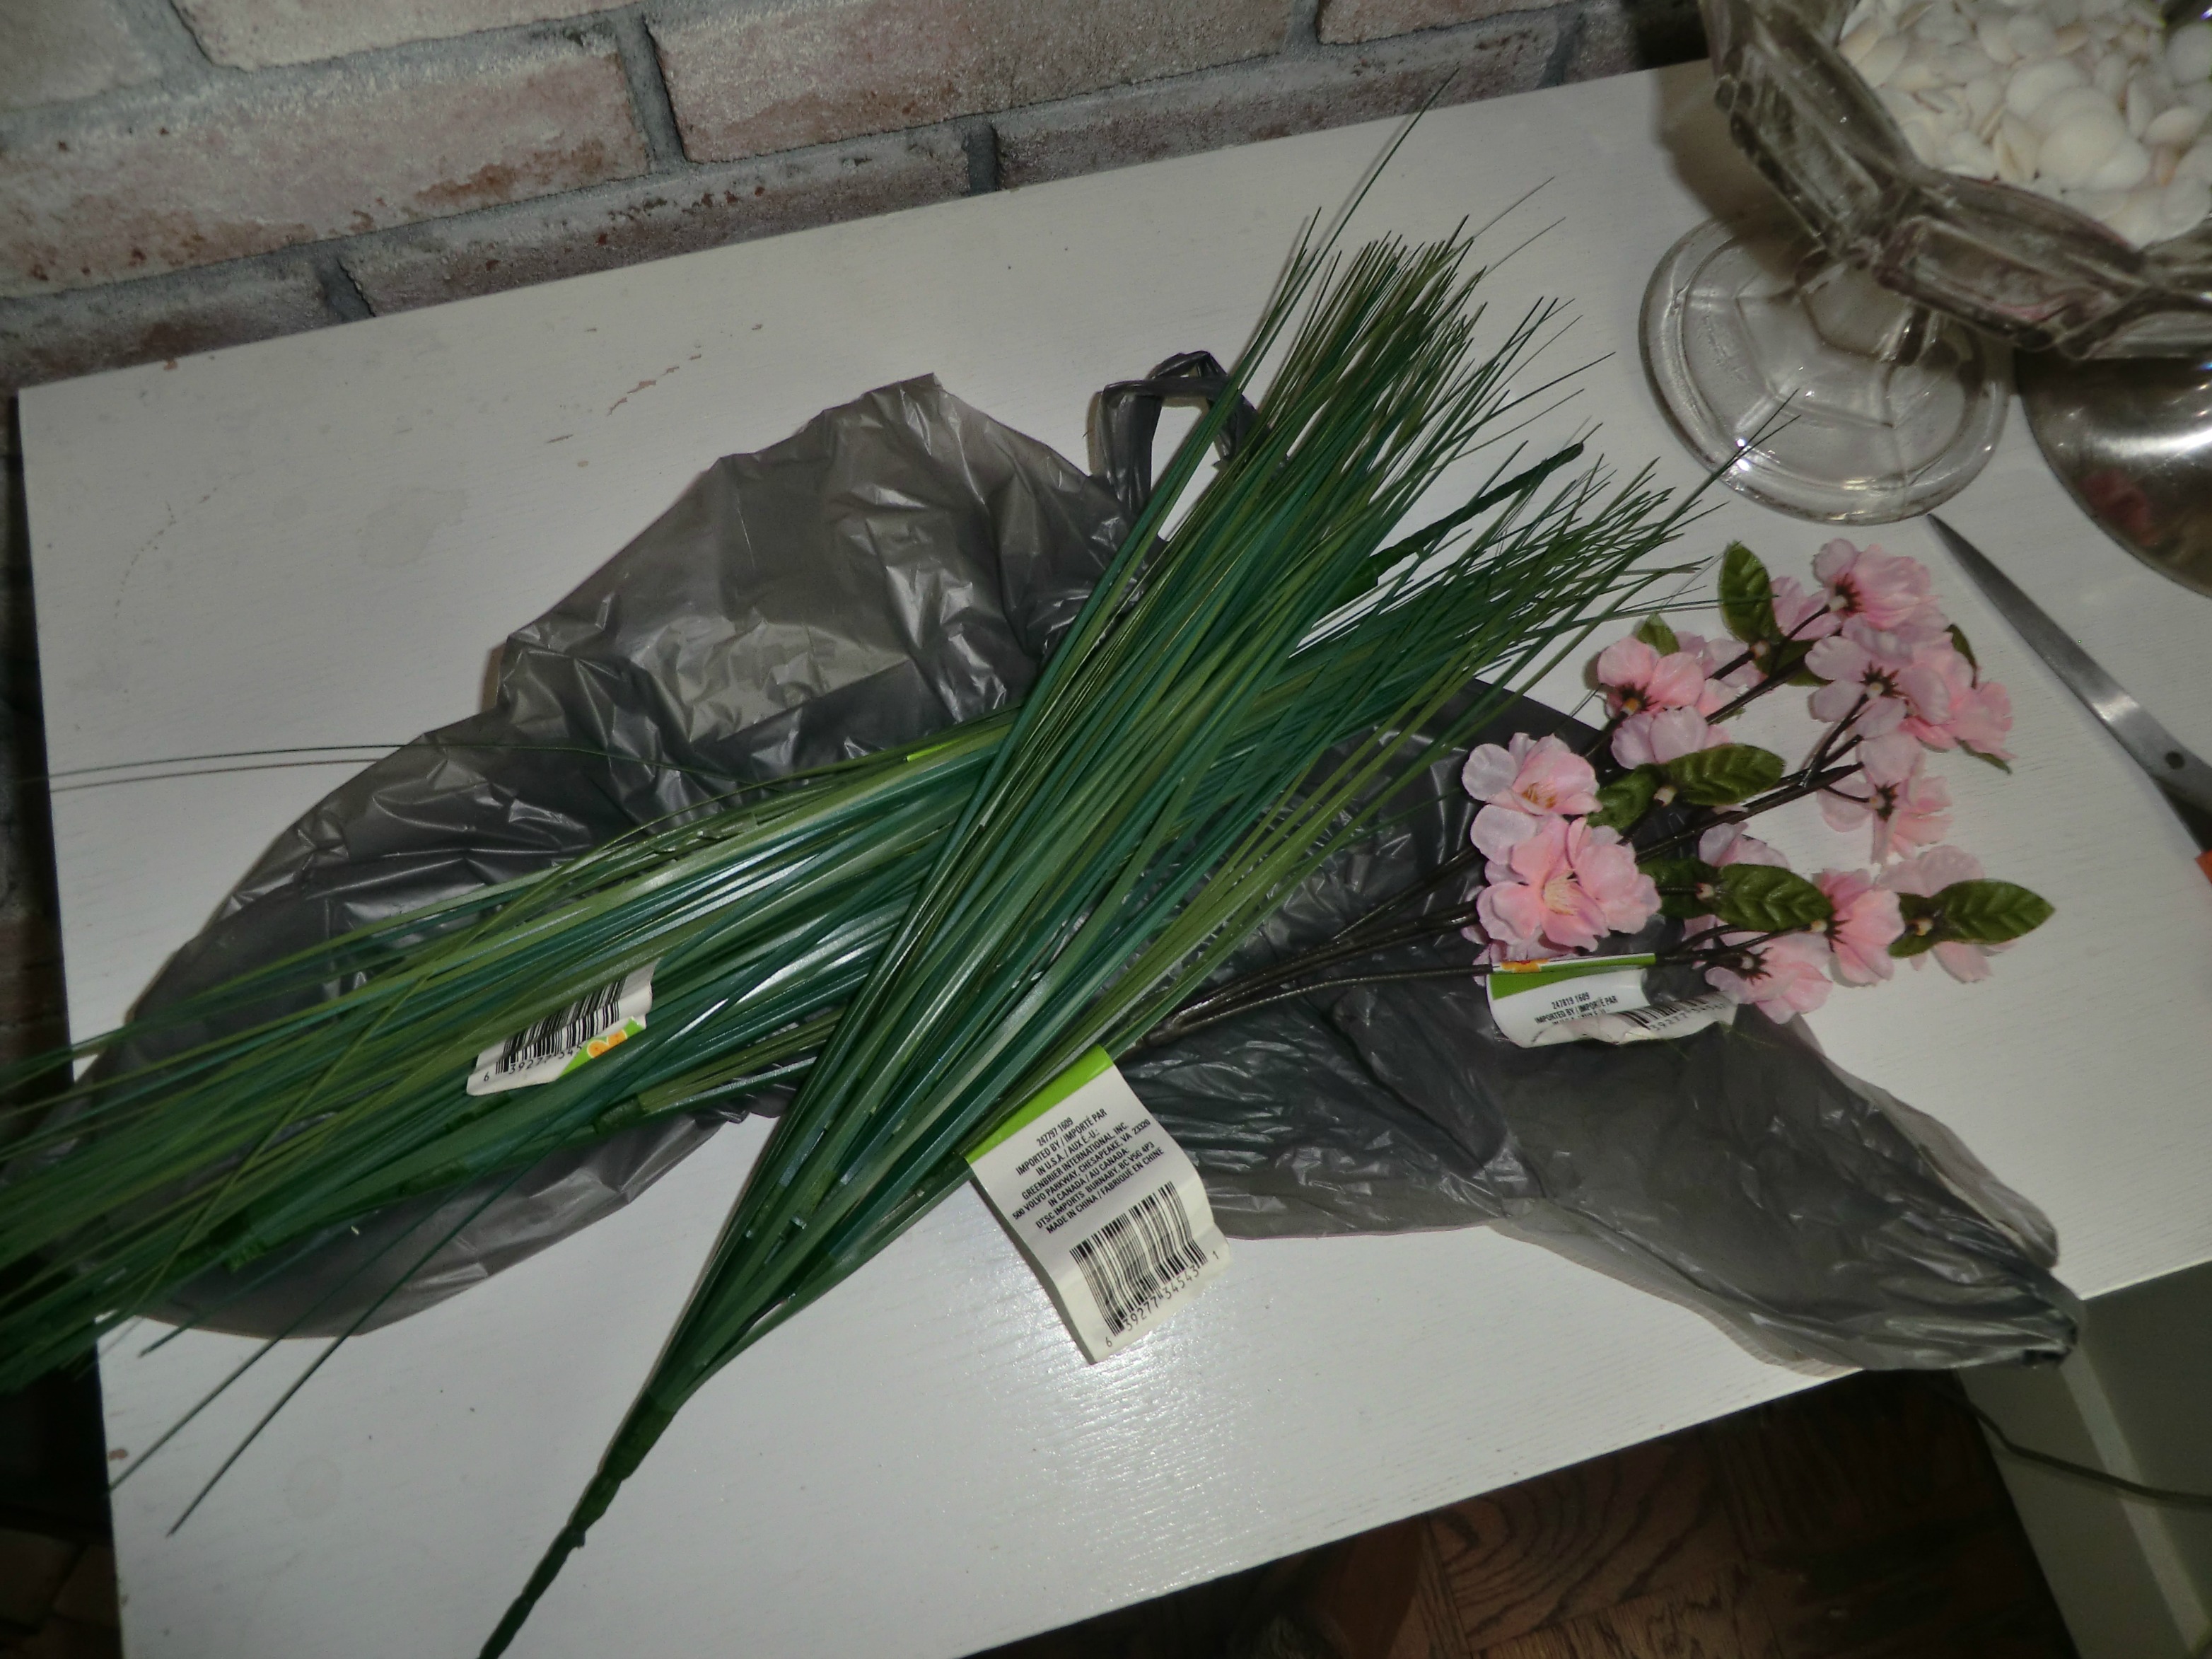
Not having a green thumb (unless I get paint on it!), I’m good with faux greenery. It’s quite possible there is some kind of silk flower in my treasures, but nothing easily found. I knew this would be where I spent a little money. Wanting to keep it cheap, I settled for 3 stalks of “onion grass” from the dollar store.
I can’t turn down a mason jar of any kind. While I have quite a few I use in my kitchen for canning or whatever I need them for, I also have a collection available for crafting. Seriously, every year at our church yard sale, they put all the various mason jars in a box for me. Not knowing where they came from and then gathering dust in my basement, these become my crafty jars.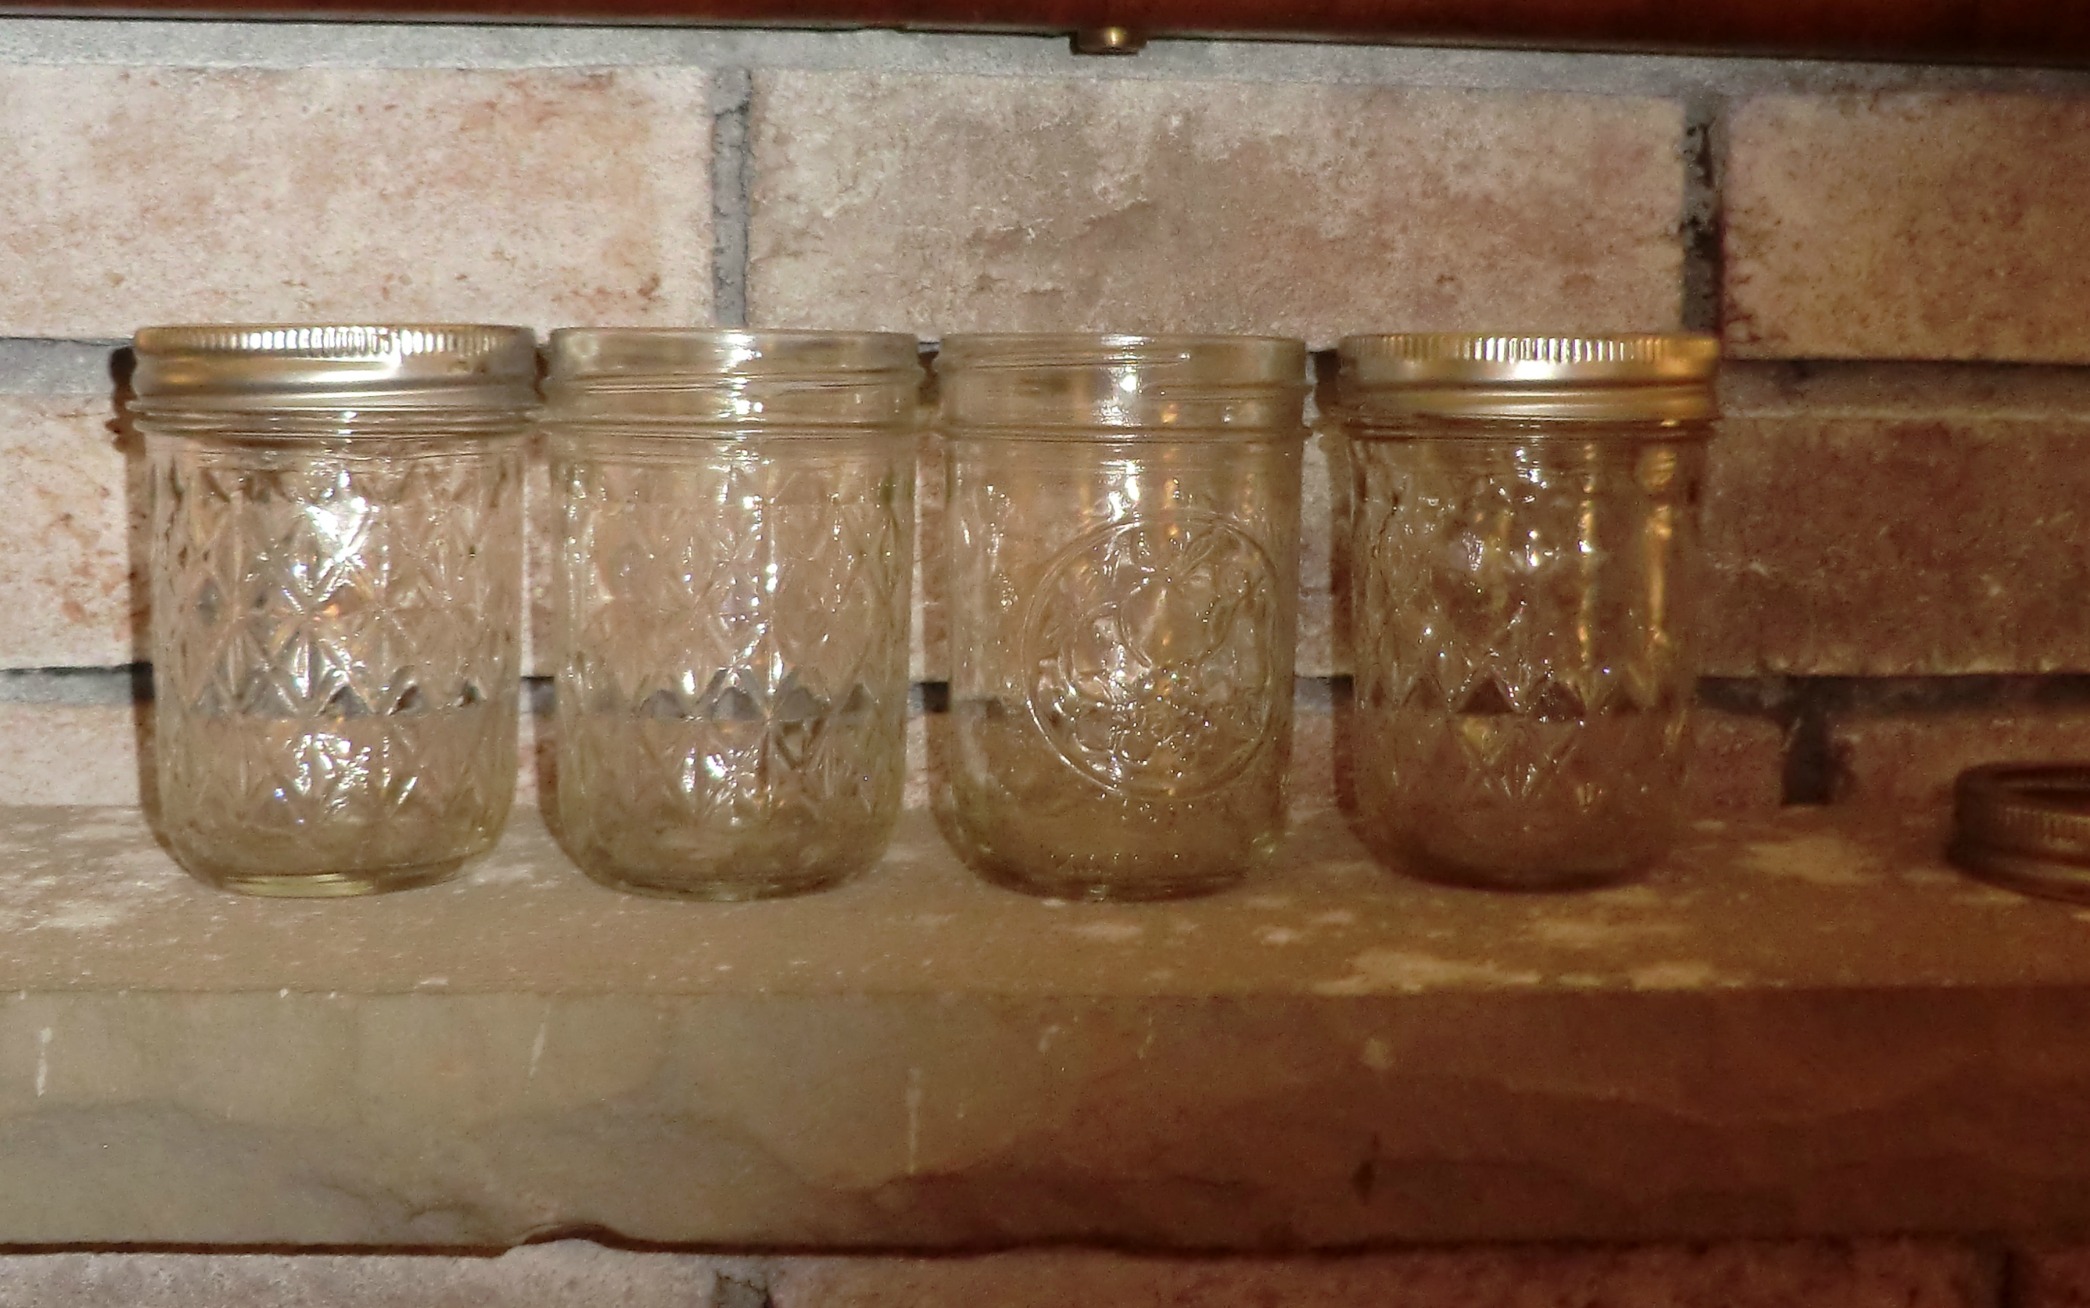
Pallet wood is usually easily found at my house. IronFish would prefer to burn it in the fireplace, but I have made quite a few things out of it. I usually keep 1×2.5″ pallet or crate pieces. These come from work, so the supply is always there.
Other Tools and Supplies:
- floral foam
- nail gun with nails or finishing nails and hammer
- stain
- foam brush
- Saw
Let’s Get Started
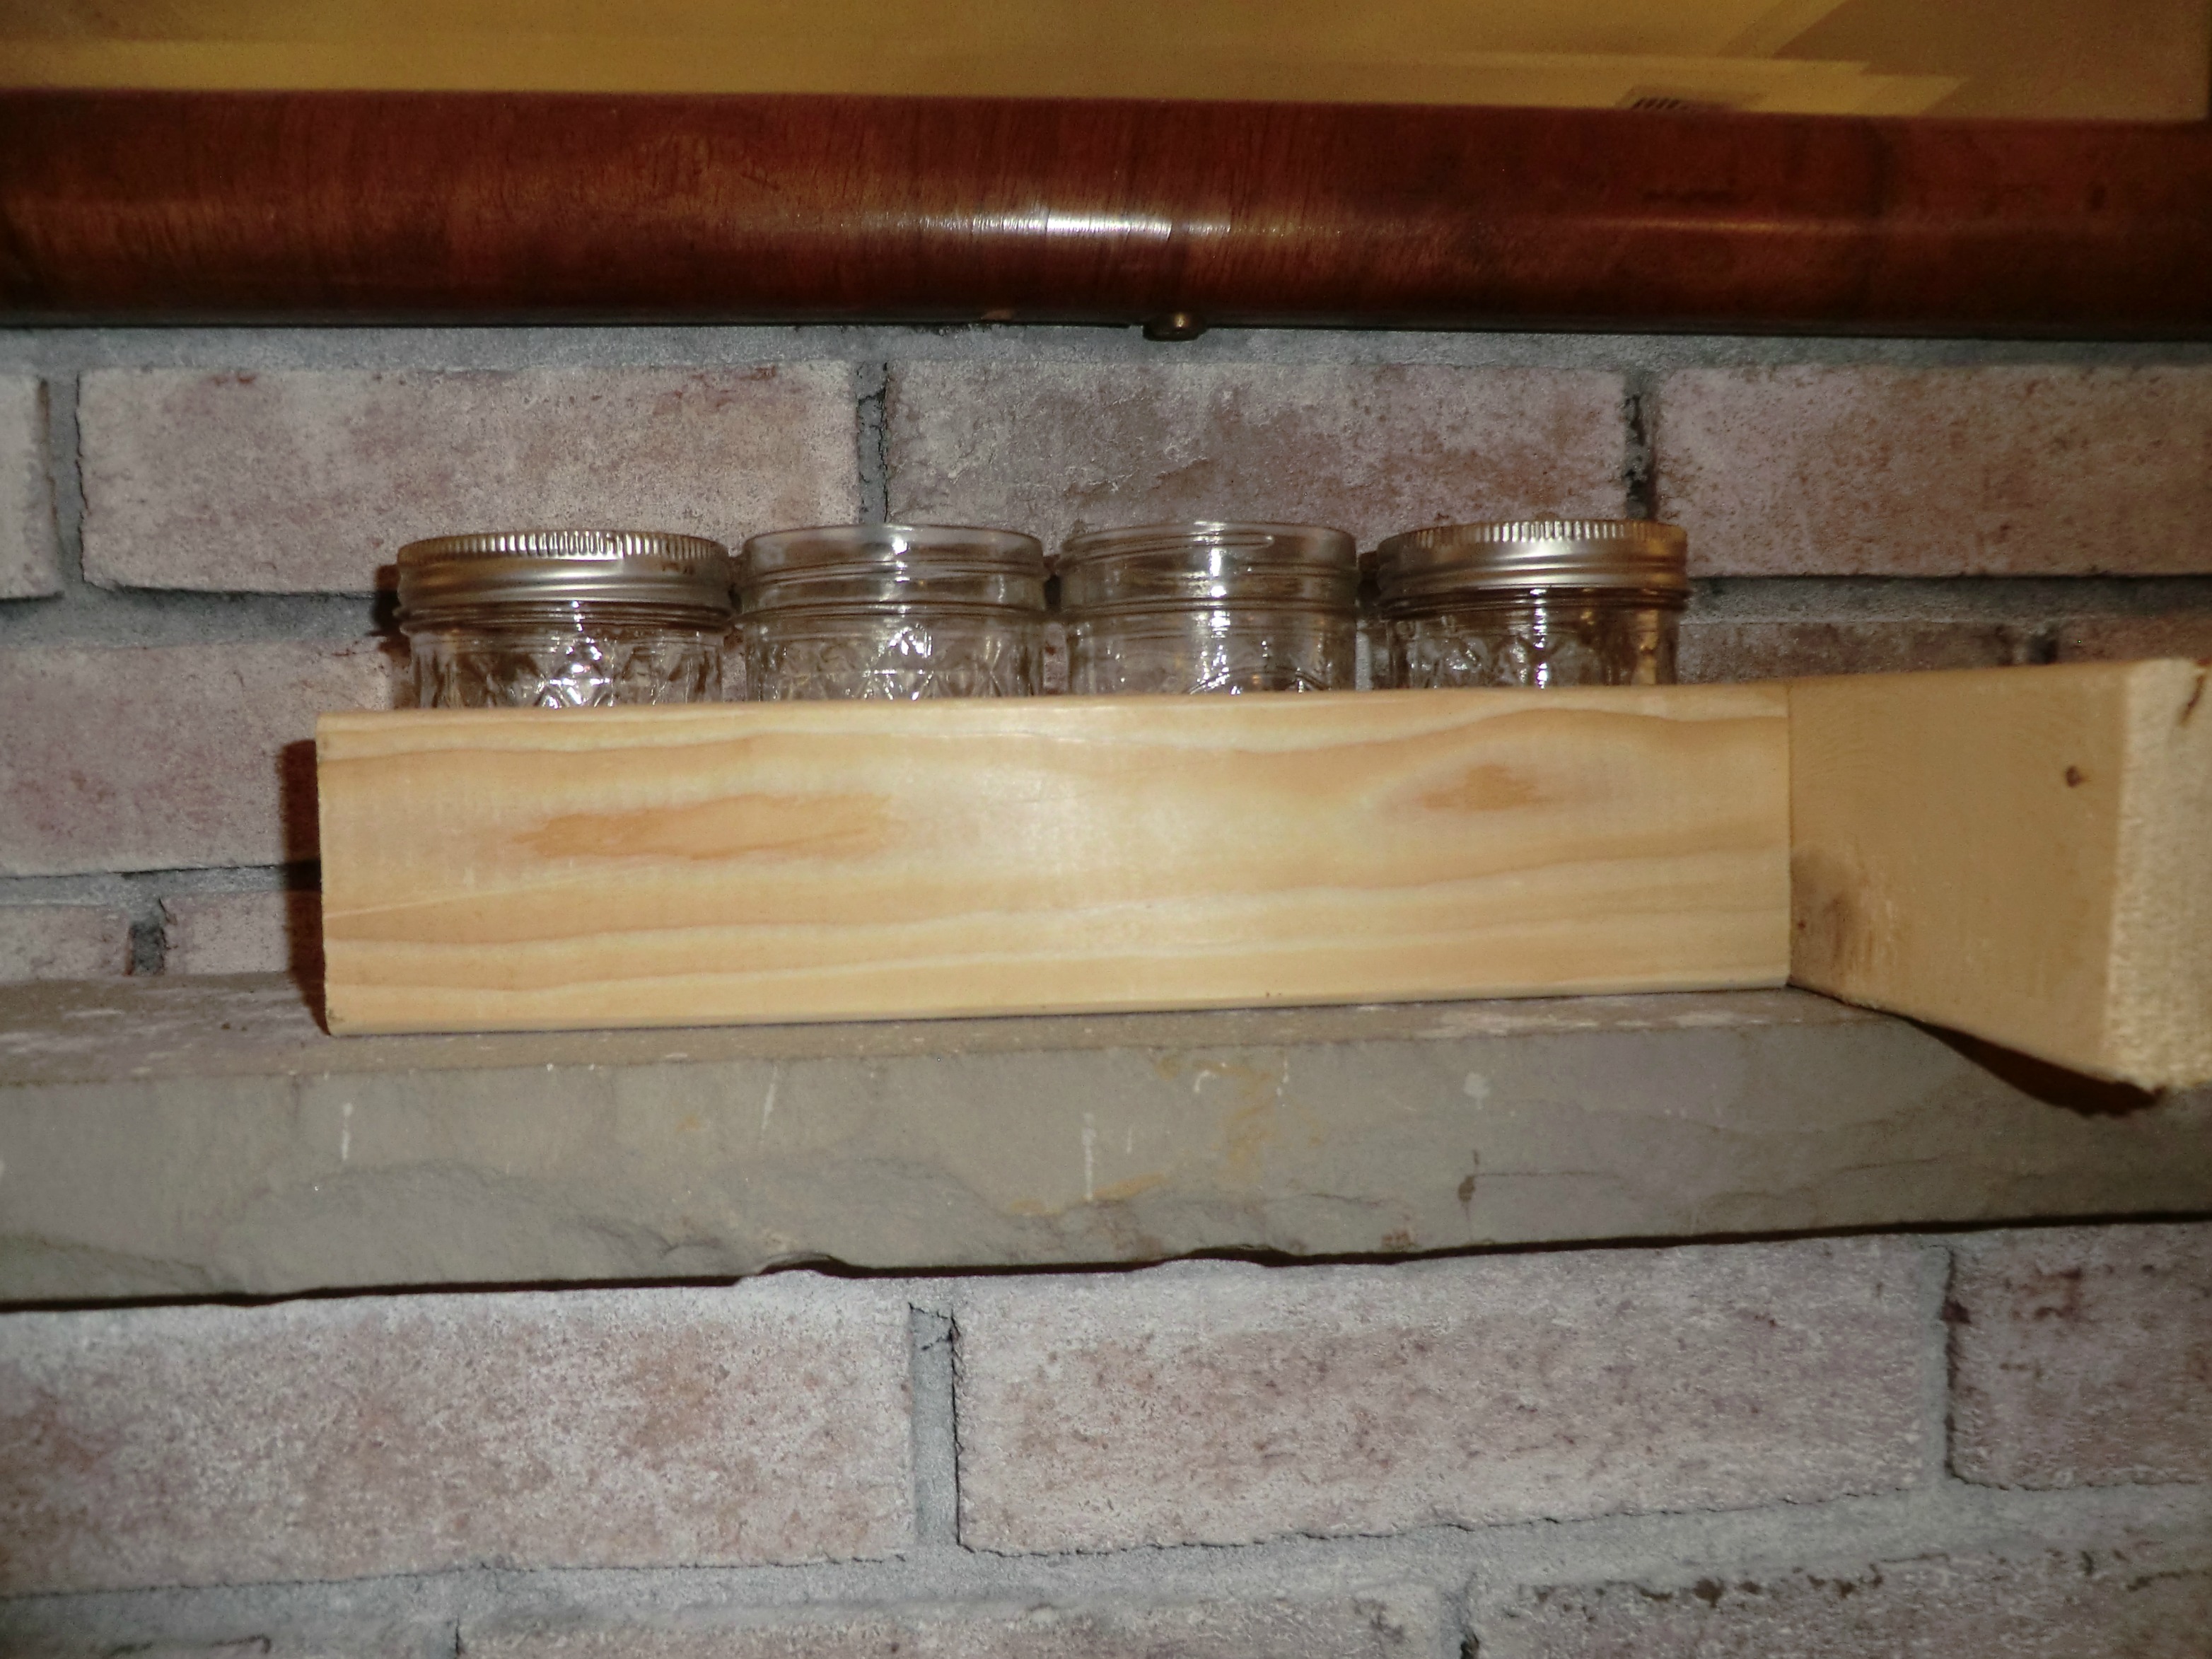
Determine the length the wood needs to be. This is really technical…. ready for it?
Yep, I just held the wood around my jars, marked where I wanted it cut. That’s it
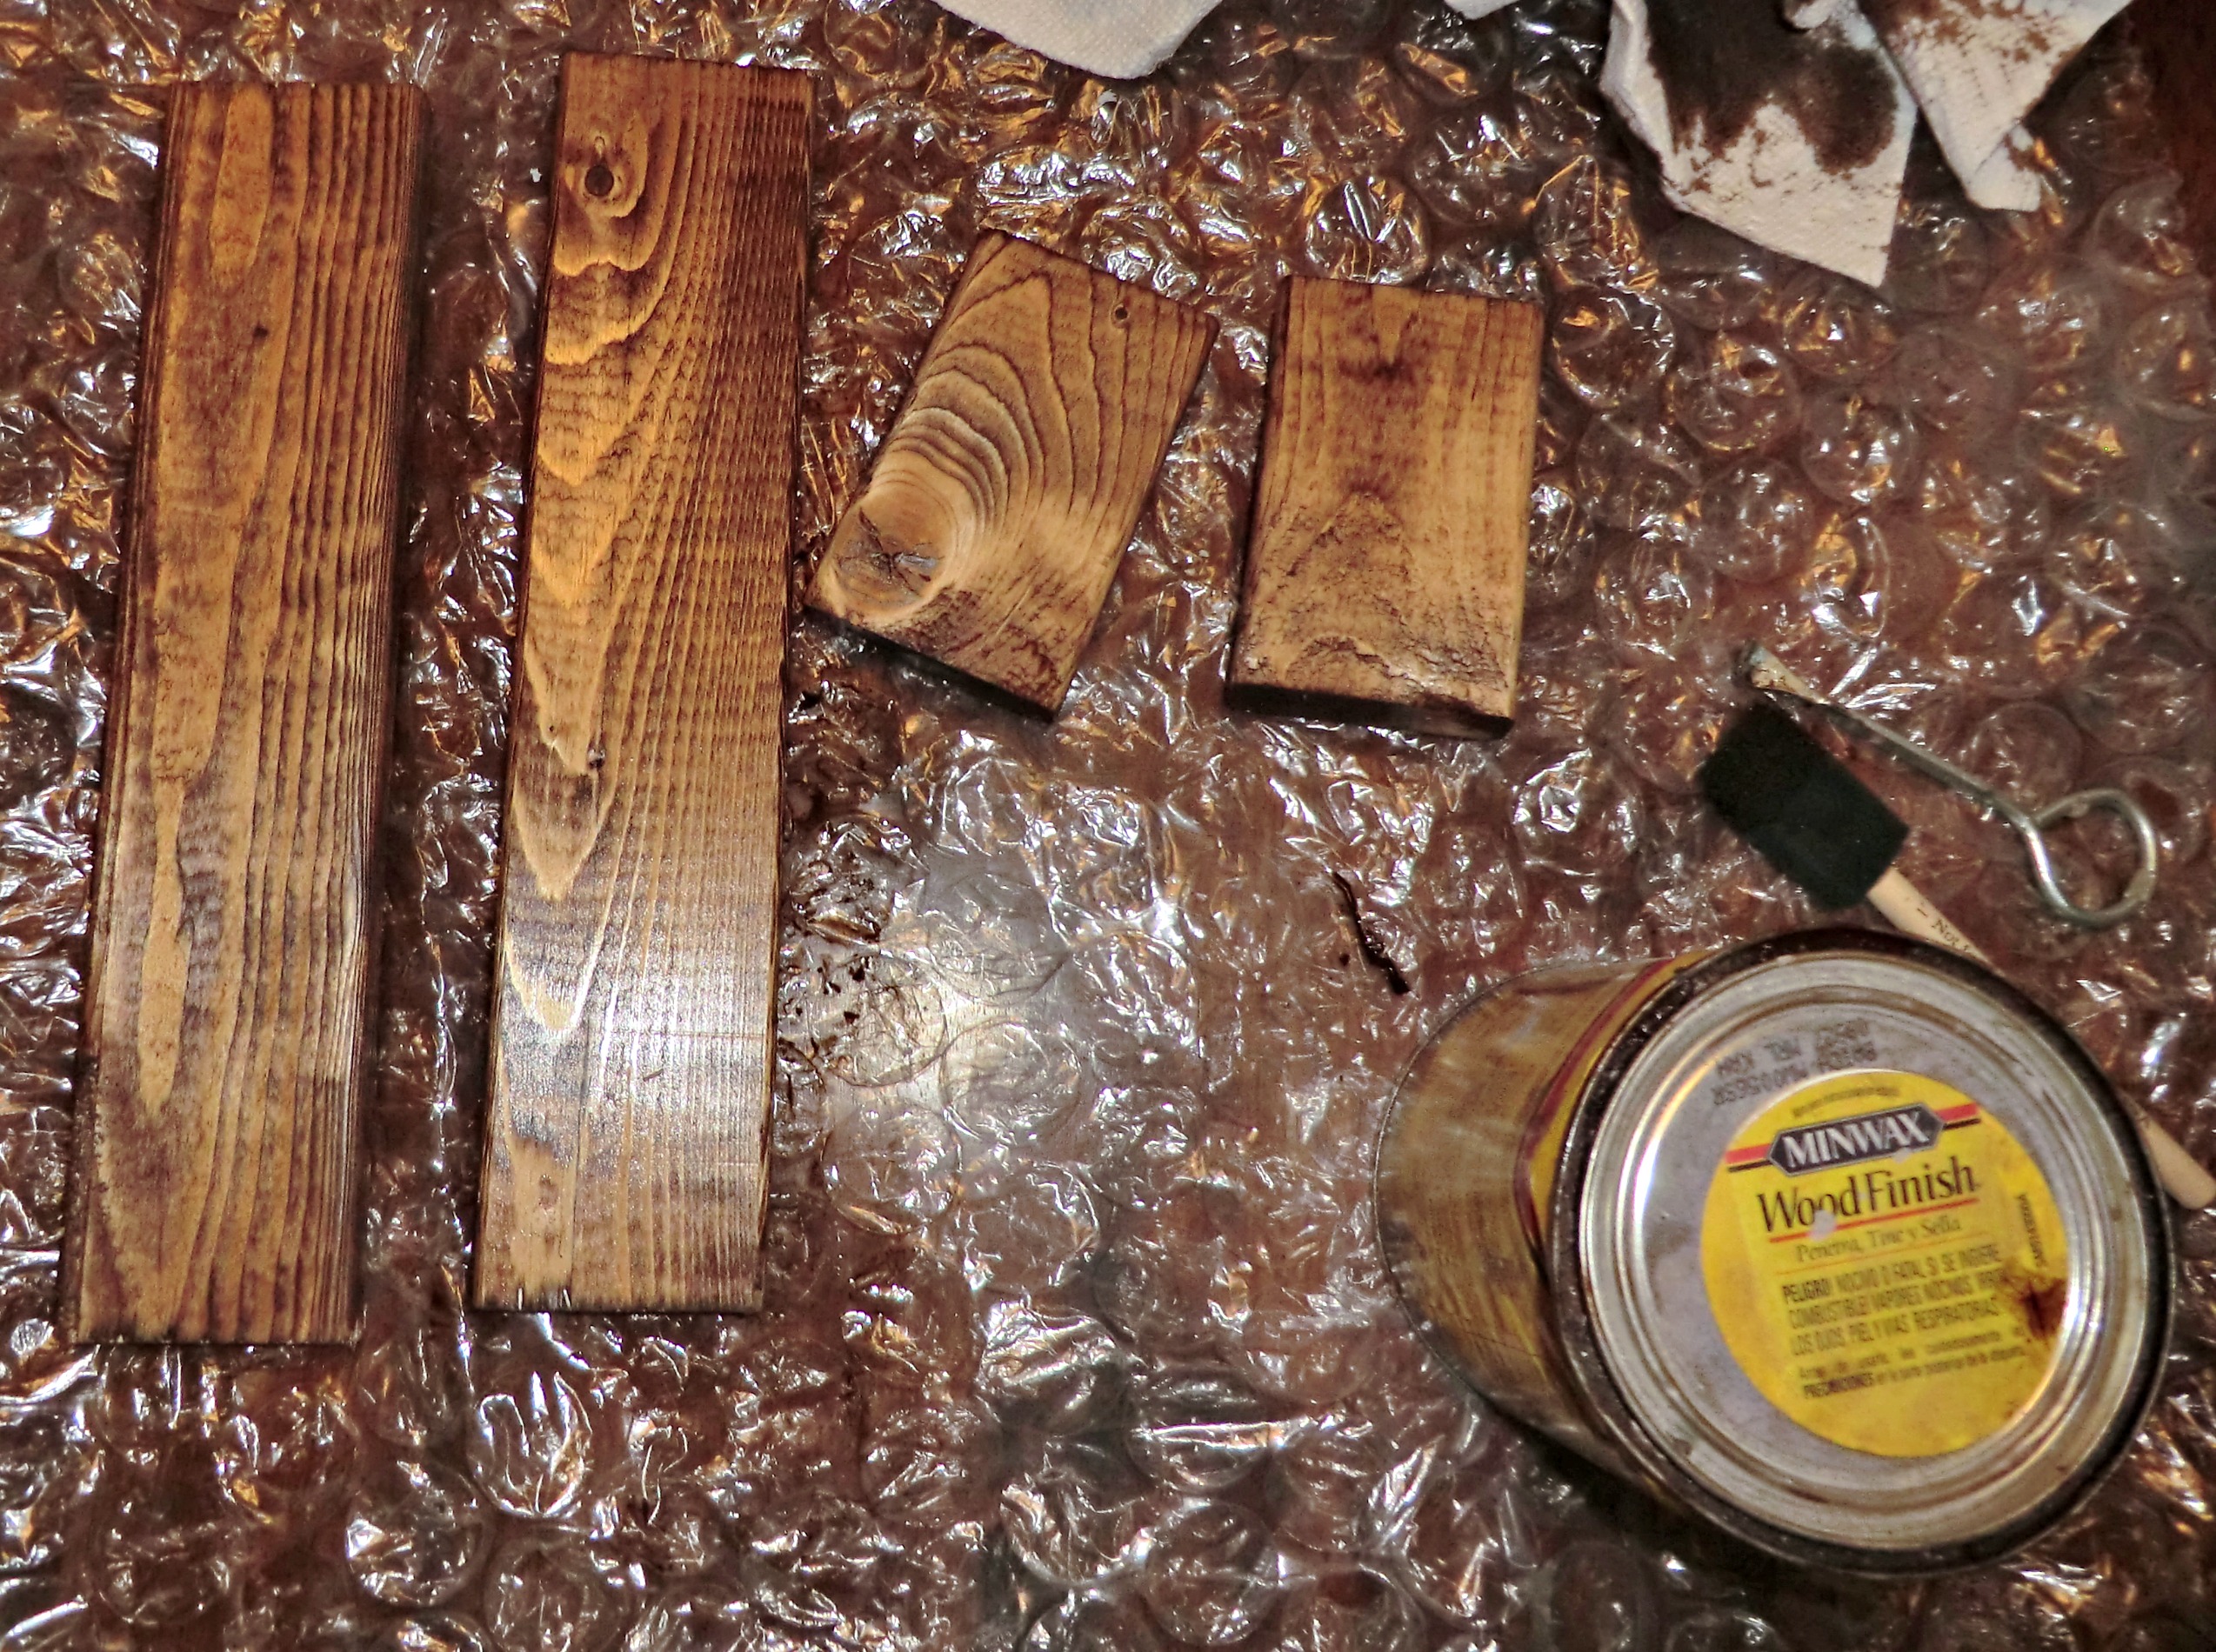
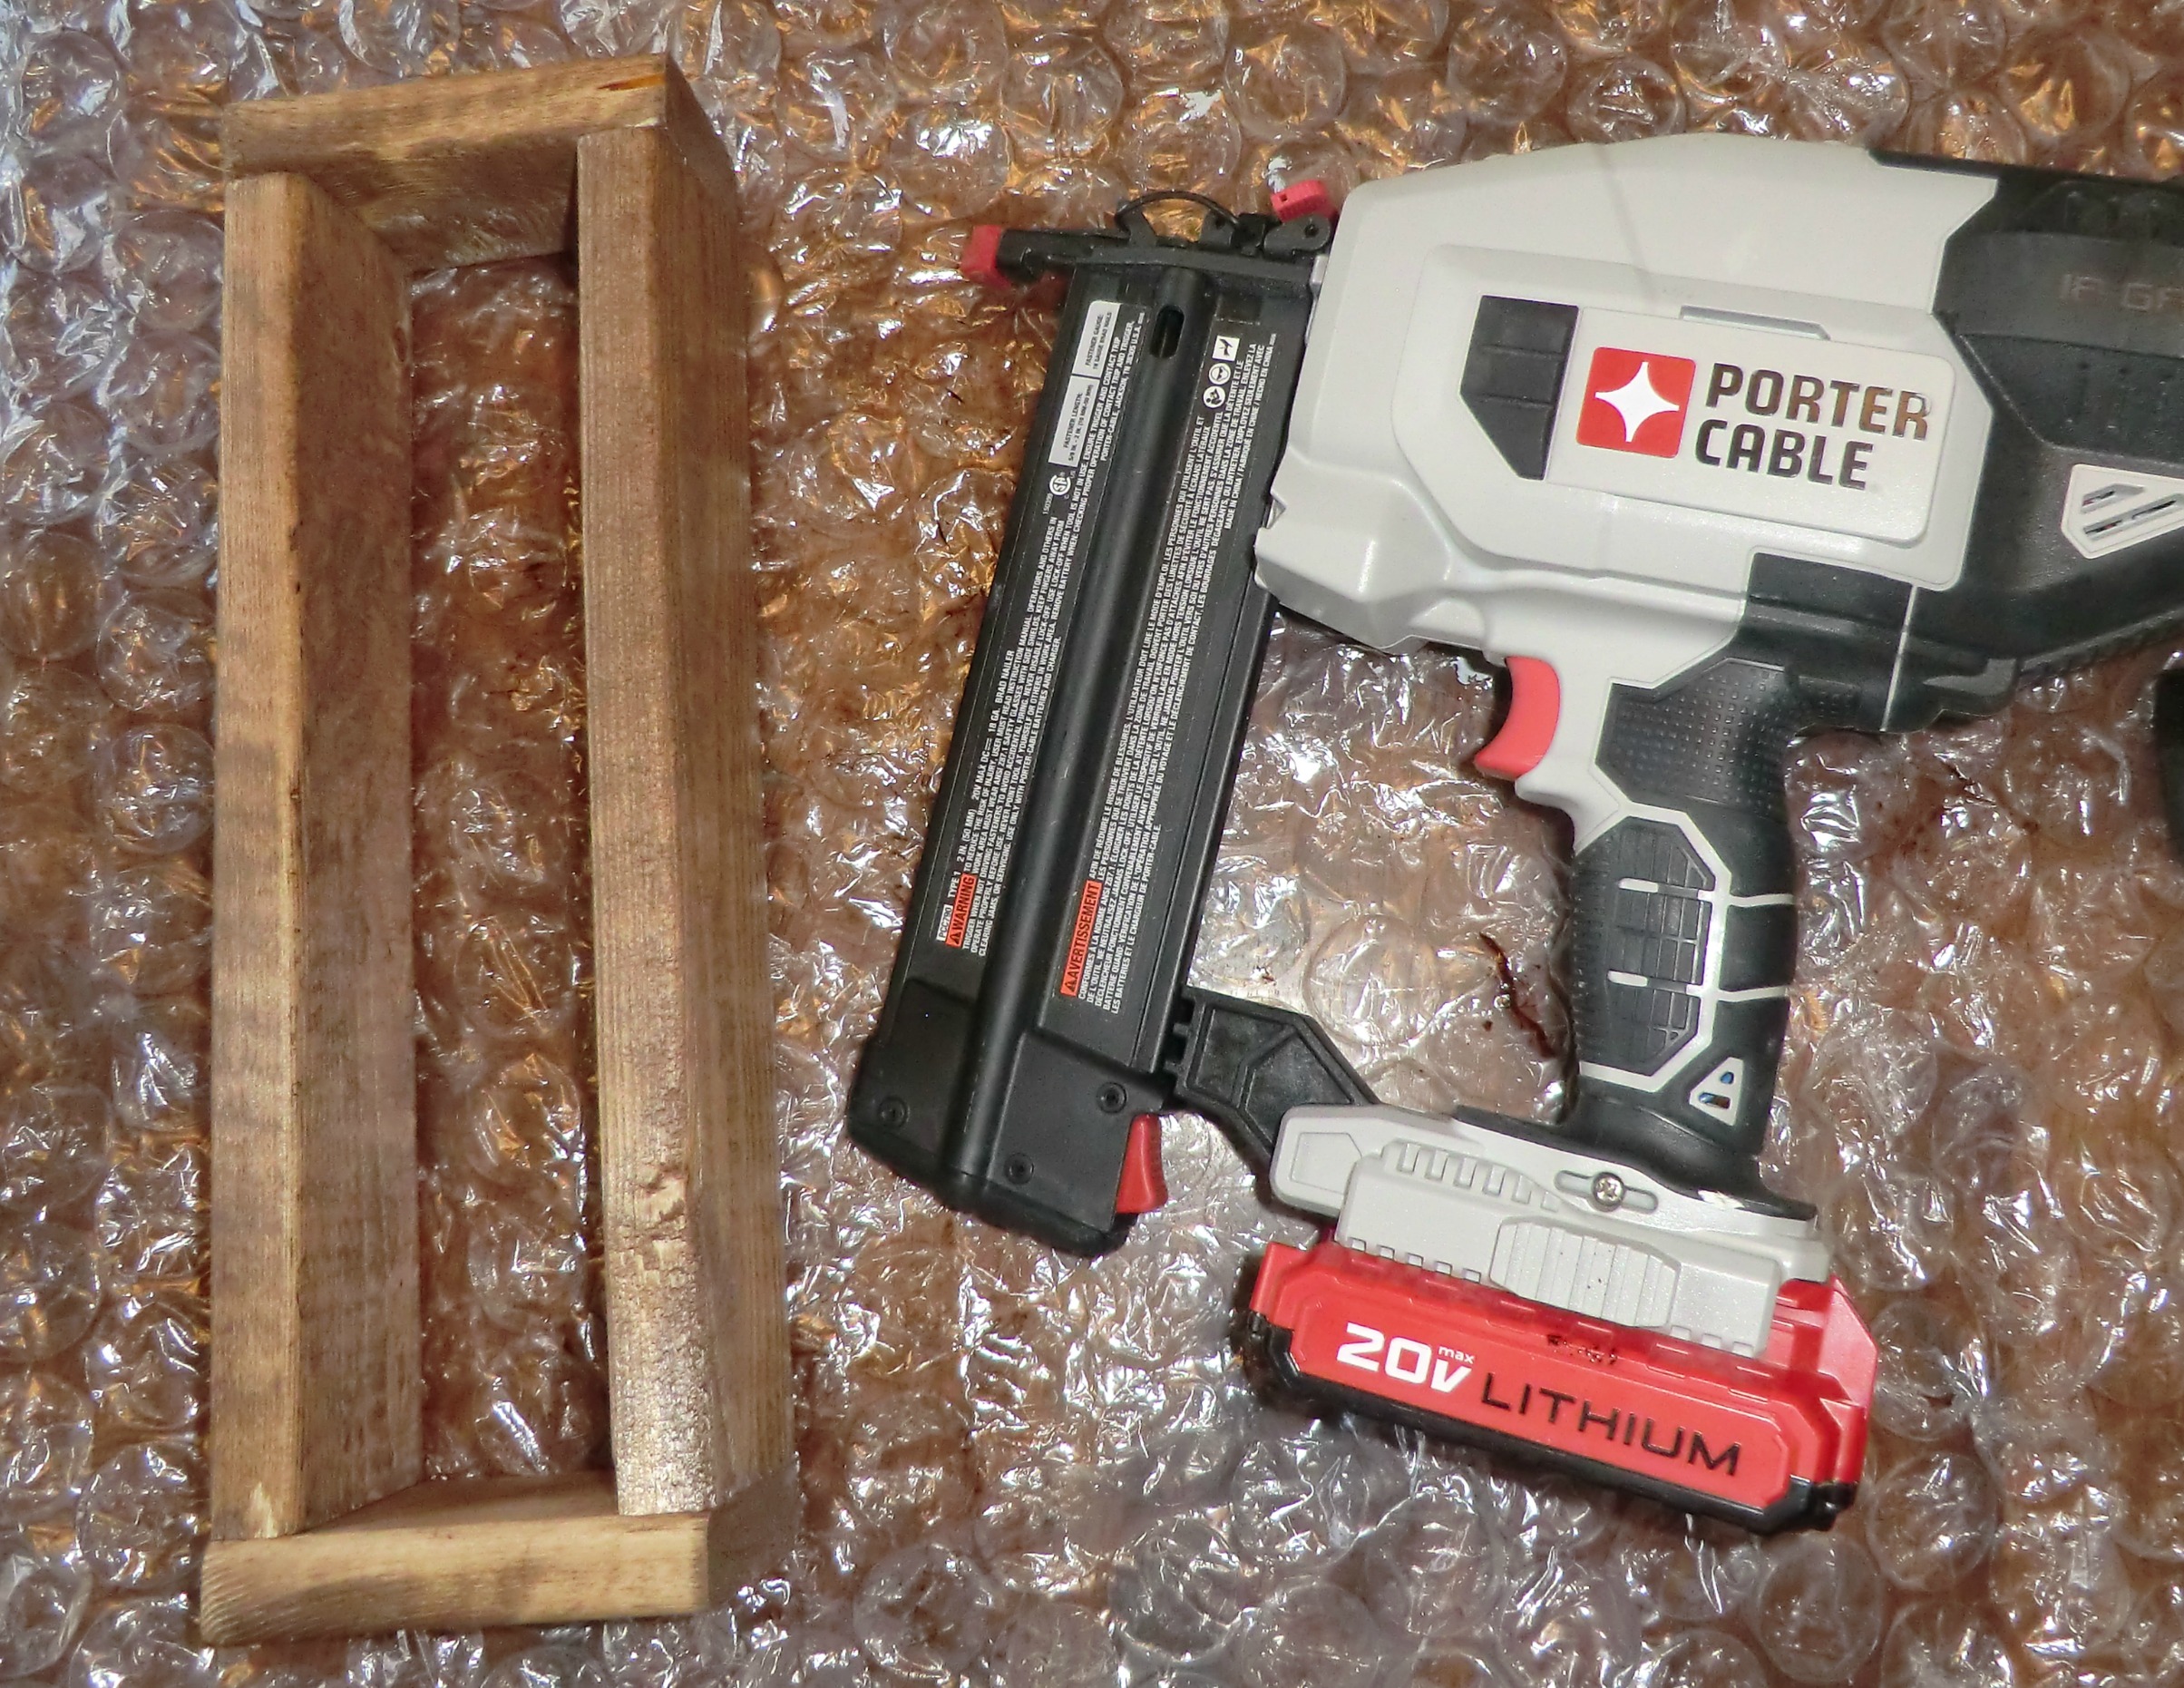
Once the wood is cut, give it a quick coat of stain. Don’t mind my bubble wrap table cloth. It was in the recycling bin. My table needed some protection because it was too cold to stain outside. I used a foam brush to apply a coat of special walnut stain and then wiped away the excess with a paper towel.
Assemble
Once the wood is dry, it’s time to nail the box together. I’m loving this nail gun, it’s not as powerful as my pneumatic one, but the battery makes it so convenient! Great for a quick project or anything that needs 18 gauge finishing nails. A few nails in each side should do it. Finishing nails and a hammer would work as well.
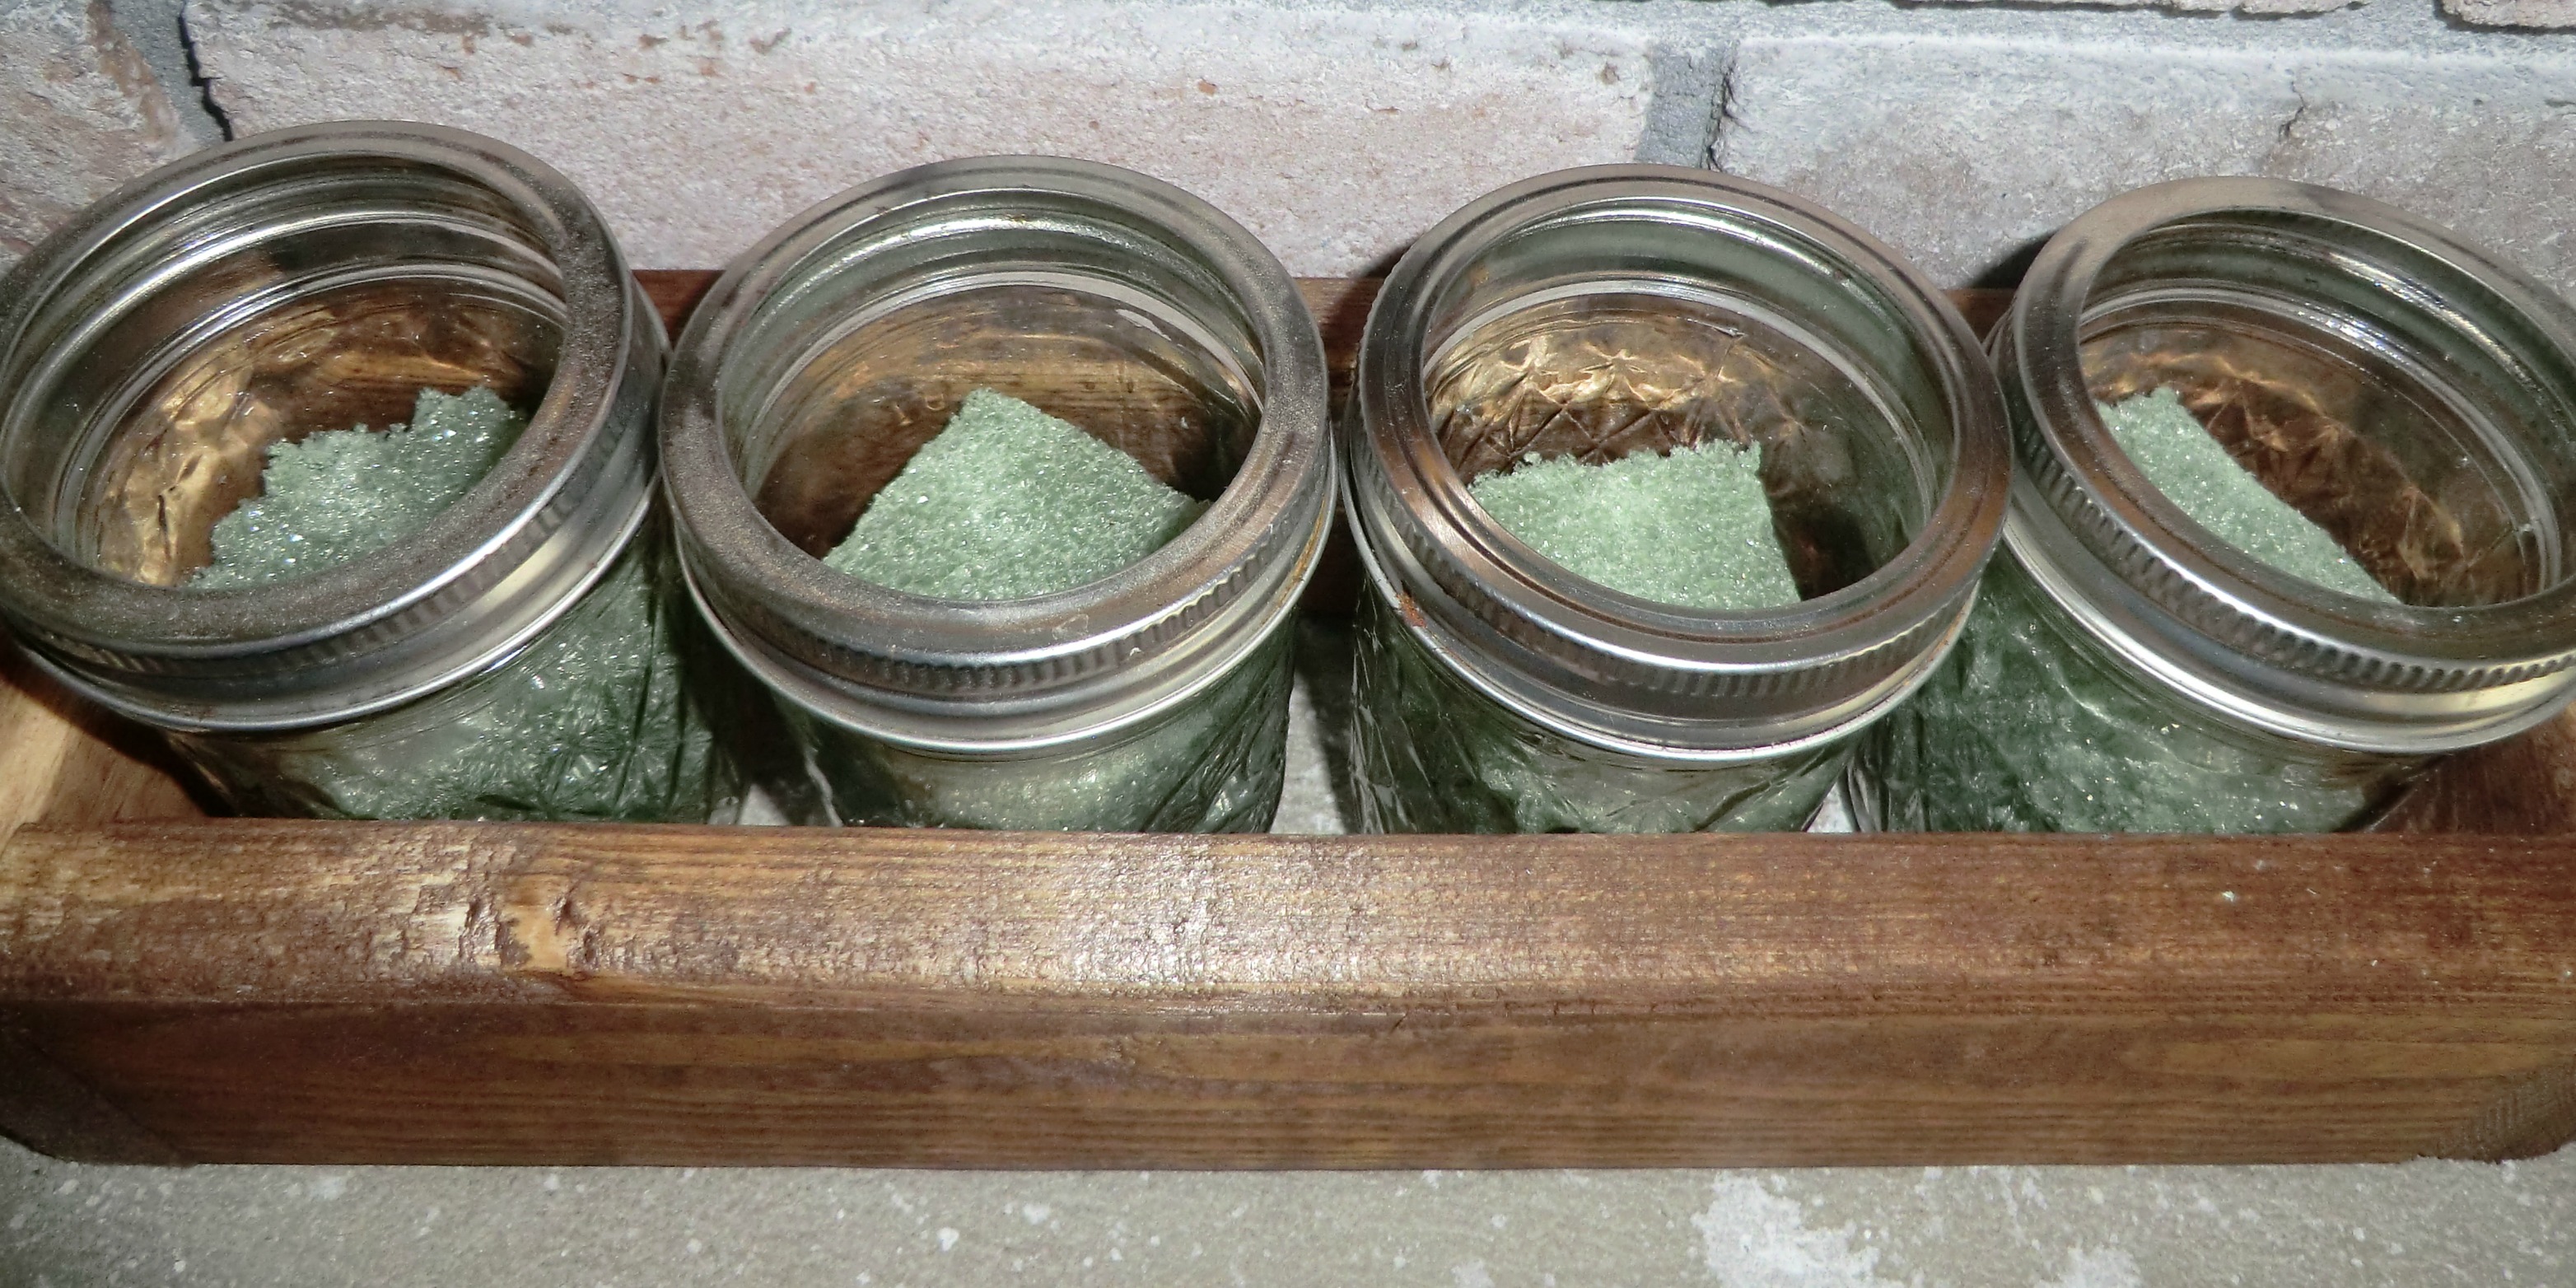
Place the jars into the box.
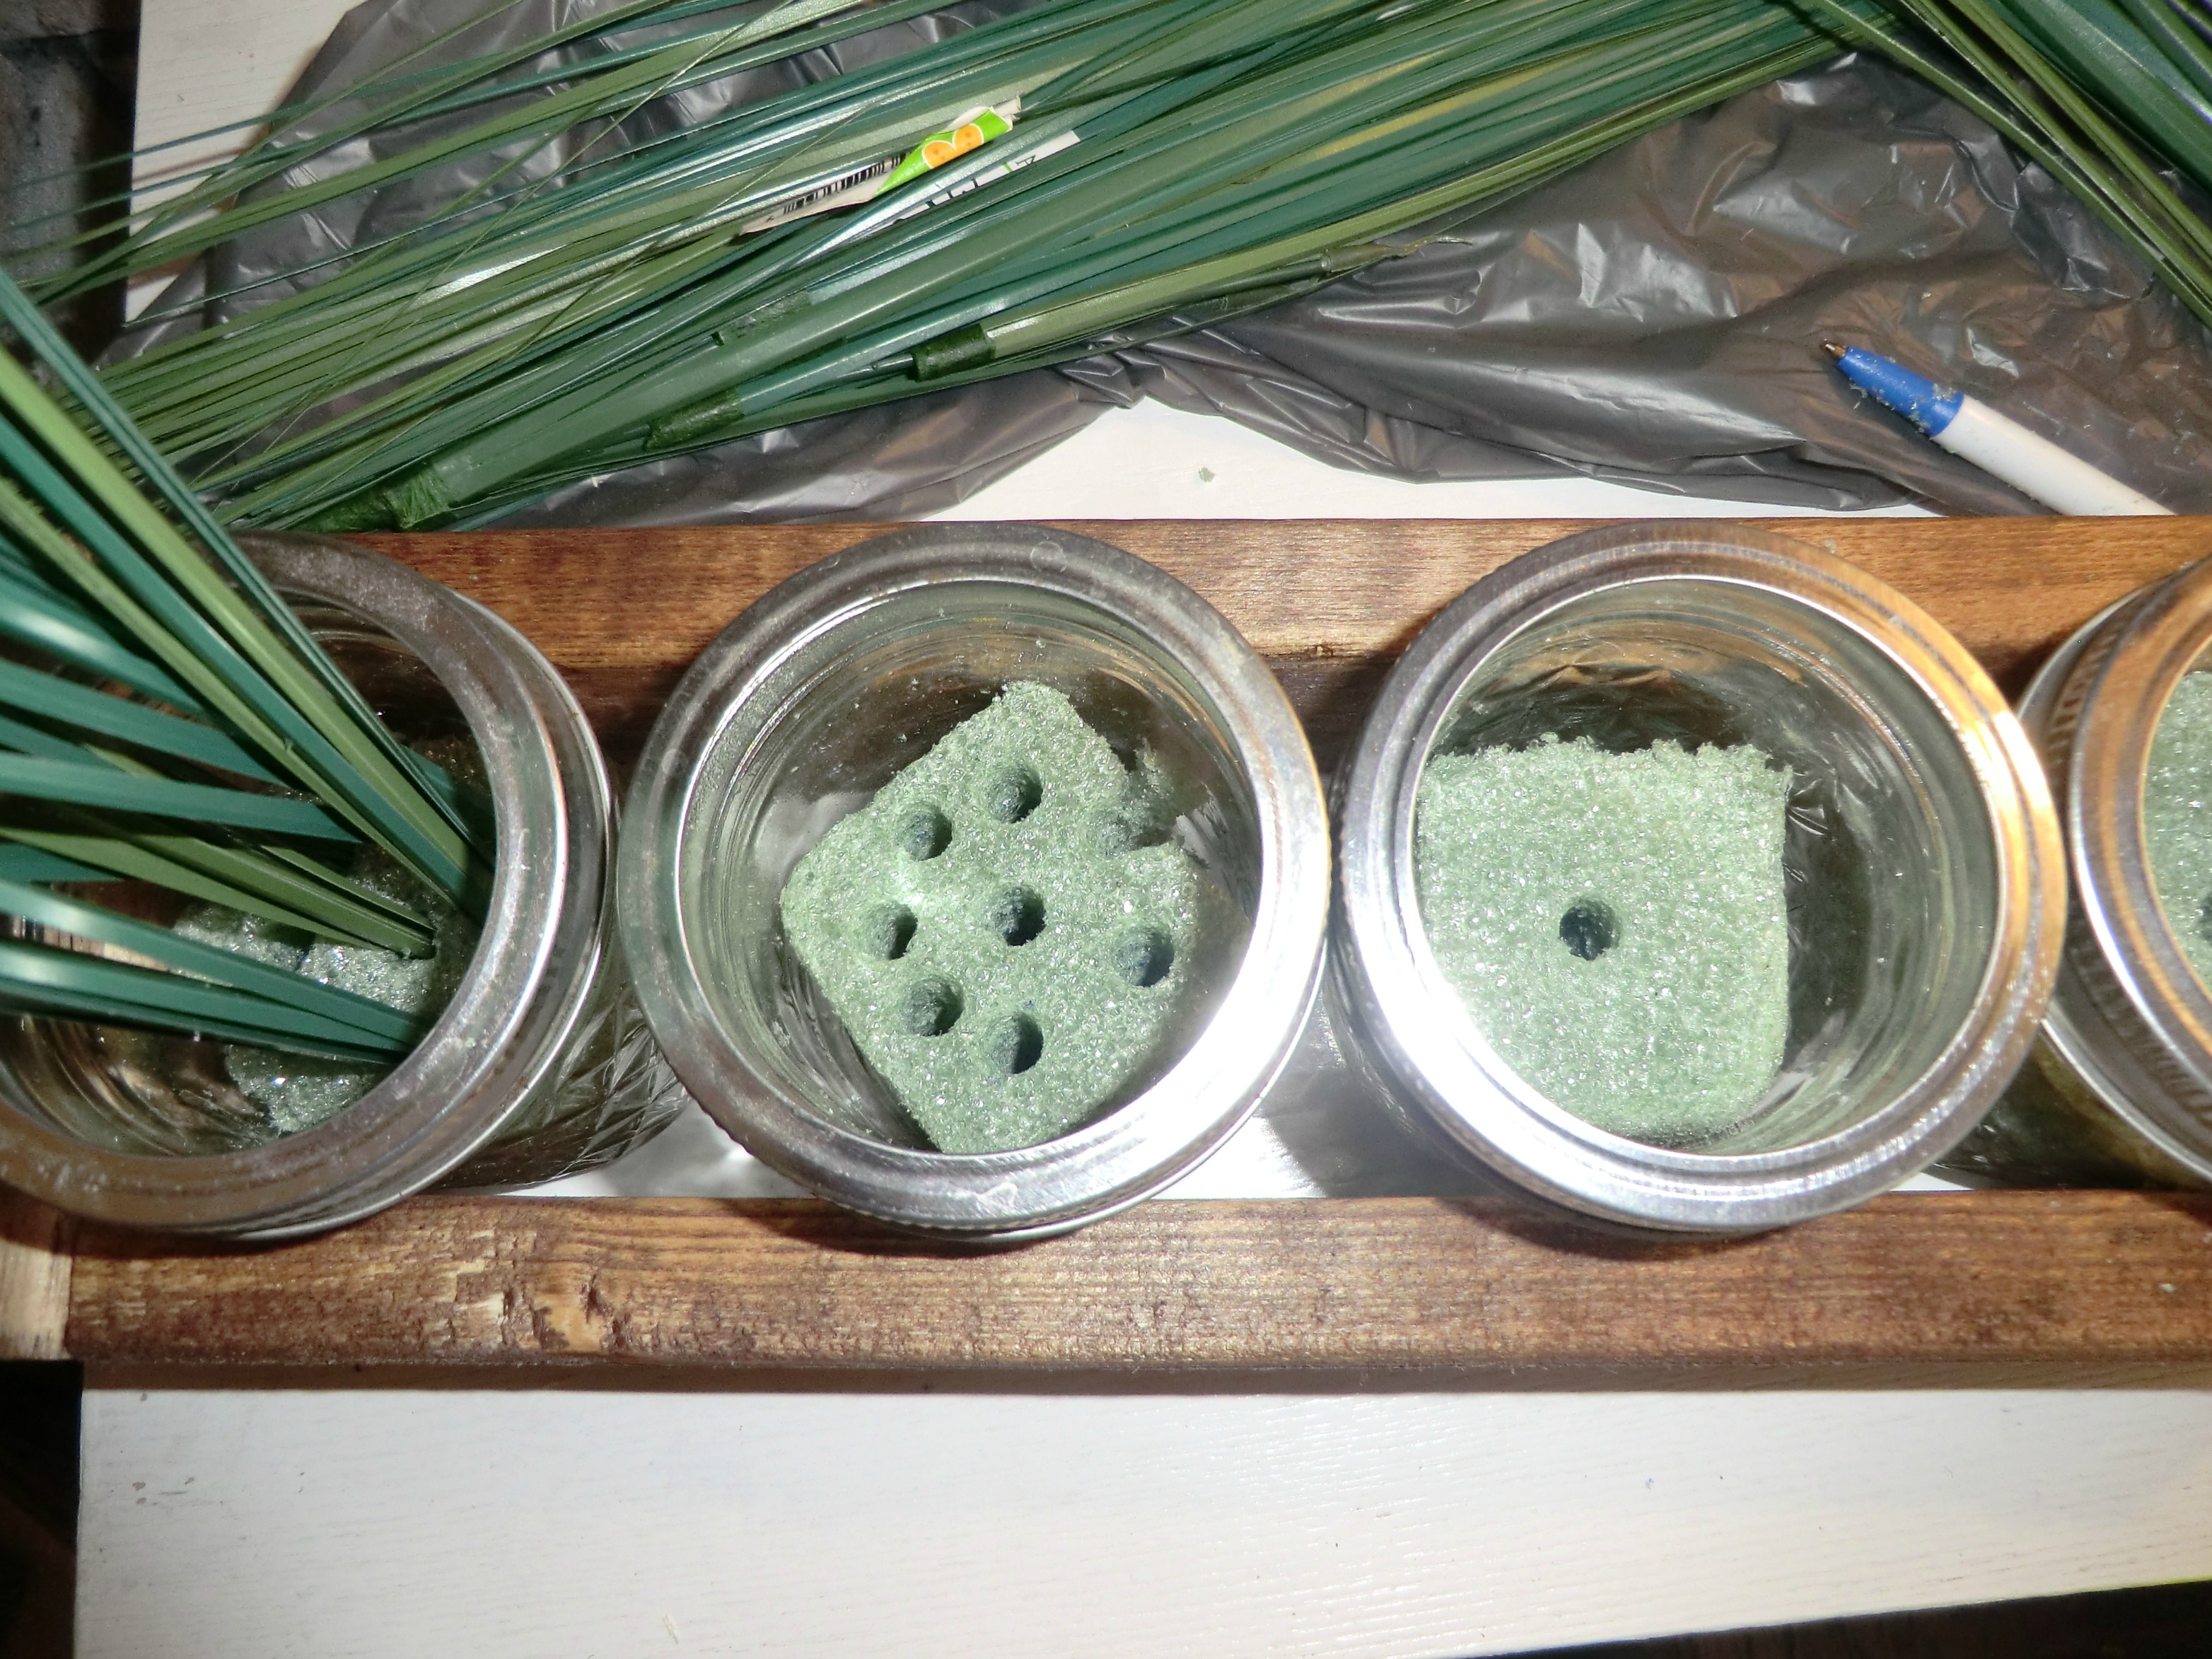
Fill the jars with floral foam. I took this out of a bucket I obviously thought I’d make a floral arrangement in again someday. Using a pen or another object, make holes for the stems of the grass to fit into easier.
Onion Grass
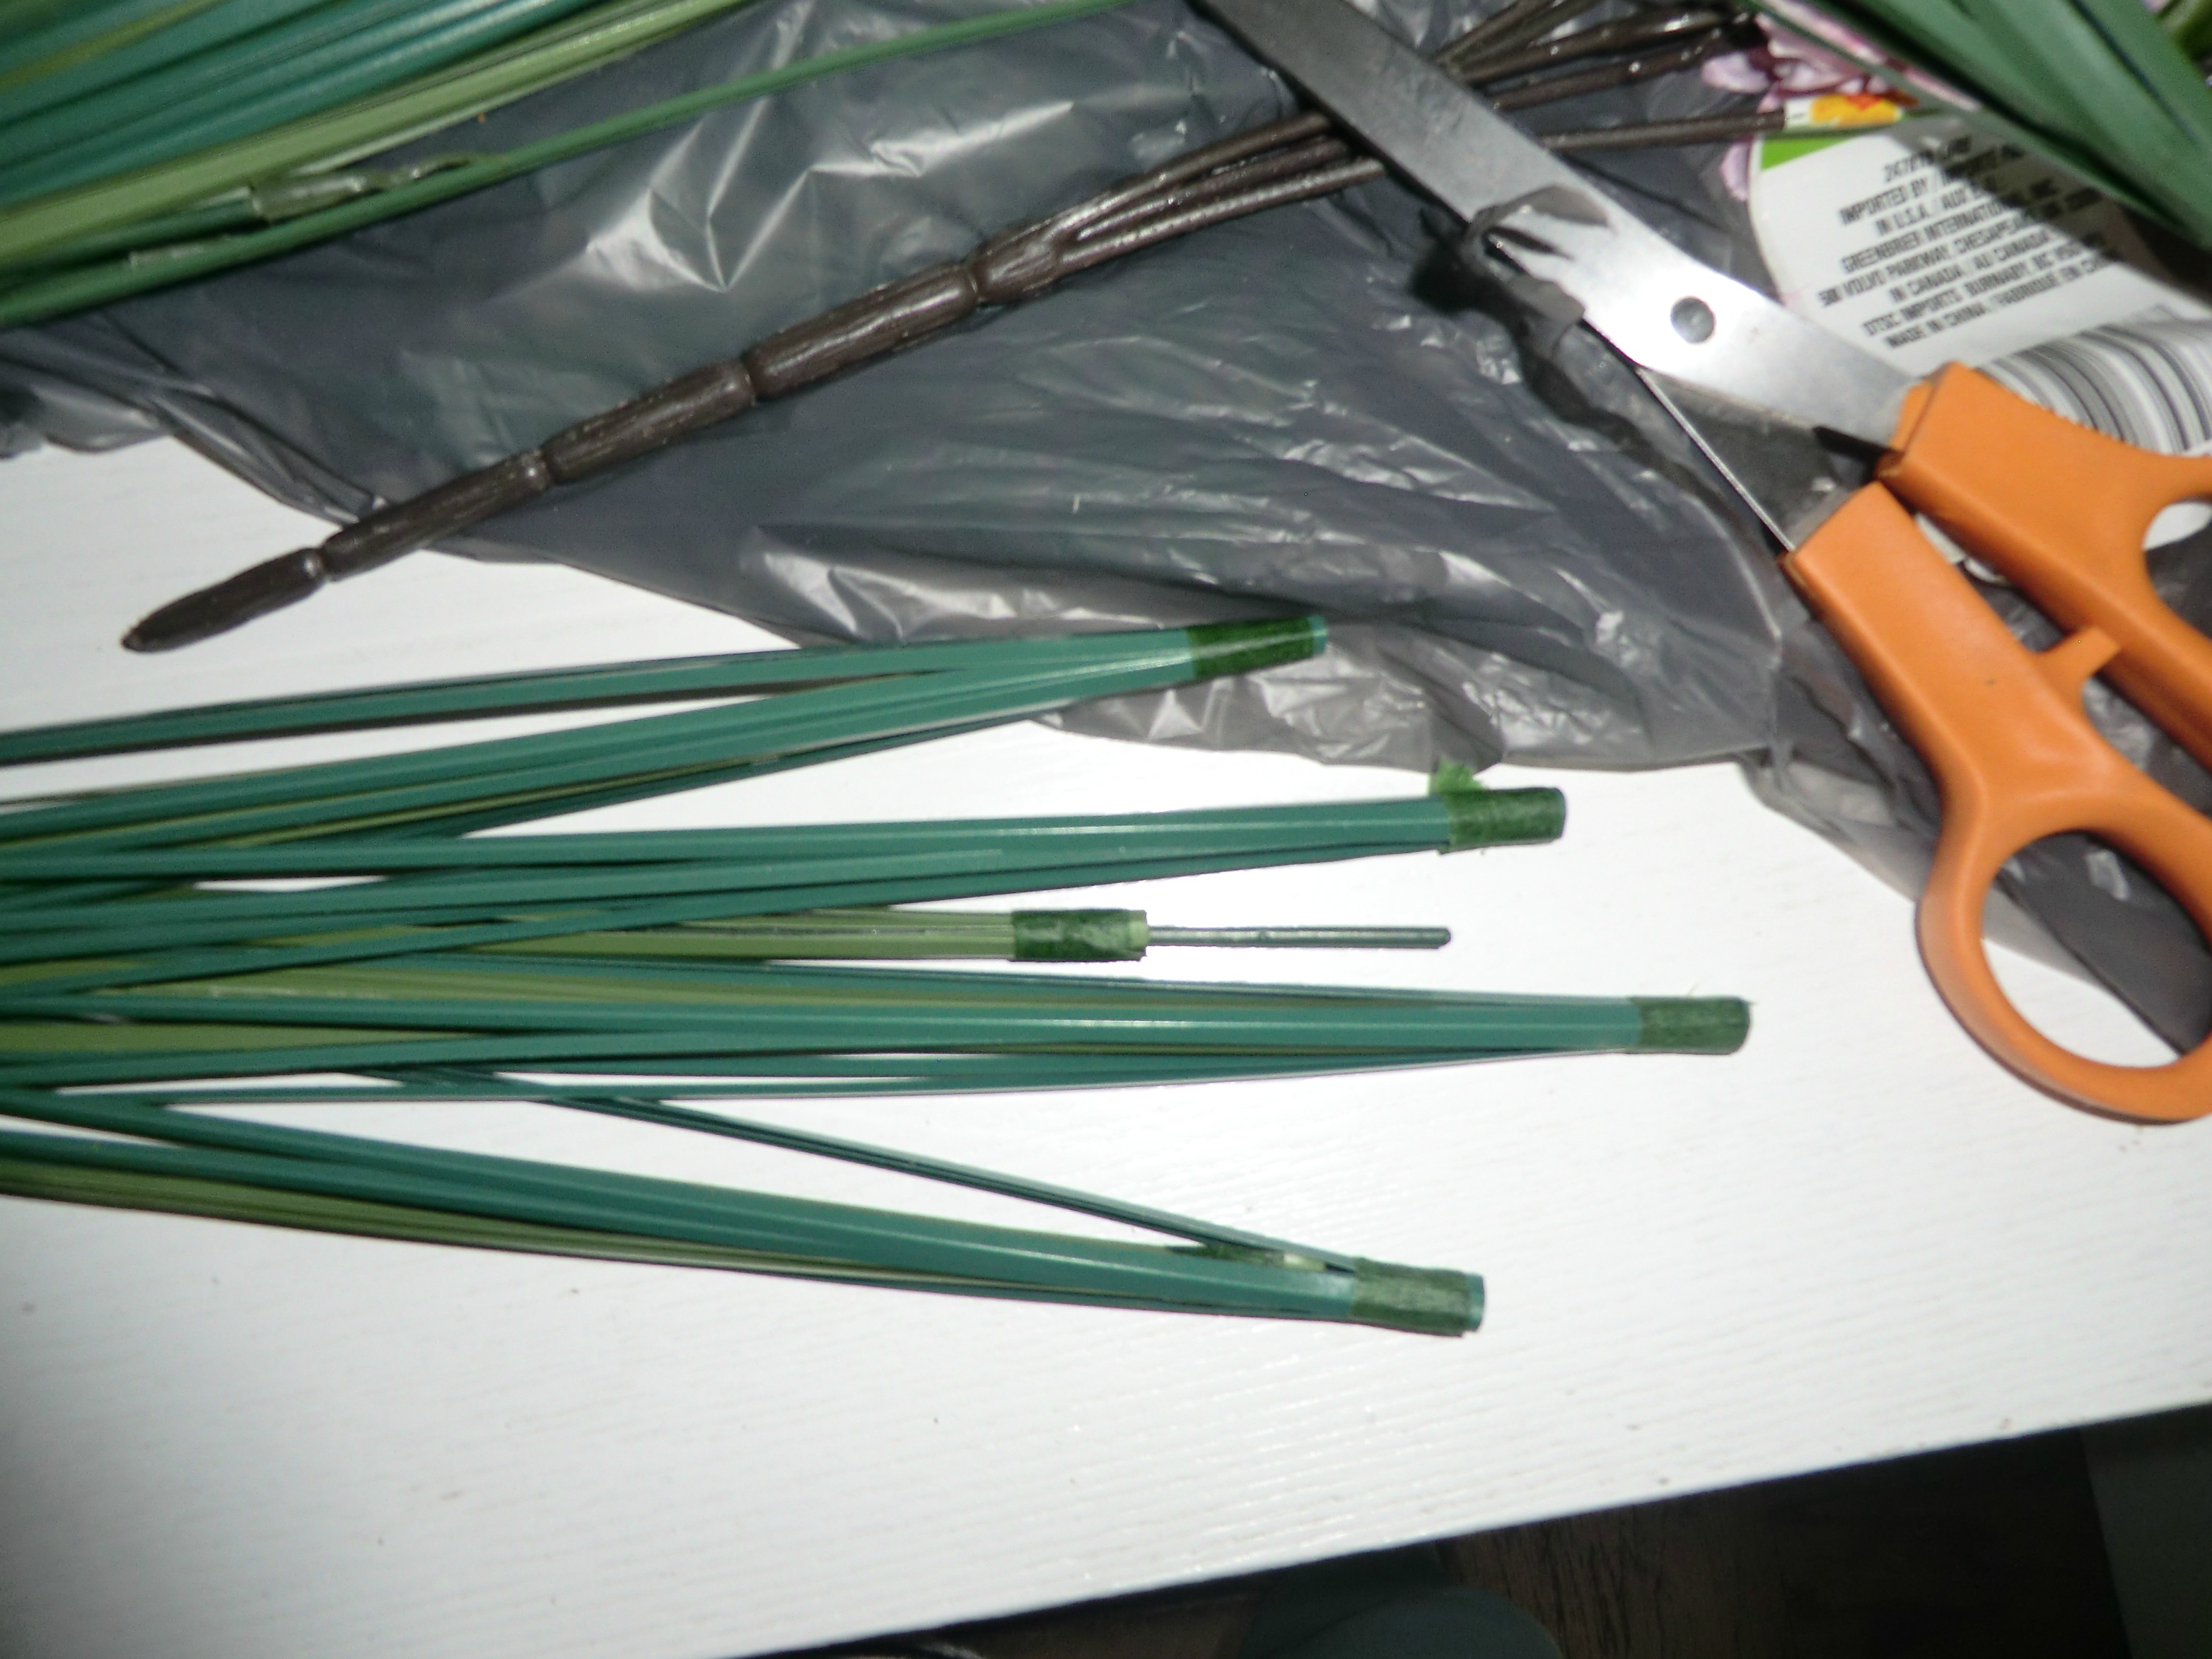
I disassembled the onion grass. Simply by sliding the sections off of the main section. This is dollar store stuff, it comes apart pretty easily.
Insert the sections into the holes in the floral foam
Continue until all the stalks are in!
Super simple and it adds a bit of greenery to my mantel. I need to do more, but at least I finally got a start with sprucing it up. Everyone says how great the whitewashed brick looks, now I’m ready for the whole wall to be a focal point.
Ready to see what these other awesome bloggers have been up to? Are you ready to take the #CraftyDestash challenge? What will you make?







48 Comments