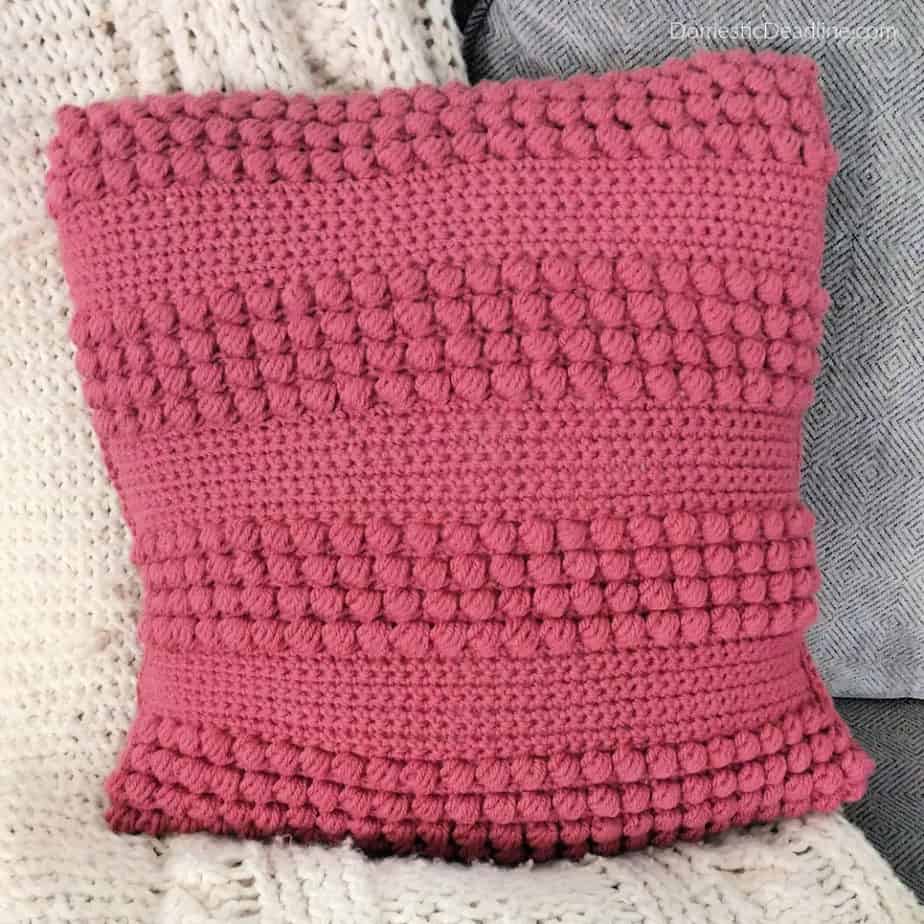
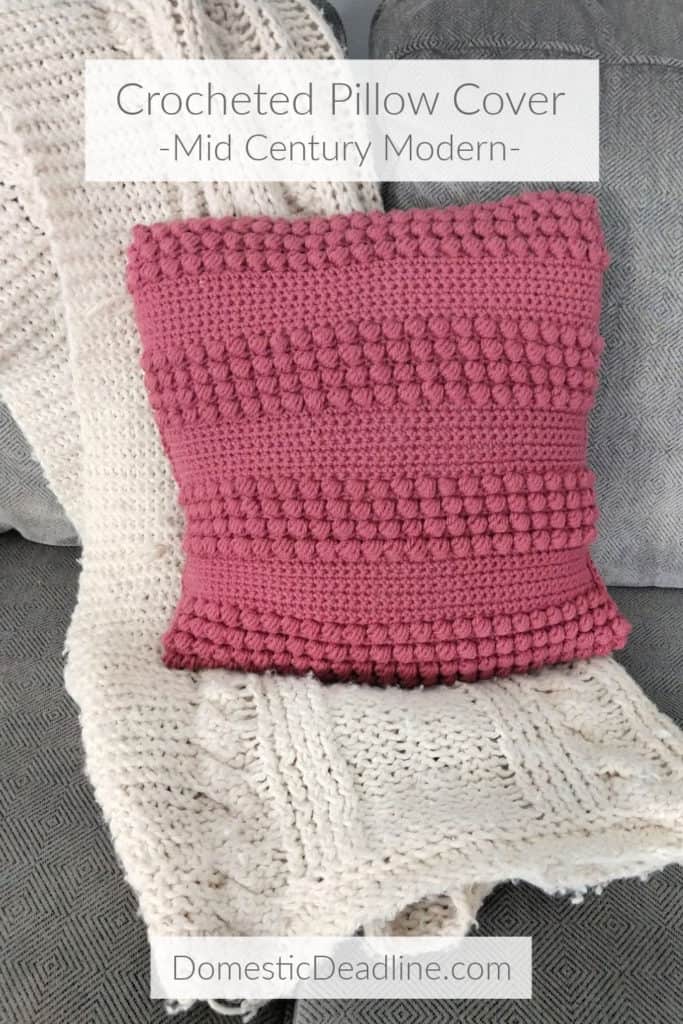
I’ve been working on some changes in my living room, updating the style a little, and improving on some previous projects. While some of these are big projects that I plan on sharing in the near future, sometimes small or seasonal changes can make a nice impact. Even as simple as changing up the throw pillow covers on my couch. Using yarn I already had in my stash, I used a simple combination of crochet stitches for added texture and a bit of a nod to the mid-century modern trend.
Thrifty Thursday

I’m excited to be joining some new blog friends in a monthly Less is More, Thrifty Thursday series. The goal is to rock what you’ve got, upcycle a thrifty find, or stretch a buck with dollar store supplies.
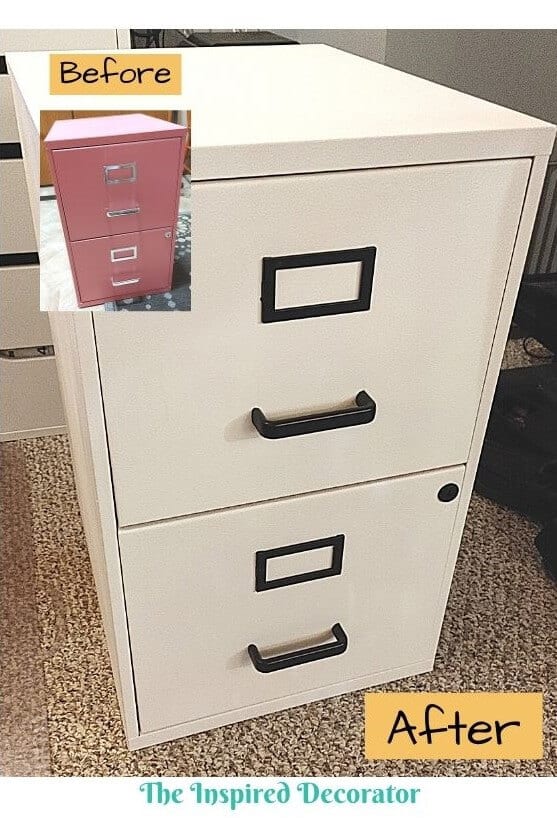
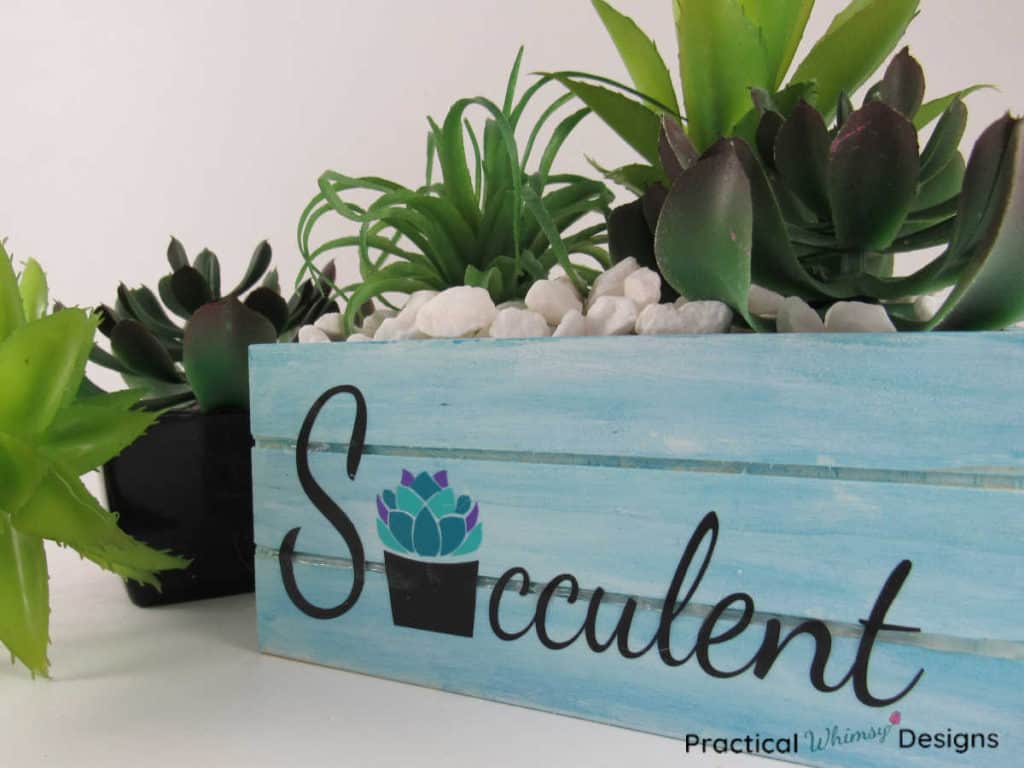
This month’s collaborators are Sara-Lynn from The Inspired Decorator, Erin from Practical Whimsy Designs, and me! Be sure to check out their projects that I’ll be sharing at the end.
Basic Crochet Stitches
As long as you know the basics of crocheting, making a pillow like this isn’t too hard. The entire pillow is done in single crochet and puff stitch.
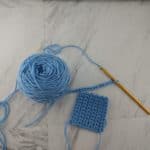
Using an H hook and sports weight (4) yarn, chain 52. Turn and single crochet, starting in the second stitch from the hook. This base row should have 51 stitches.
The next 4 rows are done alternating single crochet and puff stitch. The puff stitch isn’t very hard, it’s just a lot of loops on the hook so it might sound more intimidating than it is, if you aren’t familiar with it.
For the puff stitch, yarn over, insert the hook into the stitch, yarn over and pull up a loop. Still working in the same stitch repeat the process 4 more times. There will be a total of 11 loops on the hook. Yarn over one last time and draw the hook through all 11 loops on the hook leaving just one loop on the hook. Single crochet in the next stitch.
So if row one was 51 single crochet stitches, chain 1 and turn. For row two, single crochet in the first stitch. Puff stitch in the next stitch. Single crochet in the third stitch. Repeat this alternating pattern to the end. This will result in 25 puff stitches. The row starts and ends with a single crochet stitch.
Since the puff stitch is worked from the back, the next row (row 3) needs to be one full row of single crochet stitches. So rows four, six, and eight will be puff stitches while rows three, five, and seven will be single crochet.
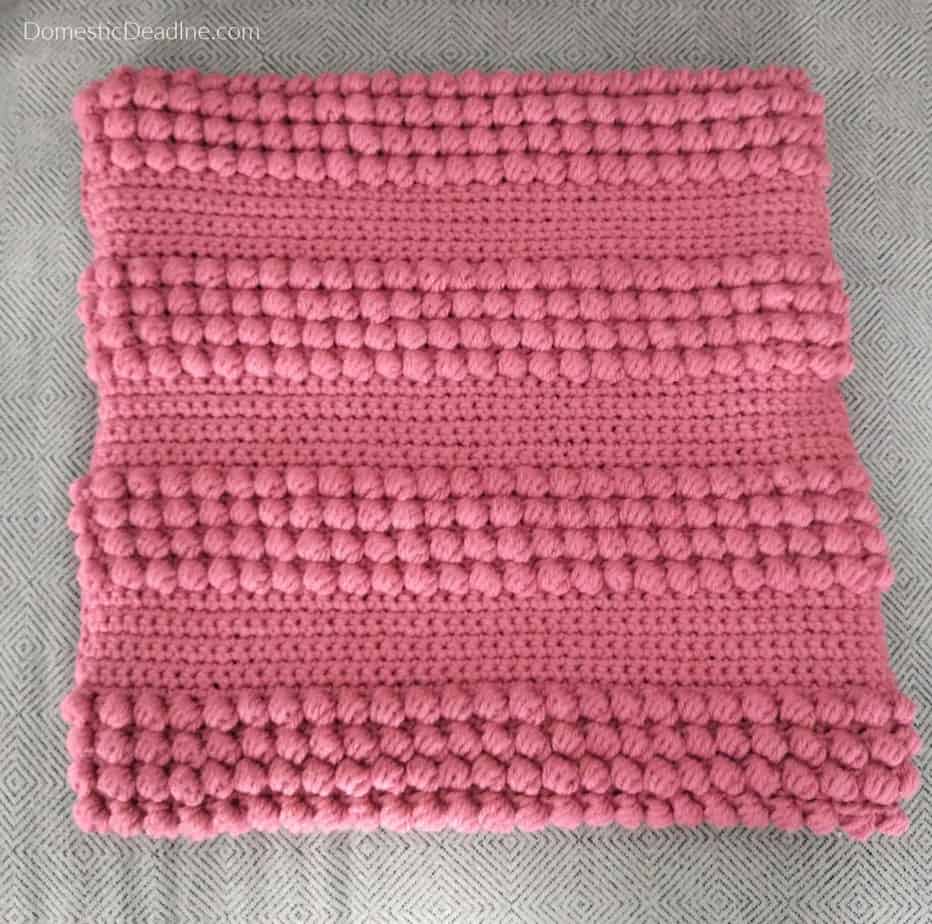
To create the “stripes” of puff stitches, after my fourth row of puff stitches, I did 8 rows of single crochet stitches. Then I repeated the whole thing several times!
Crochet Pillow Cover
The combination of the H hook, sports weight yarn, and 51 stitches worked out perfectly for making a cover for my existing 18″ square pillow form. Once I had done enough rows of the pattern to make a square, I had two options to turn it into a pillow cover.
See how I make old and inexpensive crochet hooks more comfortable to use.
Option one would be to tie off my work and start a new square of the same size all in single crochet stitches. Then slip stitch or sew with a yarn needle, the two panels together on three sides. Insert the pillow form and stitch the fourth side closed.
But, I like to be able to easily remove my pillow covers for washing or changing out for seasons. And I don’t like to deal with zippers, buttons, or restitching a cover closed.
Which means I went with option two!
Option two is to continue rows of single crochet until I had about 3/4 of the length of the front. Then, I tied off my work and went back to the first row. Working in the opposite direction, I crocheted enough single crochet rows until I had about half as many as the front side.
Here is what it looks like laid out:
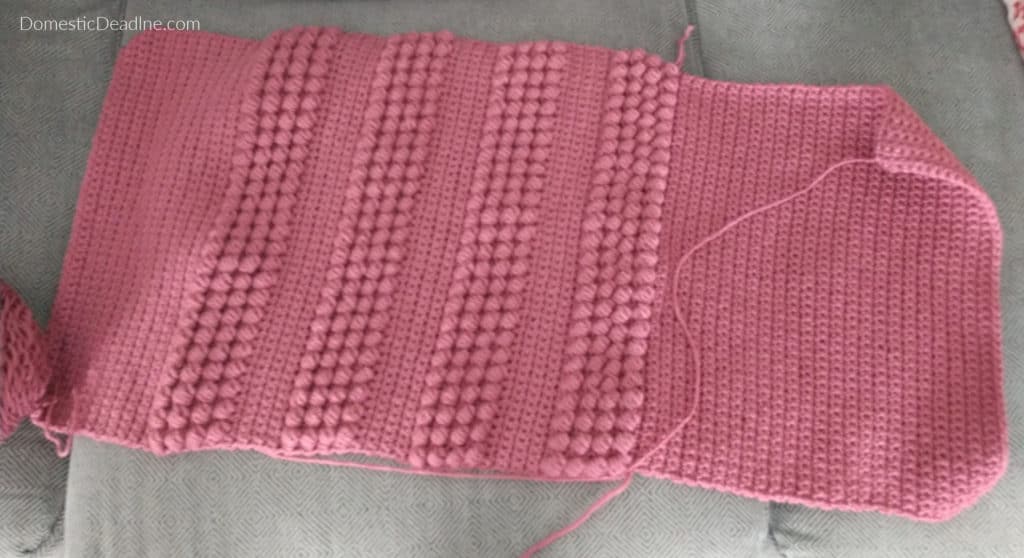
The image above was taken just before I finished. In the picture, the left side needed about 5 more rows.
Once it’s complete, tie off the yarn and flip the work upside down. Fold the rows of single crochet over. They should overlap. Slip stitch or sew with a yarn needle along the edges making an envelope backing for the pillow.
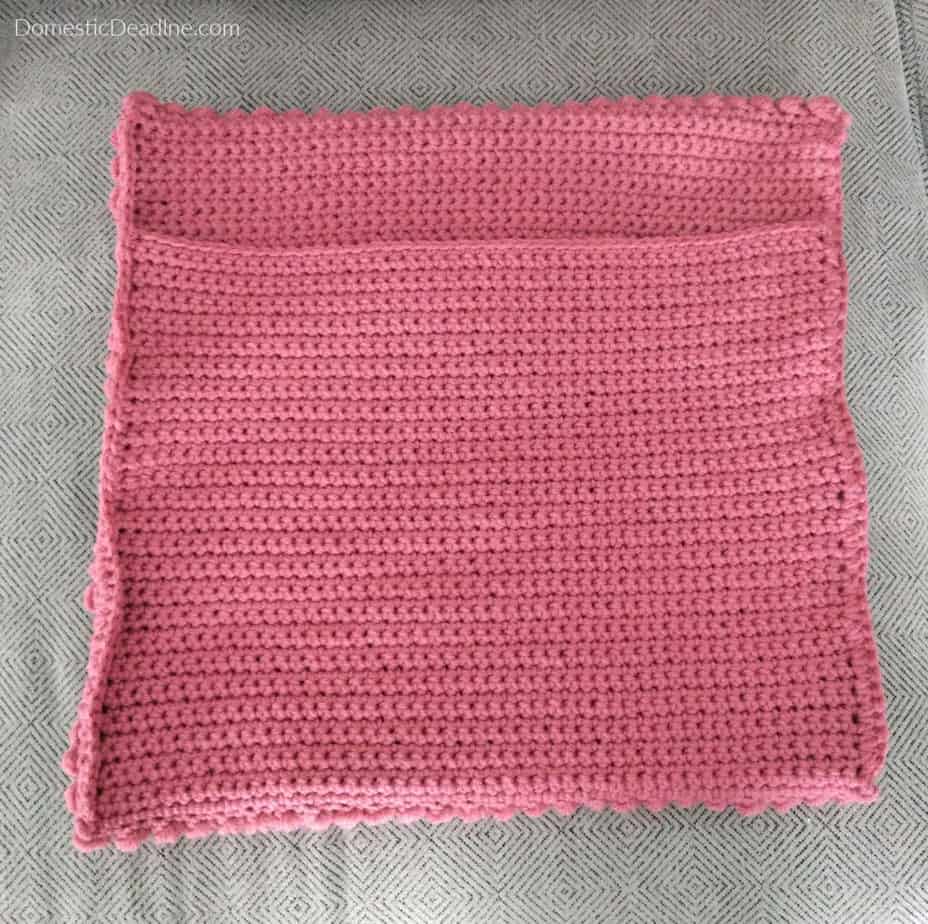
Stuff a pillow form in and the pillow is ready to jazz up your space!
Mid-Century Modern Pillow Cover
I was inspired to create this pattern from the resurgence of the simple mid-century modern designs.
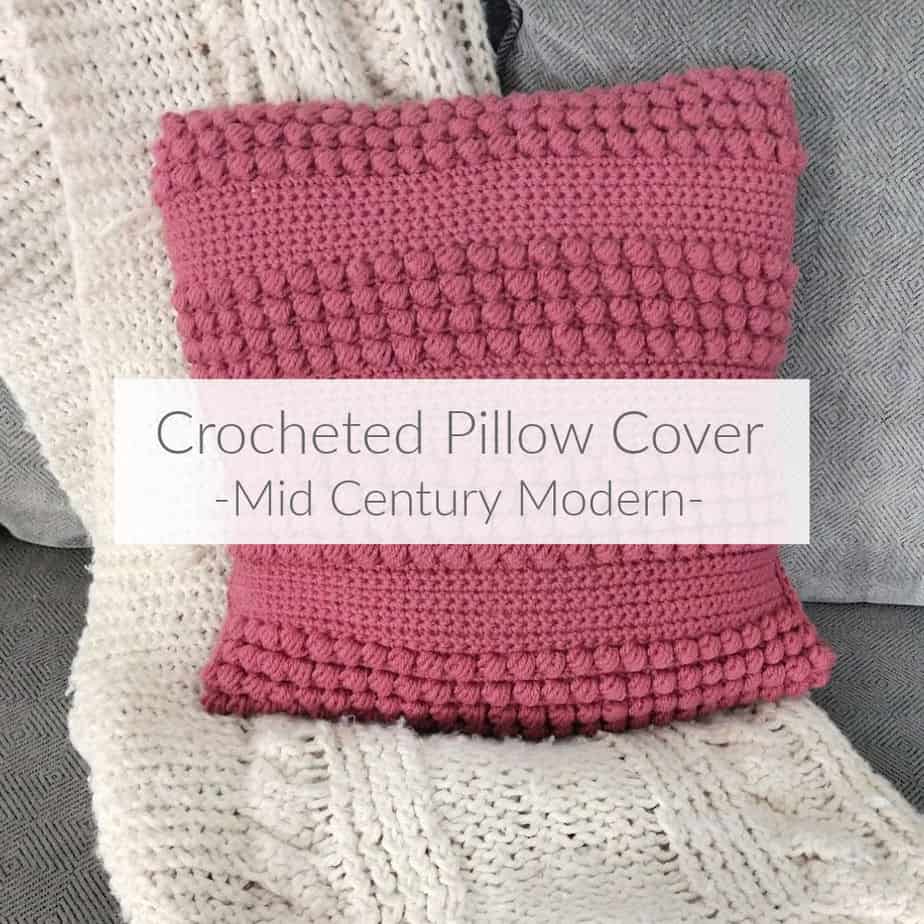
Using the puff stitch to create rows adds texture and interest to the single color. Working with only one color gives it clean and simple lines. The dusty rose shade makes it seasonal for Valentine’s Day through spring, in my opinion.
The stitches make me think of simple macramé projects that were so popular at the height of mid-century modern style.
Another nod to the mid-century modern look in this space is my photo grid wall with lightly stained frames.
More Thrifty Thursday Projects
Be sure to check out these great projects!





2 Comments