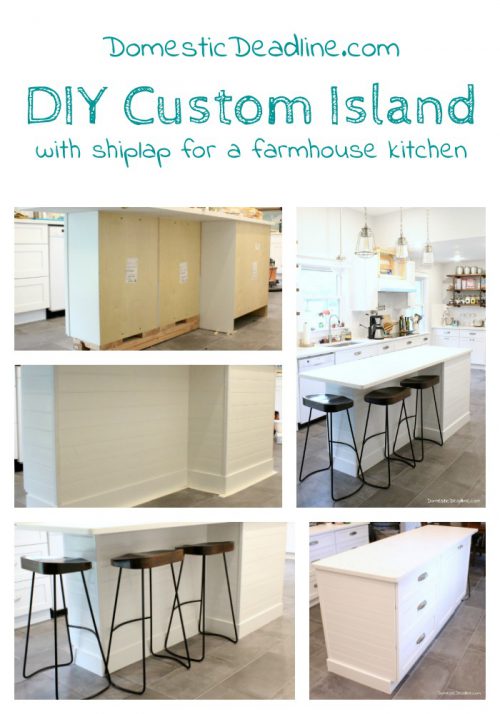
My kitchen has one last project to finish, but a few projects still need to be shared here on the blog. This is my dream kitchen. Even though I have champagne taste, I still only have a beer budget. Obviously, doing the work myself with the help of IronFish and my boss, Dave, we only had to pay for materials. One of the ways I saved money on materials was to do customizing myself. Using standard cabinets and a few tools I was able to give my island the custom farmhouse look I was going for. All for less than $100!
What I Started With
Excuse the mess on top of the island. Once the kitchen was functional, we actively used it. But, I still had work to do, so tools and kitchen supplies intermingled for a few weeks.
This is the back exposed side of the island. On the far right of the picture is a full depth drawer base cabinet. I selected cabinets that gave me the finished look I wanted, with the slow close and other options. But because the manufacturer doesn’t offer custom sizes, I saved money.
I could have purchased end panels that mimicked my cabinet and drawer fronts. That wasn’t the best use of my budget. Plus, I thought I needed something different to break up the design a bit.
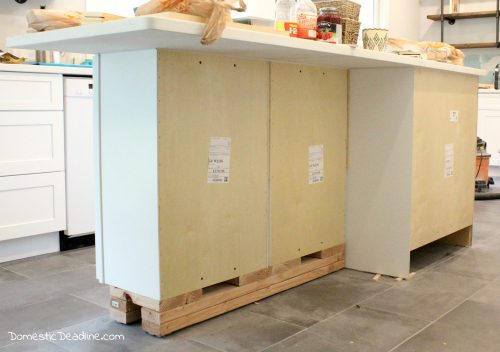
Oh, and those 2x4s? IronFish built a base so my standard 30″ tall upper cabinets could be used in the island. Those are the two shallower cabinets on the left side of the island.
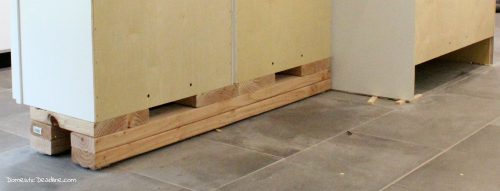
Once the cabinets were the same height, we screwed them together, the same way we did the cabinets attached to the wall. Then we waited for the countertops to be installed!
Customizing
So, the customizing didn’t happen immediately after the countertops were installed. In fact, just after the quartz went in, I went to the lake to get the kids! Customizing actually happened a few weeks later.
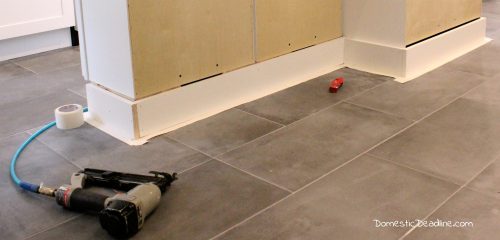
The moldings in my house are all made from 1x4s and 1x6s. We used 1x6s for the base moldings and the craftsman style headers we built above all the doors and windows are constructed from 1x4s. I love how this has given our house the character it was lacking. We are using the same trim in the kitchen and those 1x4s are the right height for the toe kick around the cabinets.
The first thing I did was to wrap the base of the island in the 1x4s. Finish nails in my nail gun held everything in place.
Shiplap time! I love this PVC beadboard product. I’ve used it in my powder room, the mudroom, and customizing the microwave cabinet. When installed horizontally, I think it has a shiplap appearance. The PVC makes it super durable and washable!
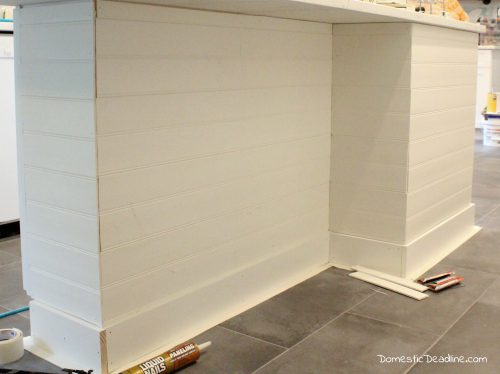
My shiplap is tongue and groove, so the pieces lock together. Liquid Nails adhere the planks to the back and sides of the cabinet. Brad nails hold everything in place while it dries. I shoot a few into the edges.
The inside and outside corners aren’t perfect, but nothing a little caulk and some outside corner molding can’t fix!
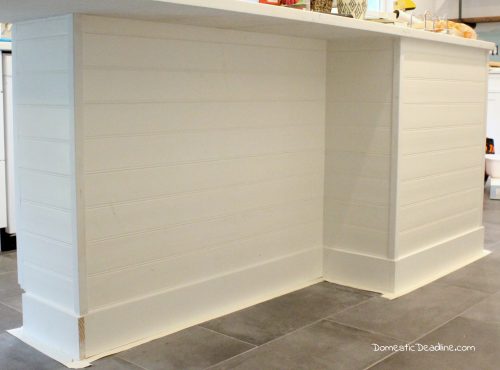
See! Nice and pretty, and ready for paint!
The Results
With everything painted the island is just enough different from the cabinets. My original idea had been to treat wood planks to look like barn wood, similar to the barn wood countertops I made for the mudroom. Bar stools with a pop of color really intrigued me.
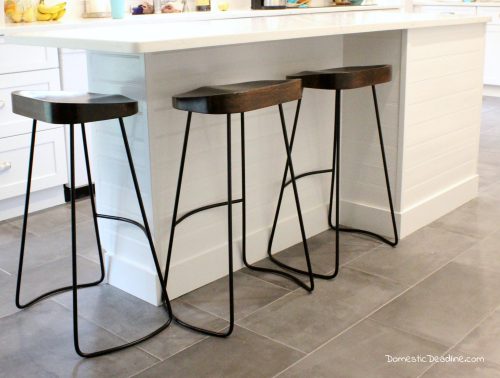
But, when I saw these bar stools while shopping with my mom, I knew they were perfect! Comfortable, the perfect size, and nicely compliments my industrial open shelving!
And the pendant lights bring everything together, I love turning the pendant lights over the island on at night, just to see how pretty it looks. Denney Electric did an amazing job helping me with this.
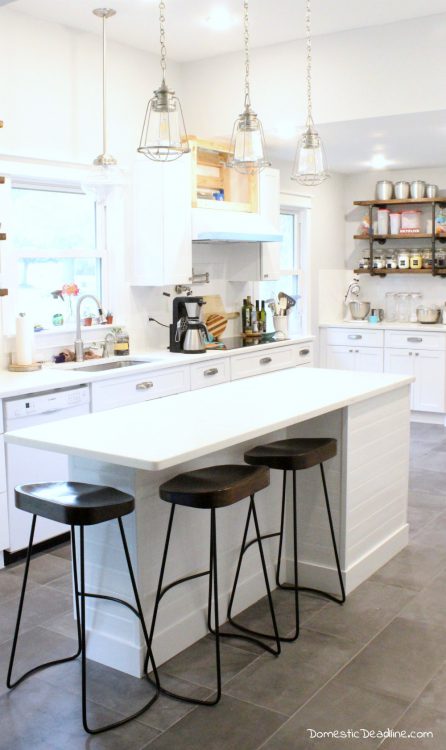
Plus, my dining room furniture is dark wood furniture. Here’s the island from the other side.
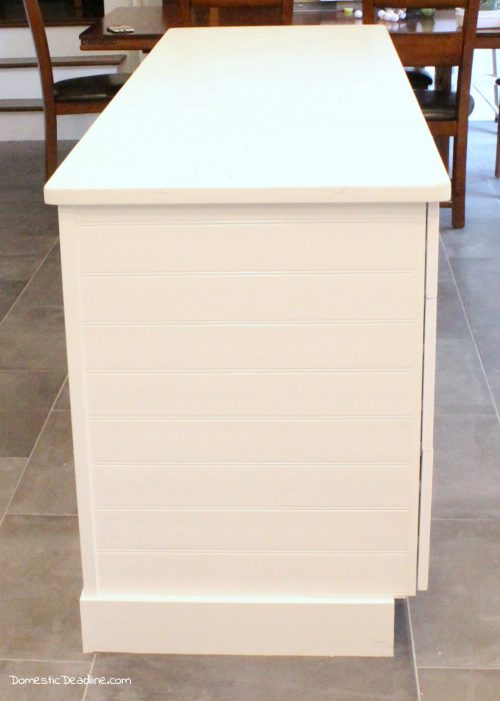
And a view of the front of the cabinets. The drawers hold my towels, plastic and foil wraps, and all my Tupperware!
The middle cabinet is our breakfast cabinet. Cereals, oatmeal with fixings, occasionally even pop tarts. Ok, they are the organic version from Aldi and not nearly as good as Pumpkin Pasties which we have taken to eating for breakfast!
Water bottles and plastic cups (the ugly ones I don’t want to be displayed on my open shelves!) are housed in the end cabinet. Between triathlon training and 3 kids in lacrosse, we use a lot of reusable water bottles.
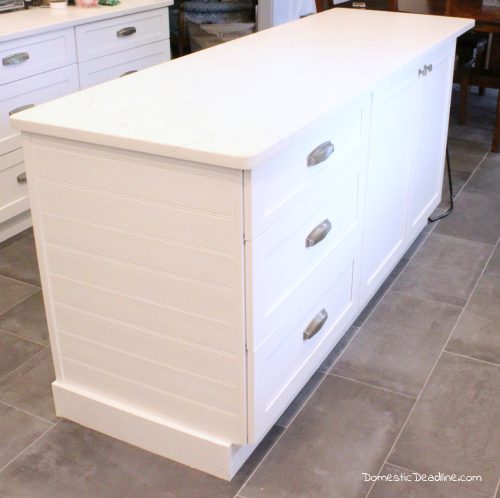
I’m so glad I was able to figure out how to fit an island into the kitchen! It may be long and narrow, but there is a seat for each kid and everyone loves it.
Pin and Share
As always, feel free to show some love by pinning and sharing!






25 Comments