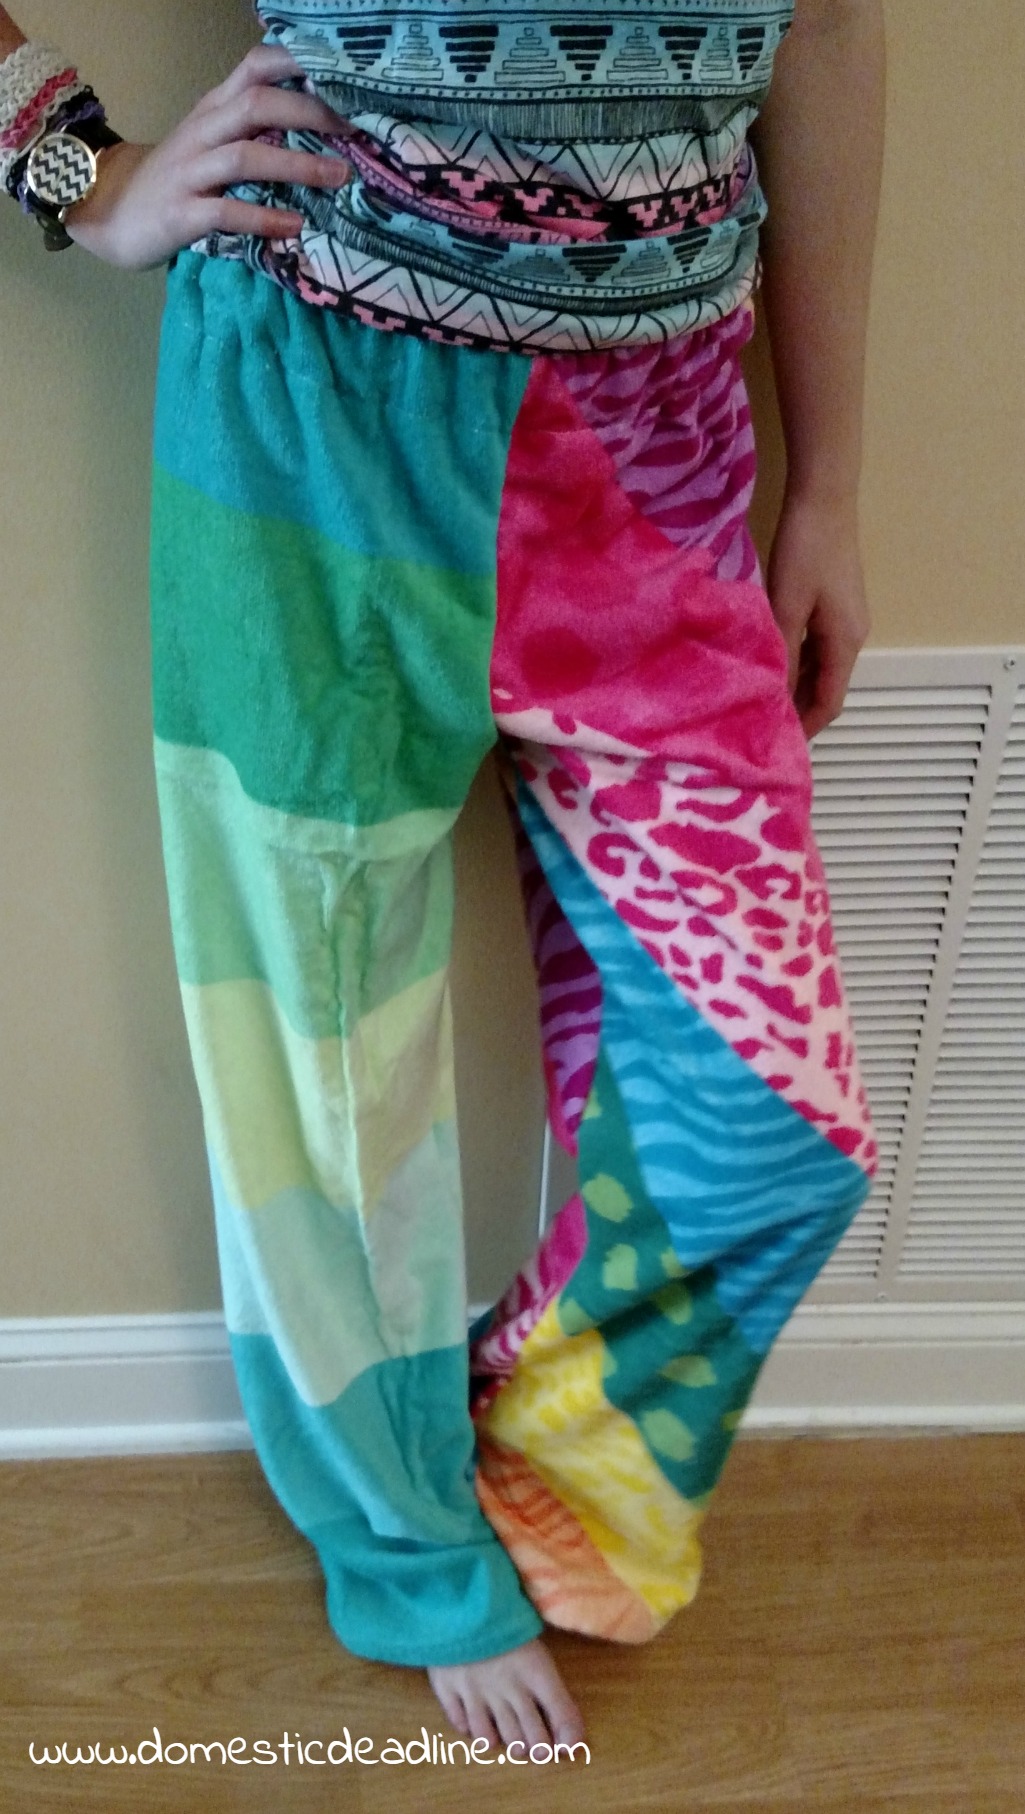
Summer is coming! Ever since I can remember, summer has always been my favorite time of year. I look forward to warm weather, no school, and vacations to Linwood Park all year long. For a few years, my kids were on a swim team, so our summers were spent with almost every single day in the water. Because of all this water, I made beach towel pants as a fun and practical cover-up.
This post may contain affiliate links. Which means, if you click the link and buy something, I may receive a percentage of sales at no additional cost to you. Thank you for supporting Domestic Deadline.
Supplies
Each pair of pants uses two different towels. You can use two of the same, but I think half the fun of the pants is two bright prints! One print and one solid would be another option.
You will also need a length of 1-inch non-roll elastic, coordinating thread and a sewing machine with basic sewing supplies (pins, scissors, measuring tape, etc). Grab a pair of sweat pants the towel pants recipient currently wears. This will act as our pattern.

Cutting
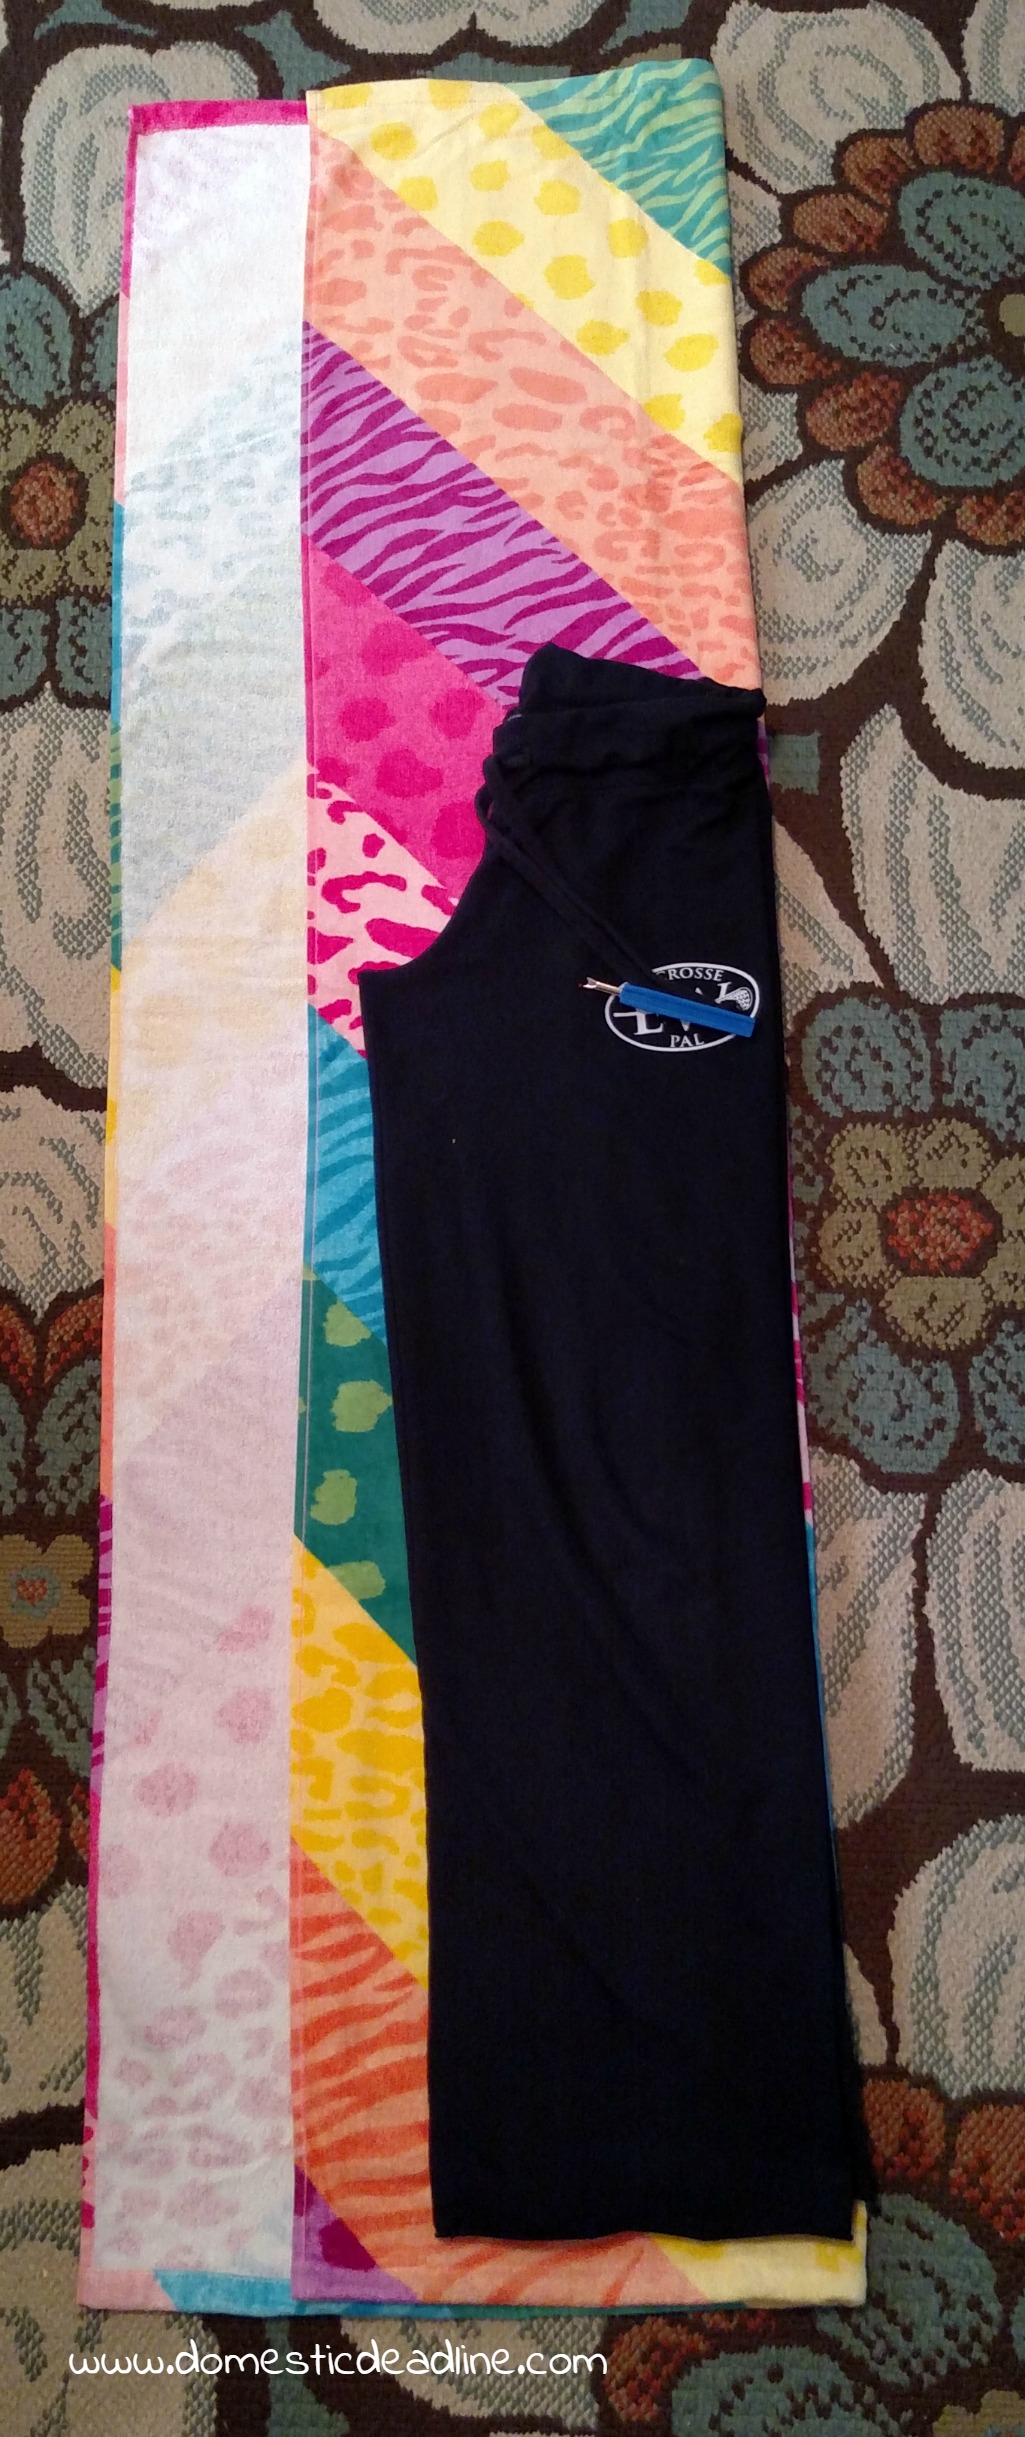
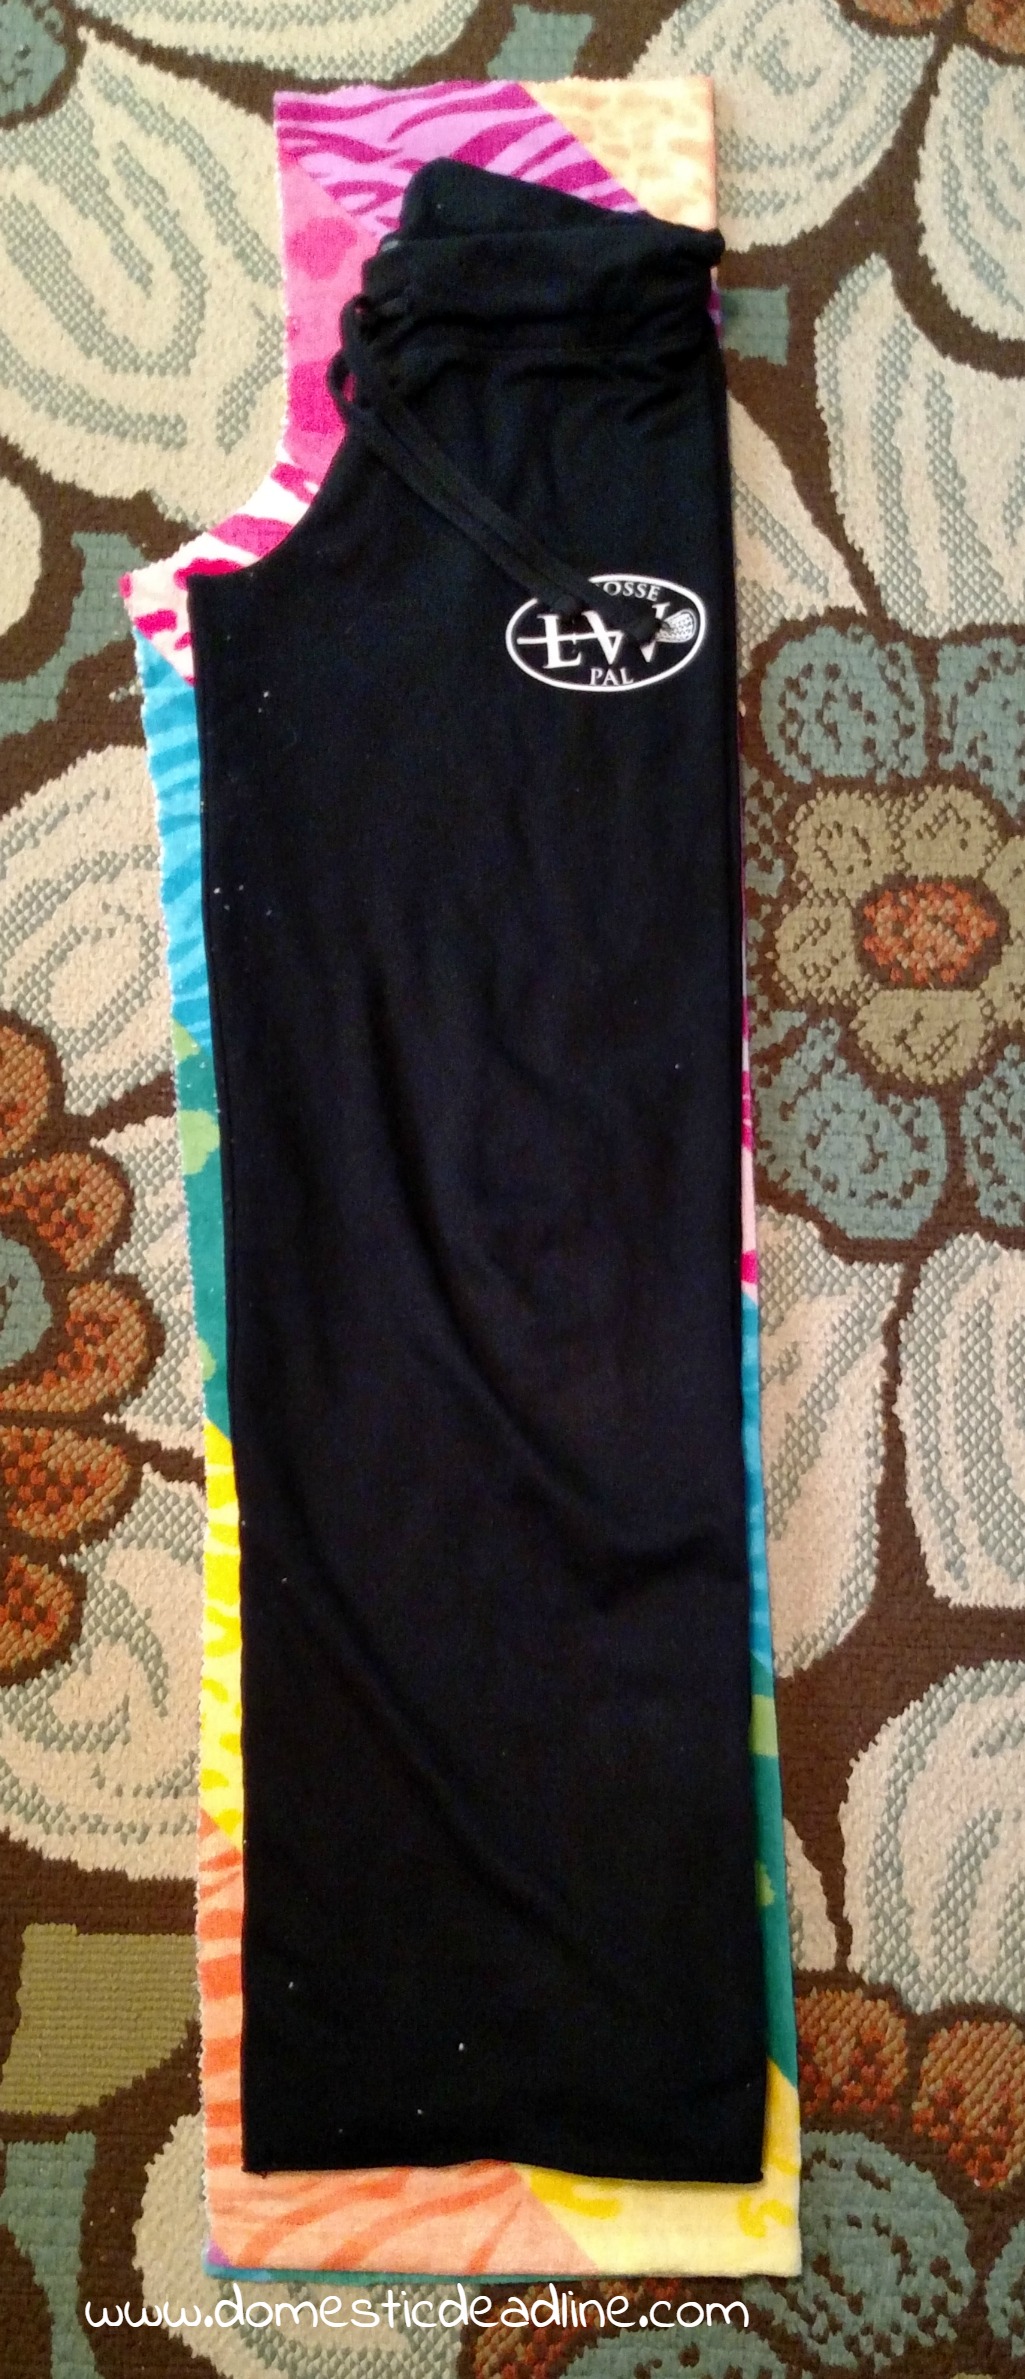
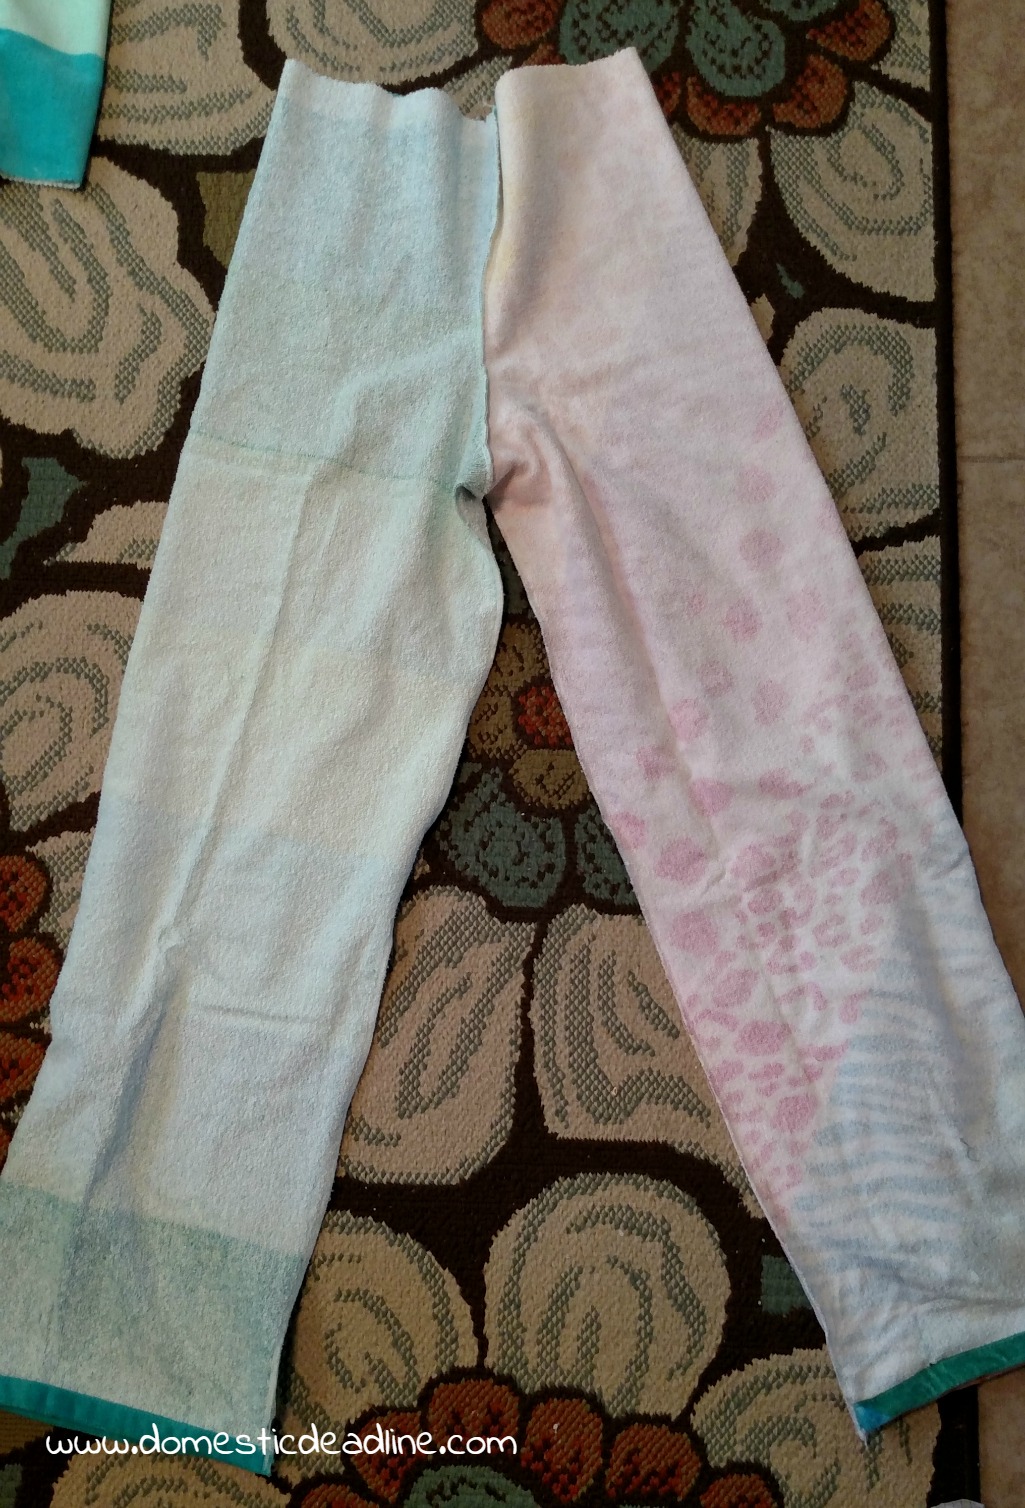
Using the sweat pants as a guide, pull one leg inside the other. Usually, I turn the pants inside out so it’s easier to lay them flat and line up seems. I’m not sure why I took the picture with them right side out, but I did. Do as I say, not as I do!
Fold the first towel in half and line the sweat pants up along the fold. I don’t like to waste fabric, I’m always able to come up with something to do with leftover fabric. So, I shift my fold to the side to leave as much leftover fabric as possible. Line the hem of the pants up against the finished edge of the towel. Utilizing the factory finished edge saves time and makes these pants go together quickly.
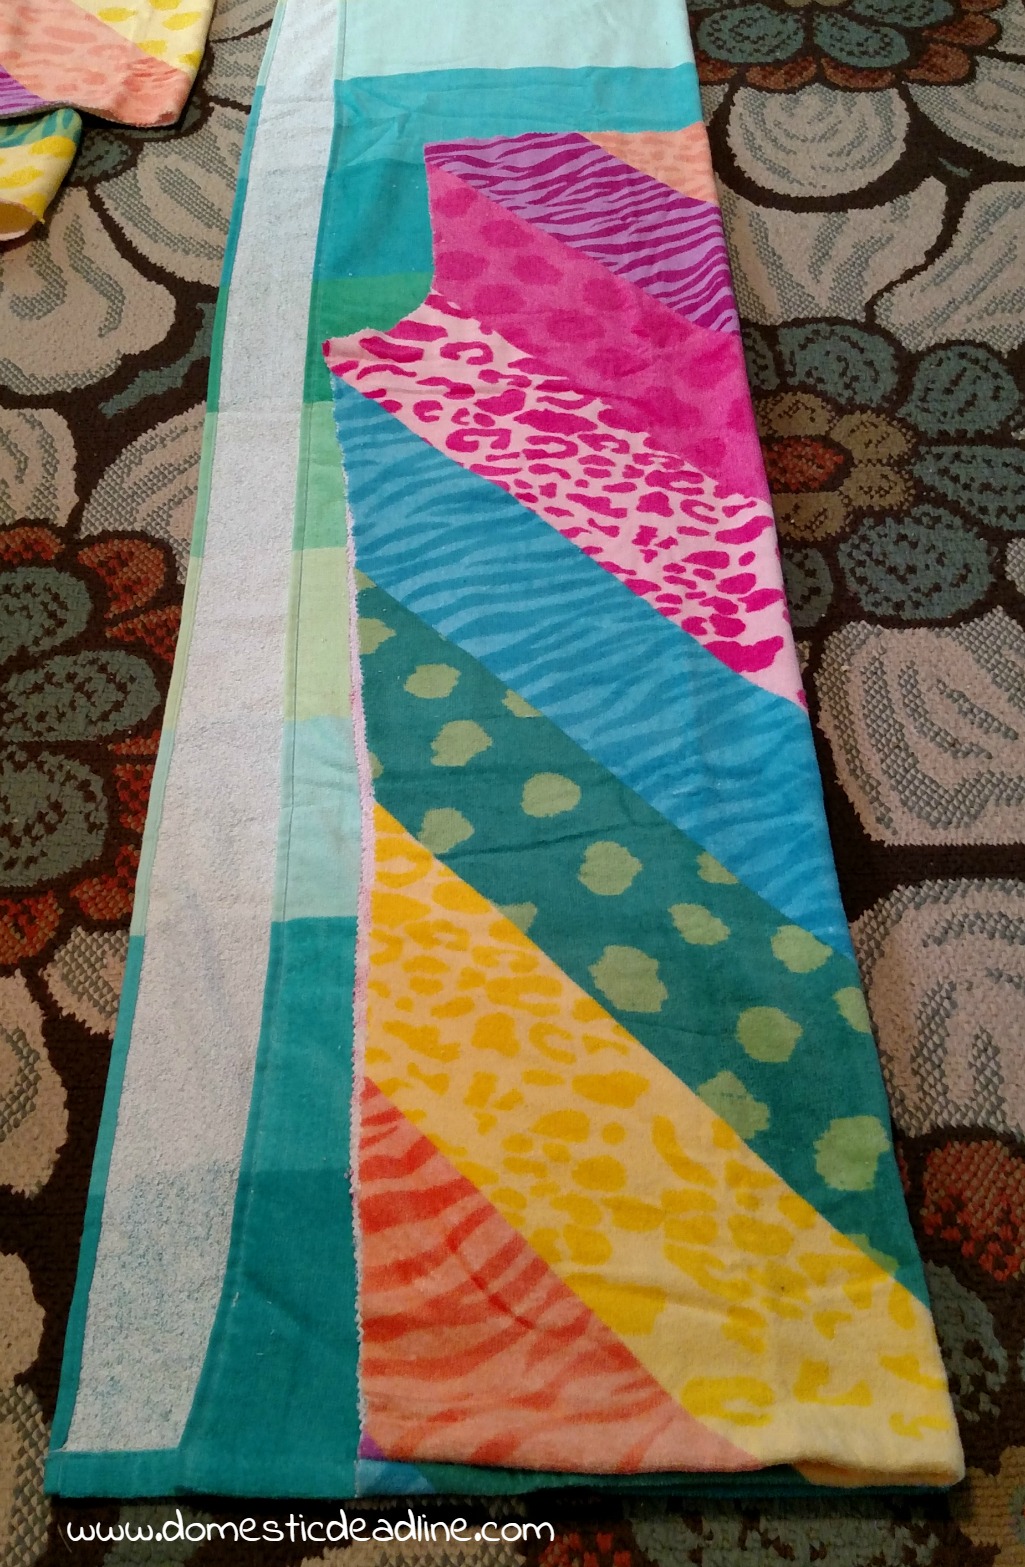
Cut leaving a seam allowance and if the towel is thicker than the sweat pants, add an extra inch. Don’t follow the curves around the waistband, just cut straight. Be sure to add at least 2-3 inches at the top since we’ll be adding an elastic waistband. If you have a serger, leave a one-inch seam allowance, if not, a half inch is fine.
After cutting out one leg, use it as your template for the second leg.
Sewing
Turn both pant legs inside out. Match up the hem and sew from the hem, up the leg to the crotch.
Terrycloth makes a mess, even when using pinking shears. If you have a serger, serge along this edge. If not, use a zig zag or overlocking stitch to finish off the edge. With terrycloth, I like to sew a straight seam and a surged seam, I just found this works best for me.
If you’ve never sewn pants before, check out these tutorials, they both have great descriptions and pictures:
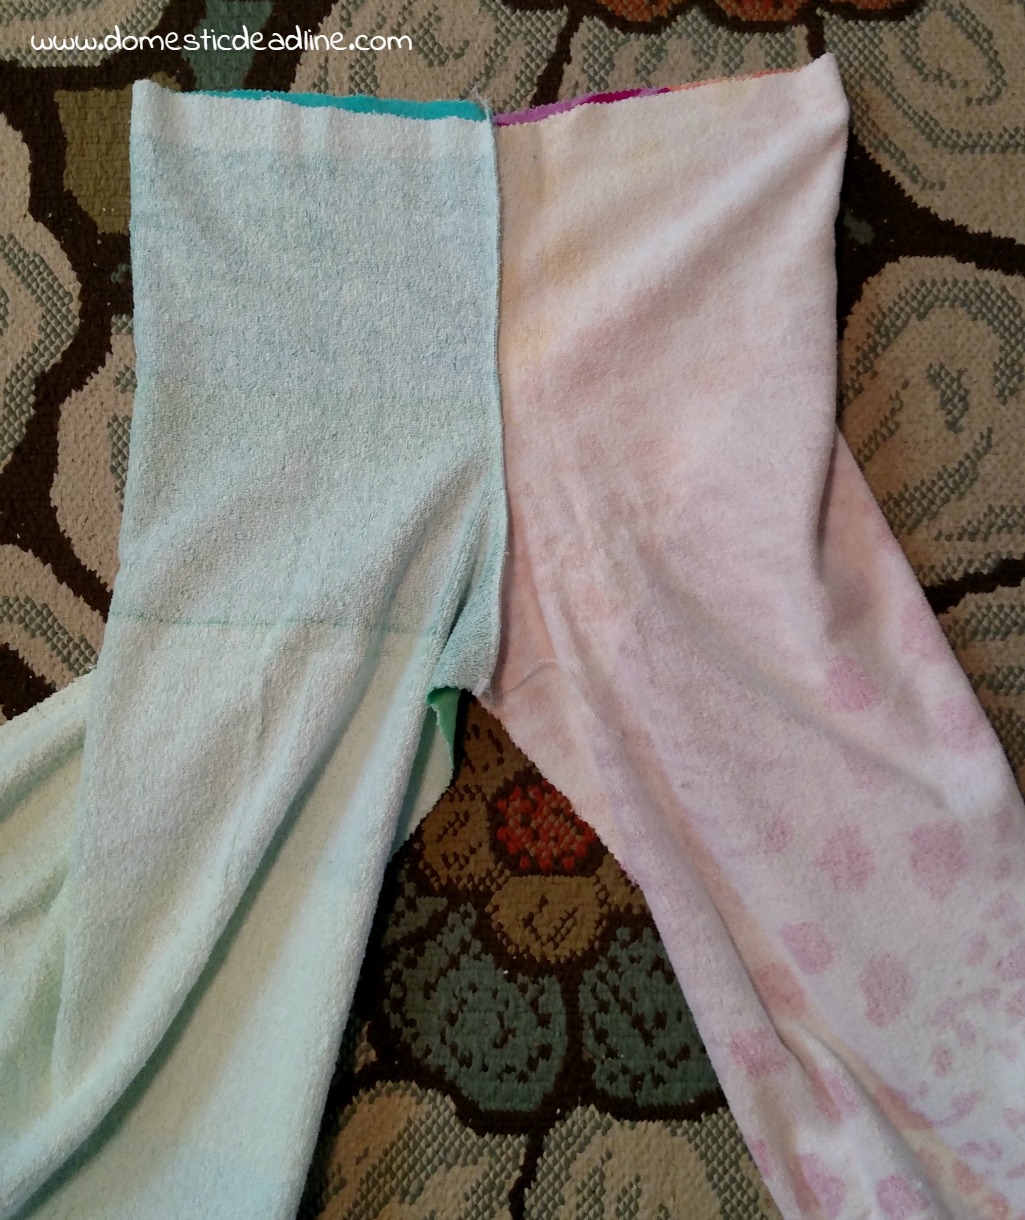
Now, turn one leg right side out and stuff it inside the other leg. The right sides are now facing. Match up the two seams you just sewed and pin. Sew from one edge of the waistband down to the crotch and back up to the other edge of the waistband. Sew a second time with a serger or zig zag stitch.
Almost done!
Waist
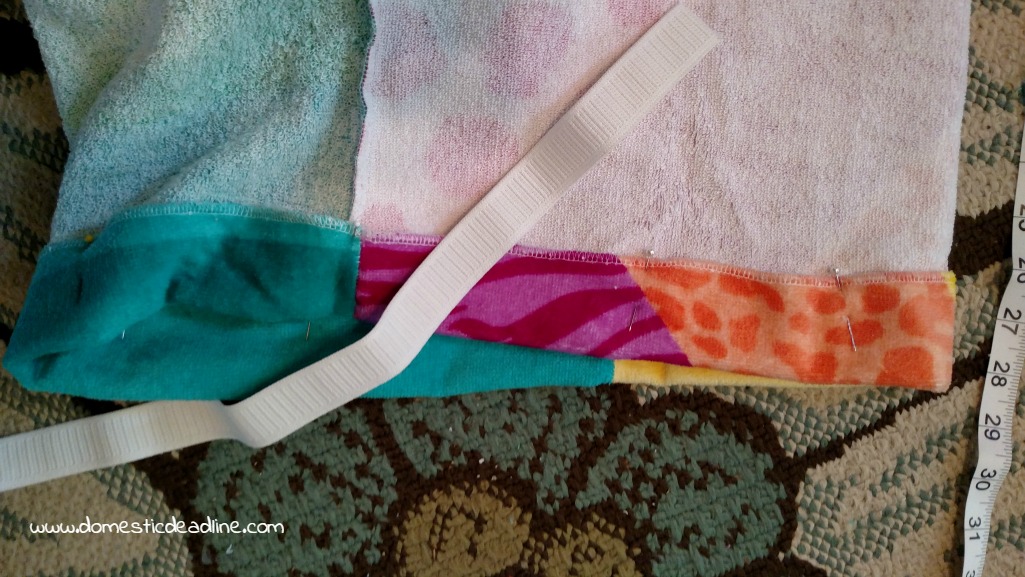
The last thing to sew is the waistband. Since the edge will fray, be sure to serge or zig zag stitch all the way around the waistband before moving on to the next step.
With the edge finished, fold it down about an inch and a half. We need to make a pocket to insert the elastic into with enough fabric left for the seam. Pin this in place.
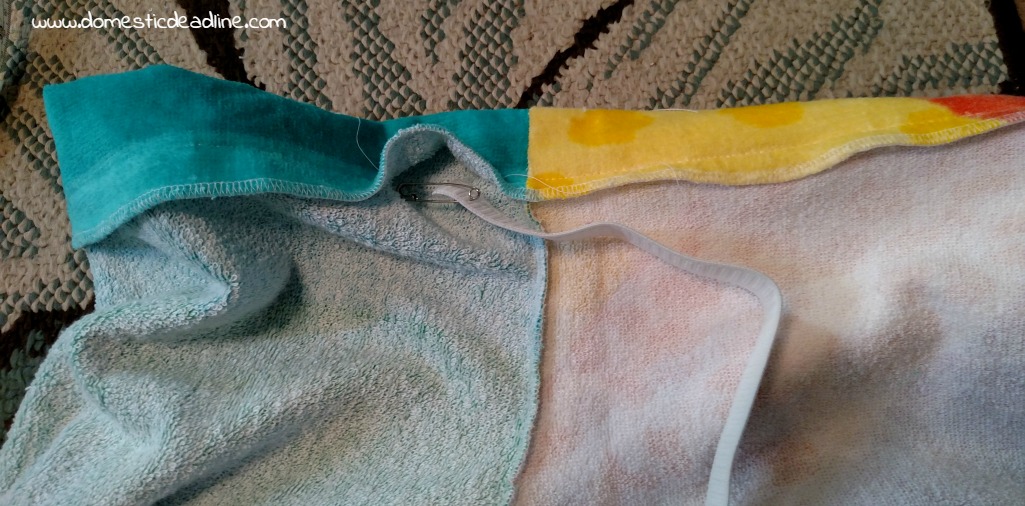
Sew the waist leaving a few inches open. Attach a safety pin to one end of the elastic and push it all the way around the waist. I cut my elastic about 1 inch less than the length around the waist of the pants.
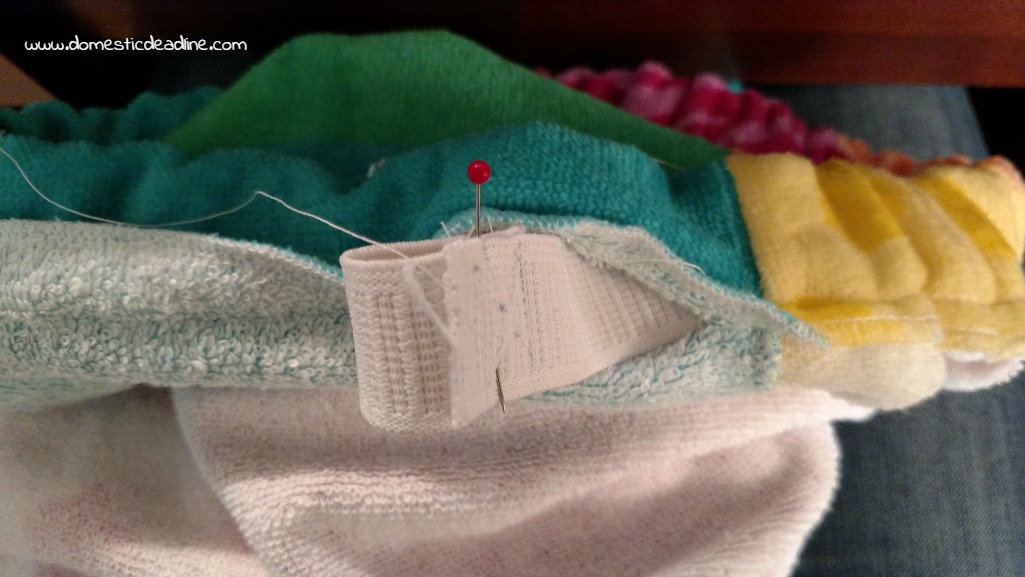
Overlap the two ends of the elastic and stitch over this a few times to make the elastic very secure.
Tuck the elastic in, sew the opening shut. Turn right side out and they are ready to wear!
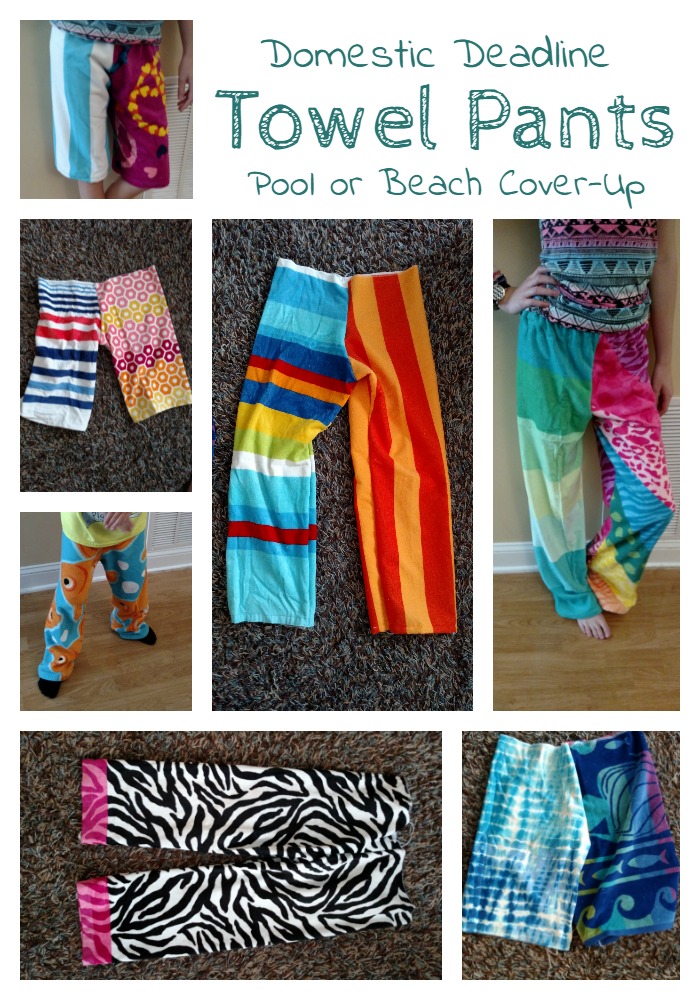
Remember how I said I always find a use for extra fabric? Well, some of the scraps were large enough to make shorts out of!
Feel free to pin and share!
They are fun and comfortable. Perfect to wear to or from the pool and beach! All in under an hour.





7 Comments