My craft room spills well beyond the doors of the actual room. I have bins of yarn in the basement. Wood and tile scraps in the shed… and sometimes even the garage. So, it’s safe to say, I’ll be participating in the monthly Craft Room Destash for a very long time. I’ve actually tried to adapt the rules of the challenge to every project I do… until I can walk around my craft room easily! This month, I decided to pull out leftover fence boards from the shed and make a quick and easy wooden outdoor flag.
Scrap Wood
I know not everyone has leftover scrap wood lying around. But, before we moved from our old house, we had to replace some of the fence boards. Basically, 1×6 pressure treated boards cut to about 5 feet each. Unfortunately, the boards we needed only came in 8-foot lengths, 10 or even 12 would have been perfect. But no, we had almost 3 feet left from each board.
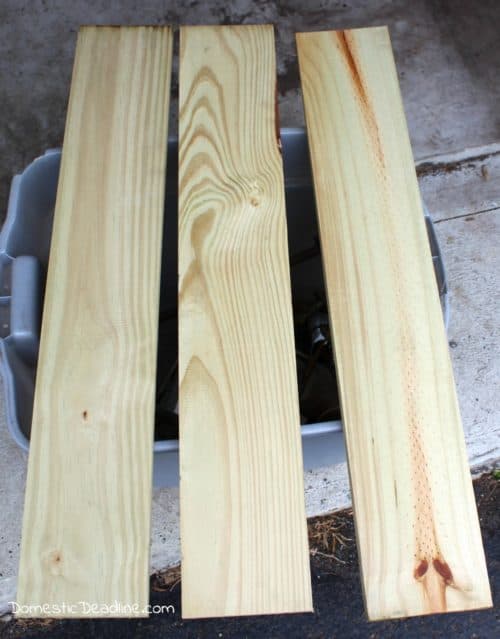
Of course, IronFish wanted to just throw them out! And, of course, I said, “NO!”
We have no deck or patio in the backyard of the new house. The least we could do was use the scrap to build a landing when stepping out the back door.
IronFish still thought this was pointless. Especially because, at the time, we didn’t have a back door! Where the sliding doors should have been (and are in every other house the style of our in the neighborhood) windows had replaced it.
We knew we would eventually put a sliding door back in. Which we did about a year after moving in. We’ve been in the house for 3 years now, we still haven’t built a landing there…
Time to start using up the 20 or so pieces in the shed.
Tape and Paint
If you don’t have scrap lumber laying around, you can easily pick-up a single board at your local lumber yard. Most will even cut it to the length you want for little or no fee.
Painter’s tape and chalk paint make this super simple. Chalk paint dries so quickly, especially in the almost 90-degree heat I was painting in.
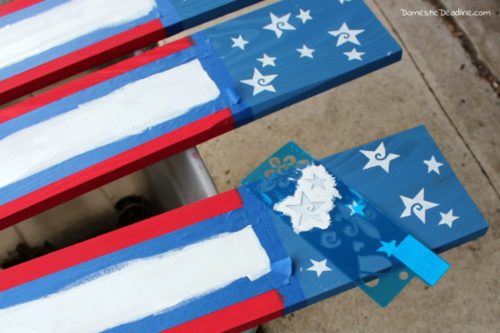
Start by taping off the top quarter of your board and paint that portion blue.
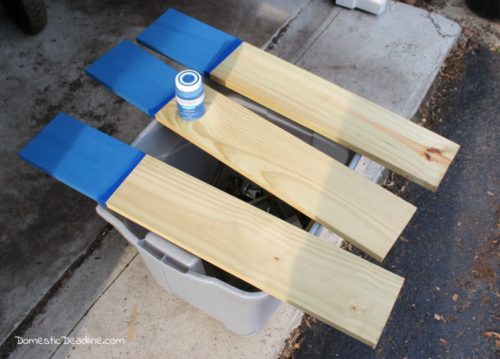
After a few minutes of dry time, retape along your nice clean edge of the blue paint. And, tape off the center third so the outer two thirds can be painted red.
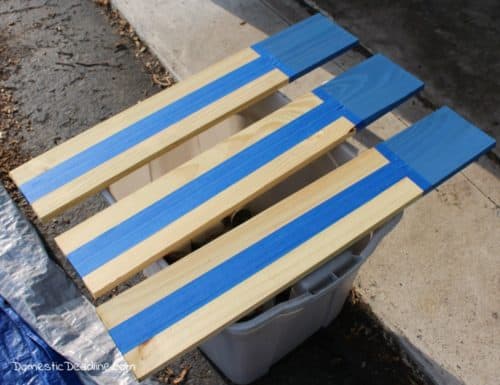
And, paint it red!
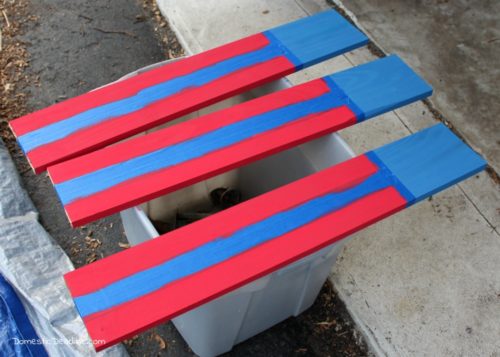
Finally, tape off the red leaving the center portion to be painted white. After I painted the center stripe, I used a stencil to paint white stars on the blue portion.
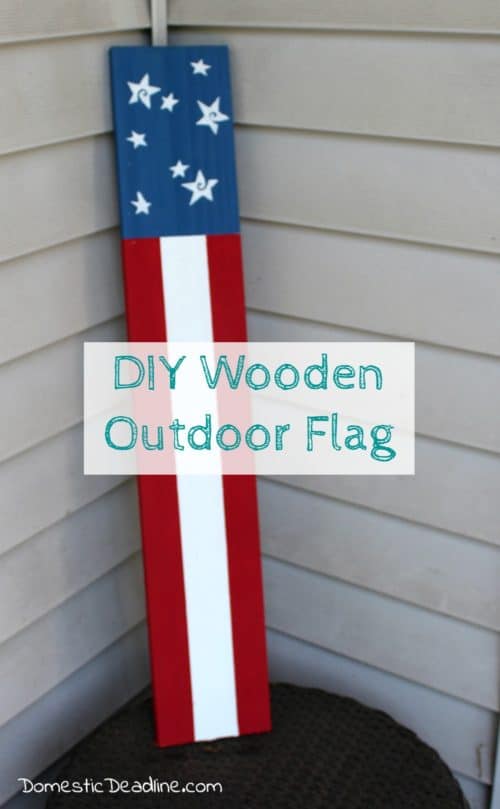
Wooden Outdoor Flag
That’s it! I really think this could easily be adapted to any flag for any country.
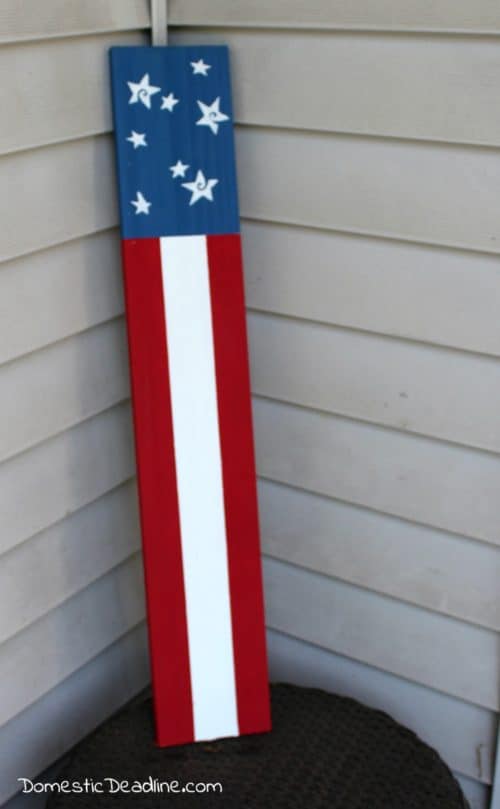
I simply propped it against the house by my front door! Eek, I guess I need to add “power wash the house” to IronFish’s to-do list… (because I don’t want to do it myself, lol).
A few other tips… I have an overhang on my porch, which means, my flag isn’t going to get much more than the sun and maybe a little water if we have a big storm. I like a weathered look, so I’m not sealing the paint.
If you wanted to, you could pre-weather your flag with a bit of sanding. Or, if you don’t want it to weather, paint a coat of clear poly over the whole thing.
Monthly Craft Room De-Stash Challenge
On to the challenge! Let’s see what everyone else made from supplies they already had on hand…
Meet Your Hosts
Shoppe No. 5 | Purple Hues and Me
Craftily My Love | My Family Thyme | Modern on Monticello
The Inspiration Vault | C’mon Get Crafty | Sew Crafty Crochet | | This Autoimmune Life
Life Beyond the Kitchen | Domestic Deadline | Winter and Sparrow
If you’d like to join in the Craft Room De-Stash Challenge, you can request to join our Facebook group here!
 Loading InLinkz ...
Pin and Share
As always, feel free! Sharing is caring!





18 Comments