The kitchen is progressing nicely. With the floors fully tiled we moved to working on the walls. As part of the plan, we had removed all the old drywall and insulation. If we’re going to go to the work and expense of a new kitchen, the least we can do is improve the energy efficiency of the house! So before replacing the drywall and spackling, we added new, higher R-value insulation. This is by no means a super exciting part of the renovation, but a necessary one.
R-Value
First, let me say I know very little about insulation. All I do know is that the higher the R-value, the better it is for keeping your house the temperature you want in your home.
And, I know that R-7 is close to nothing.
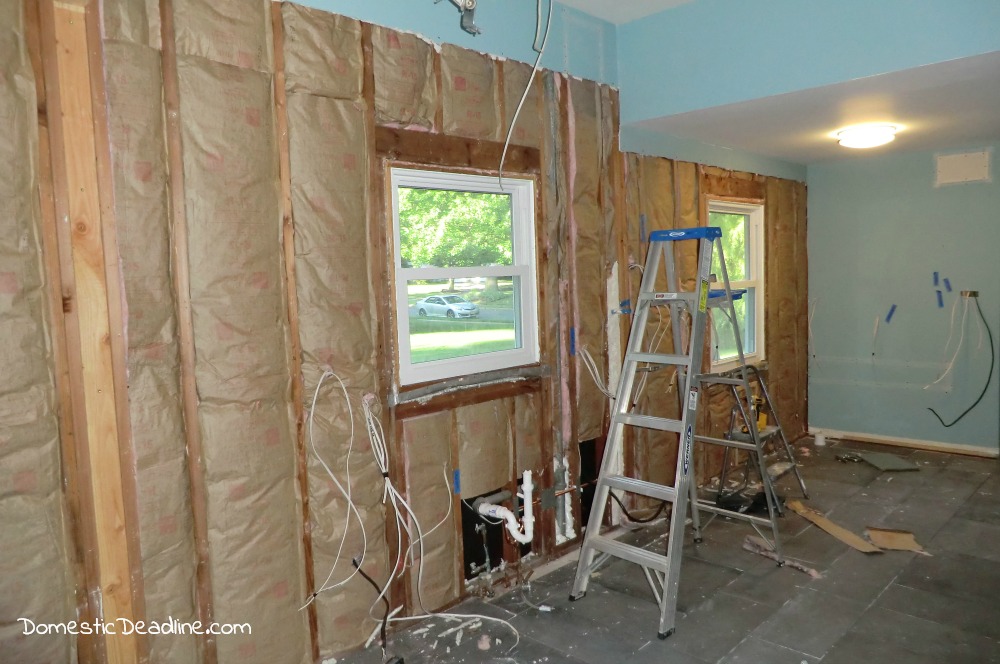
Currently, R-13 and R-15 are available for a 2×4 studded home, like mine. I know there are options like foam and blown in, but we were doing this ourselves. We went with the precut batts of pink stuff.
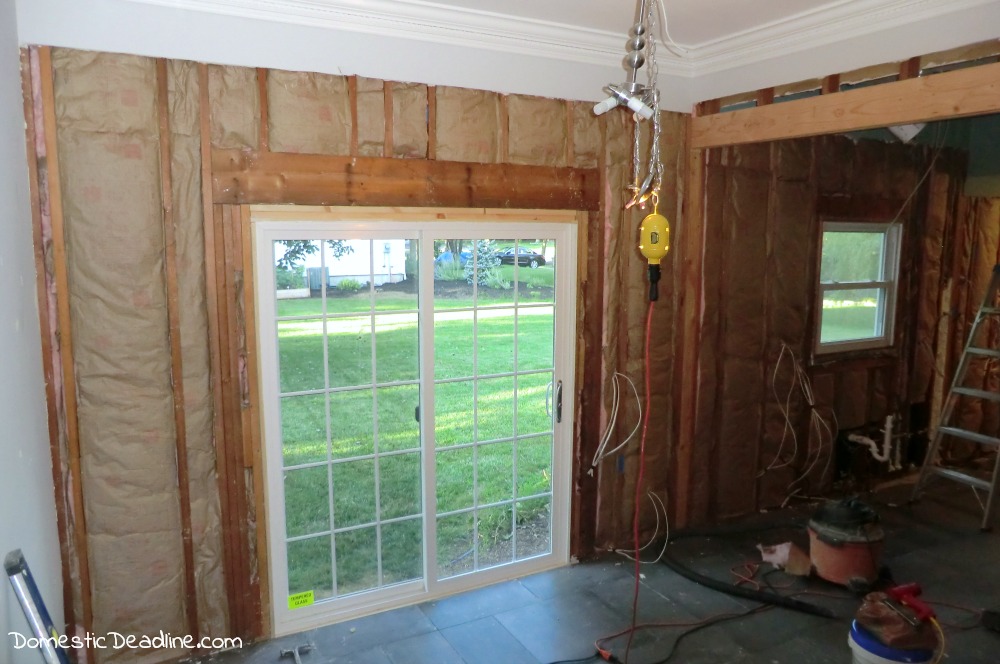
Obviously, we focused on insulating the exterior wall. There’s no real reason to insulate the interior walls.
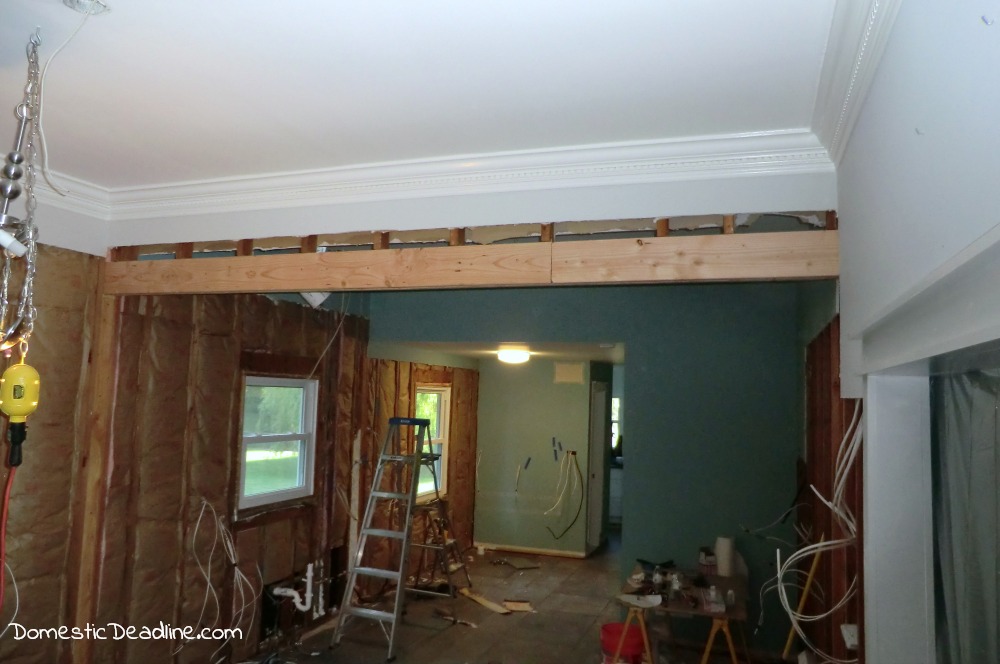
Wondering why we left about a foot of old drywall?
Simple, by doing this, we could still reach in and remove the old insulation and get the new back in. Paper taping the joint to the ceiling and spackling then wasn’t necessary. This saved me hours of spackling, sanding, and laboring over getting the joint between wall and ceiling perfect.
The last thing I know about insulation?
The old stuff used to cause the skin to itch when in contact. Many people have no problems with the new stuff.
I, however, am not many people. My skin still becomes insanely itchy and irritated from contact with insulation. This is another case of when my worlds collide. My Rodan+Fields Soothe is the only thing that has ever given me instant relief from this irritation. Once we finished, I showered up and applied the complete regimen and my skin looked and felt normal again. In the past, I spent days afterward itching.
Dust Control
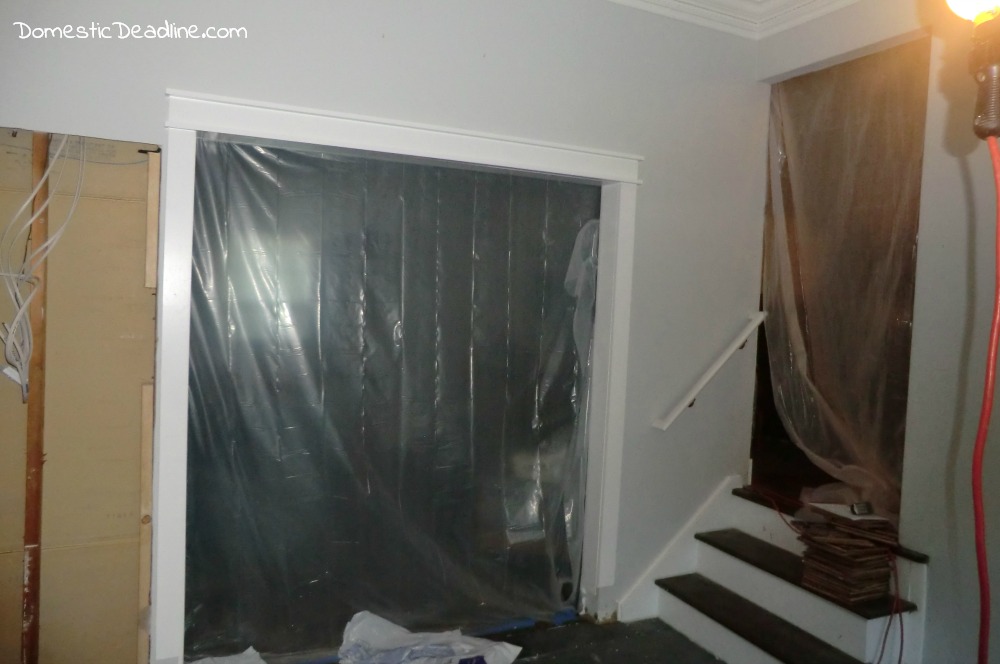
The day we started the demo, we actually taped off the openings to the rest of the house. I don’t think I shared that before.
This has been key in reducing the dust throughout the rest of the house. The larger opening we taped all around (heavy plastic drop cloths). The smaller one we pull back to get to the rest of the house. At the time of writing this, it’s only half covered now, but periodically retaping that one has helped immensely.
Drywall
The dining room and part of our kitchen have 10-foot ceilings. We started the largest pieces possible to install. Drywall does come in 10-foot by 4-foot sheets, but we stuck with the 8×4 foot sheets. Ultralite is still heavy and awkward for one person to handle, so the 8-foot sheets worked best for us.
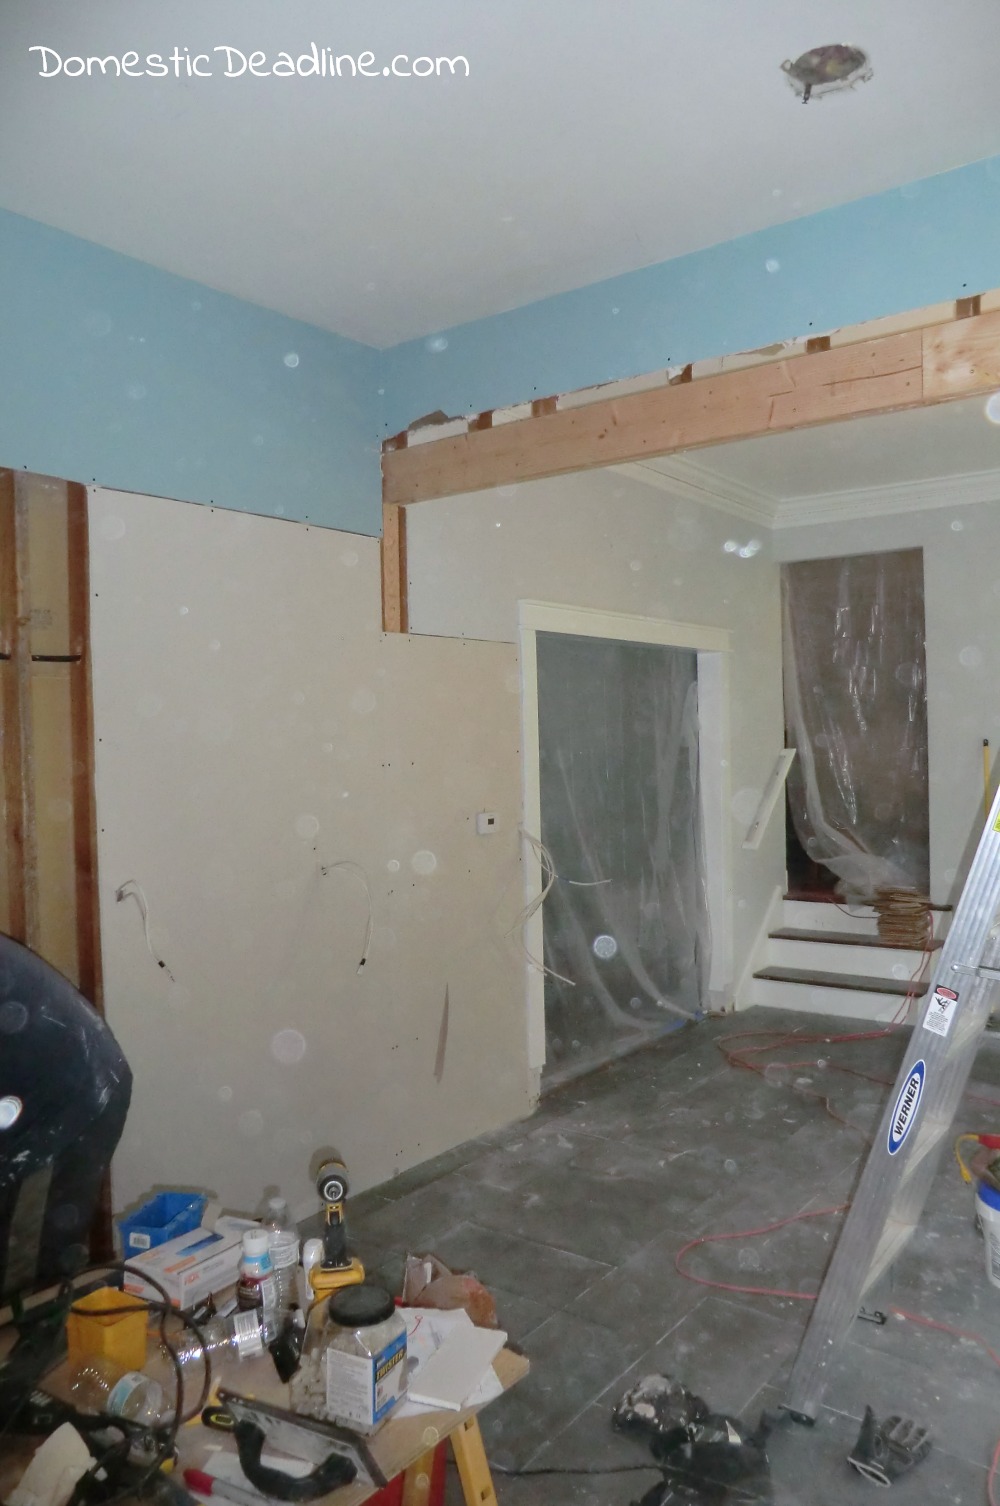
Where possible we used full sheets. If you’ve never drywalled before, the edges are tapered. It’s best to match tapers up to other tapers. Then when spackle or drywall compound is added it doesn’t add too much thickness to the wall.
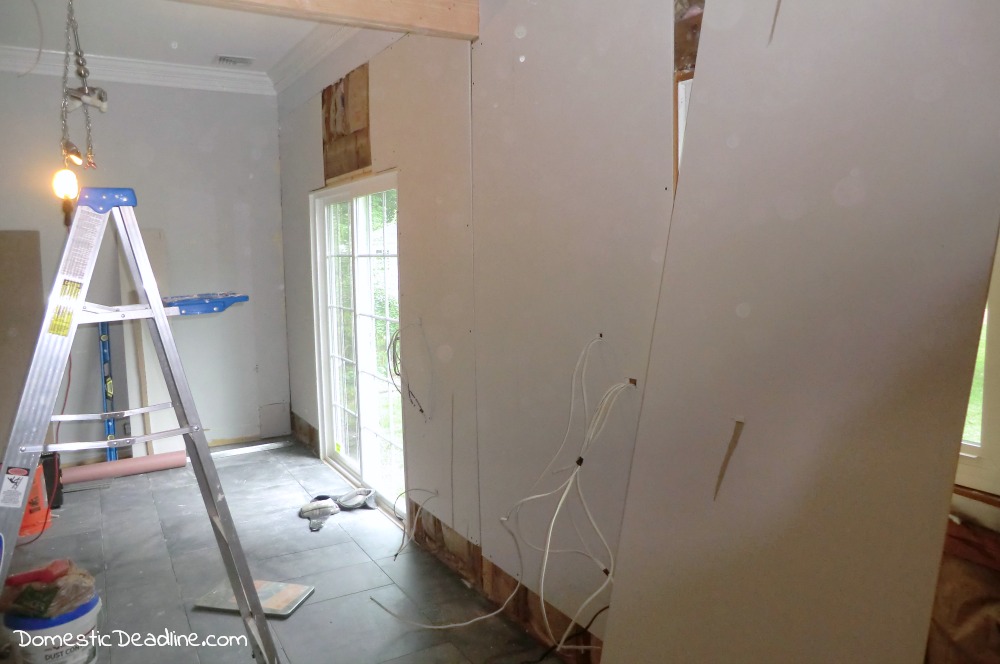
As often as possible we matched up tapered edges. Because the electrical wiring was done before this, I used my multi-tool to cut holes to pull the wiring through. Proper sizes for the electrical boxes can be done later. This drastically reduces the time needed for installing the drywall. It also reduces the error level. Despite measuring twice, IronFish and I have been known to put the holes for electrical boxes in the wrong spot!
Tape and Spackle
With all the drywall screwed in place, I was able to tape and spackle.
So far, we’ve used 6 gallons of spackle!
I like to do a few light layers before sanding.
Even at this stage, the space is so drastically different! I’ve been working 15+ hour days while the kids are gone. IronFish has taken a few vacation days from work to help me, plus all his weekend time.
I know the finished kitchen isn’t too far off so I just keep pushing forward.


