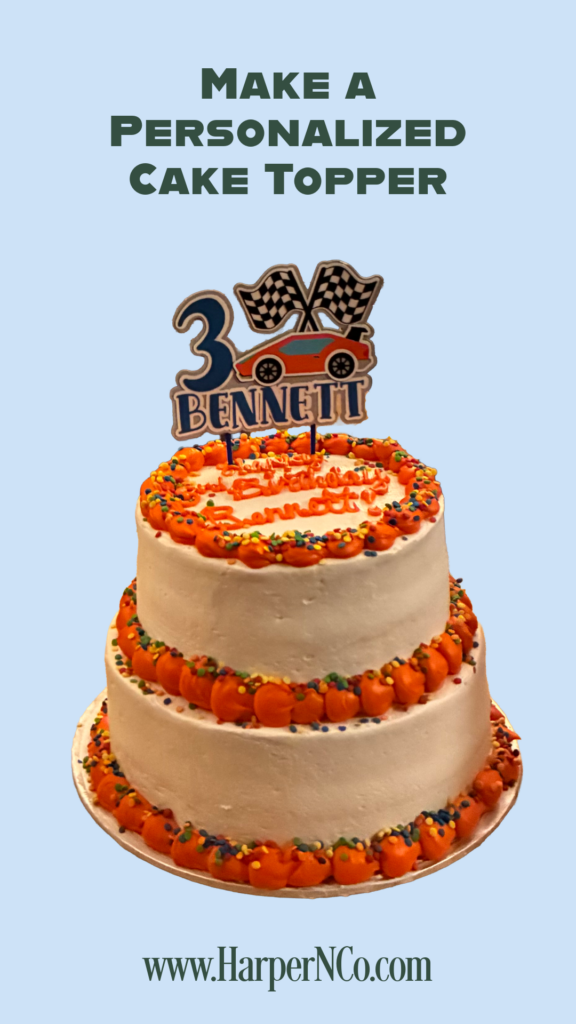
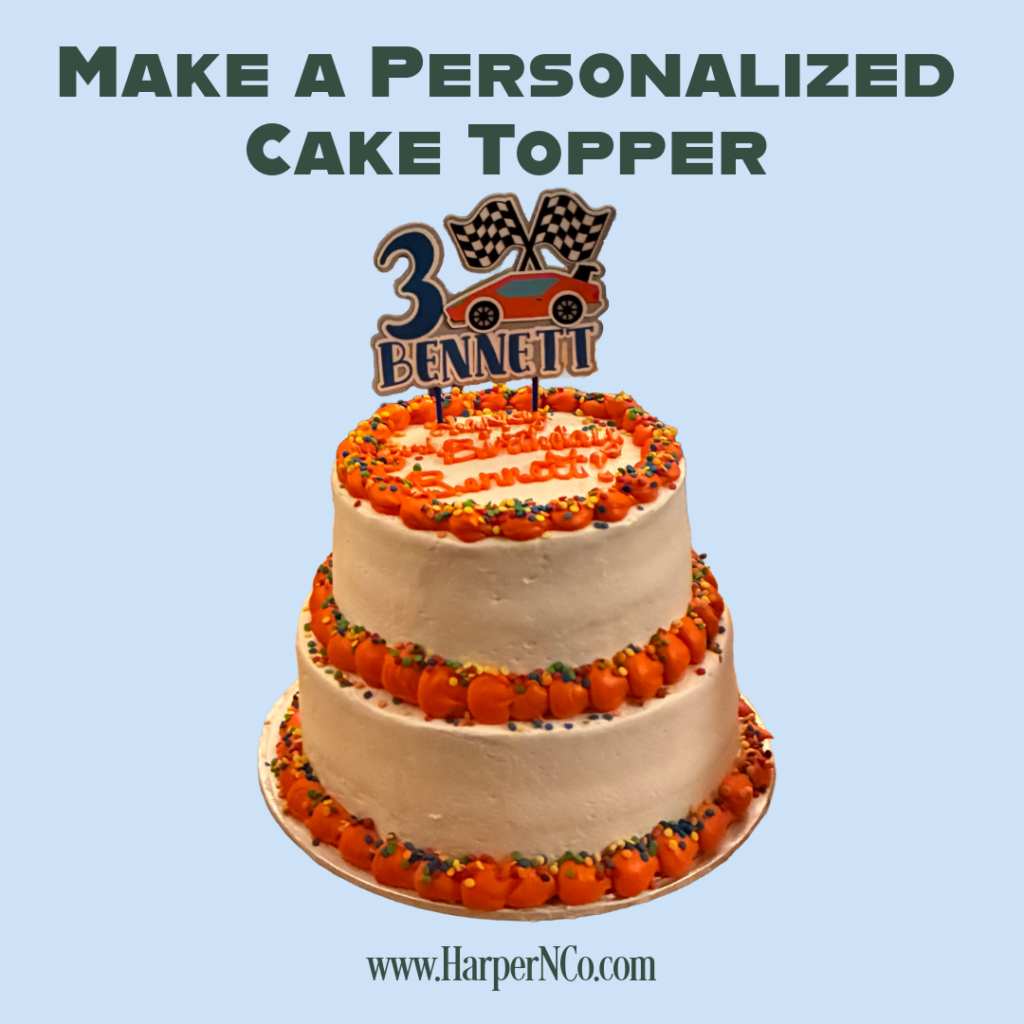
Learning how to customize a cake topper is an easy way to create a personalized centerpiece using a Cricut or Silhouette cutting machine. In this tutorial, I’ll show you exactly how to customize a cake topper by adding a name, number, and layered backing while keeping the design sturdy and professional-looking.
Although this example uses my race car design, the same steps work for almost any personalized cake topper style, making this a flexible method you can reuse again and again.
What You Need to Customize a Cake Topper
Before you begin, make sure you have the following supplies:
- A cutting machine (Cricut, Silhouette, or similar)
- Cardstock
- Glue or glue stick
- Hot glue gun
- Lollipop sticks or similar supports
Once everything is ready, you can start customizing your cake topper in Design Space.
How to Customize a Cake Topper in Cricut Design Space
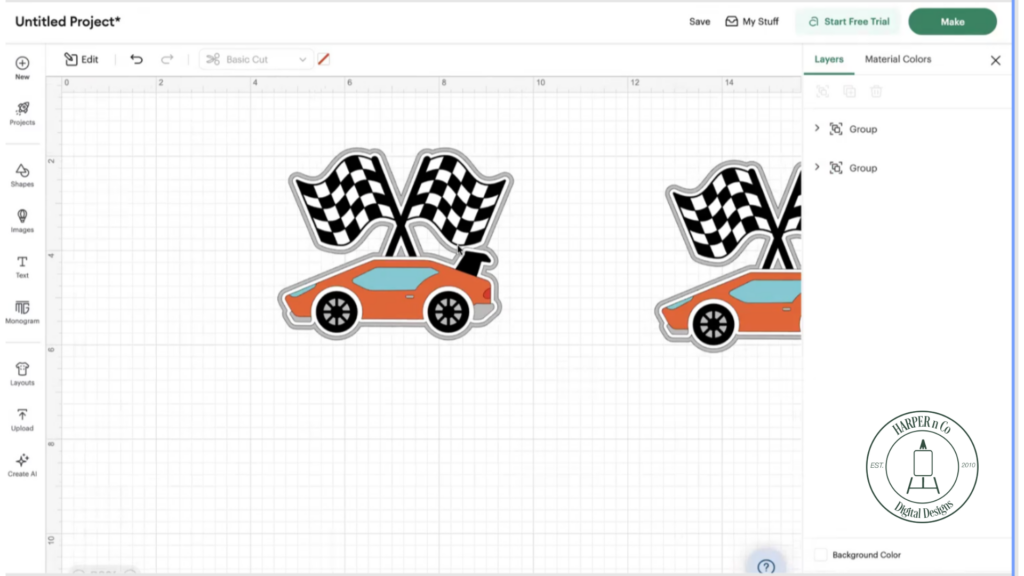
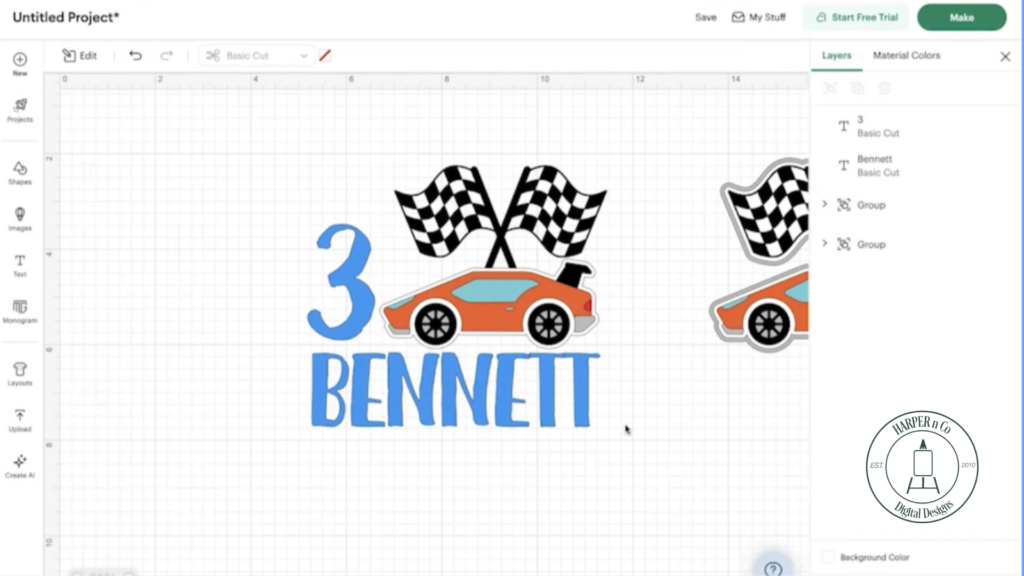
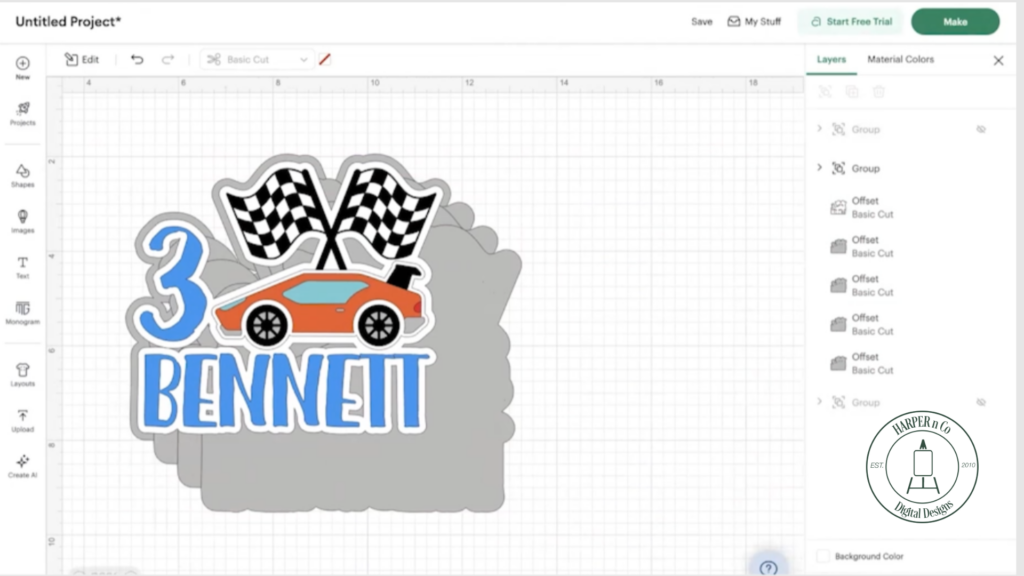
To start, upload your cake topper file into Cricut Design Space. I always keep an untouched copy of the original design on the canvas until I’ve finished all of my customizing.
This habit saves time. If I make a mistake or want to try a different idea, I can return to the original without relying on undo. I often duplicate my design at different stages, even if I don’t end up using those copies.
Now that I have two copies, I move one off to the side and work with the other.
Remove Extra Layers and Prepare the Design
Next, ungroup the design and delete the back two layers that aren’t needed for customization (the gray and white layers). At this point, you should be left with the main image that will be the focal point of your cake topper.
This step helps simplify the design before adding personalized elements.
Add a Name and Number to Personalize the Cake Topper
Now, add a text box in Design Space and select a font. I prefer to use fonts installed on my computer since those are the fonts I design with most often.
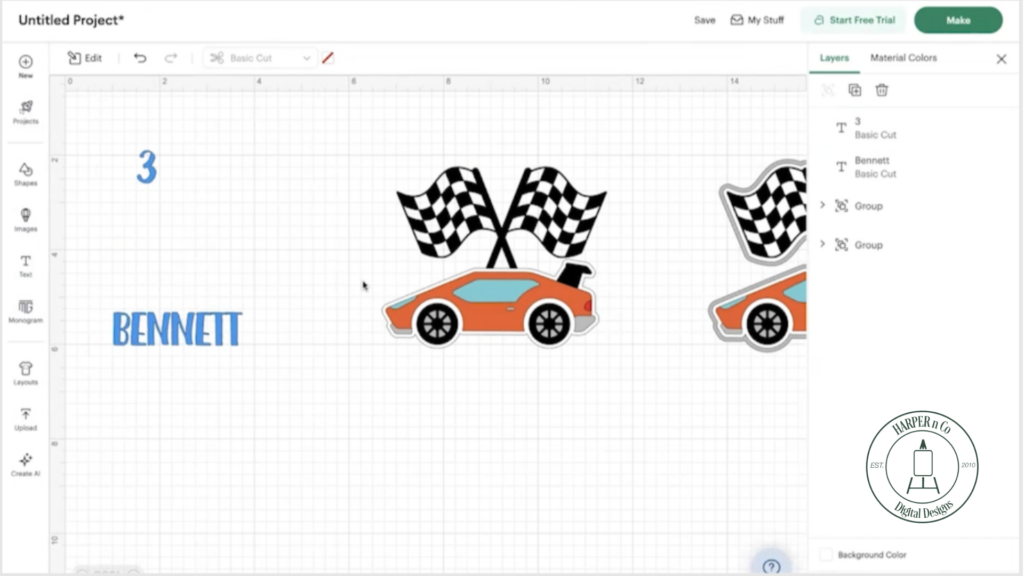
Type the name and number you want to include, then adjust the color to match your theme. Resize and position the text so it works visually with the main design. I let soon to be 3-year-old Bennett pick the color… Blue is the birthday boy’s favorite color!
Once everything looks right, group the entire design and duplicate it again as a backup. You don’t have to make a copy, but the one time you need it, you’ll be glad you have it!
Create Offset Layers for Strength
With the full design selected, click the Edit (pencil) icon and choose Offset under Effects. I typically use an offset of 0.15 with rounded corners and keep Weld Offset checked.
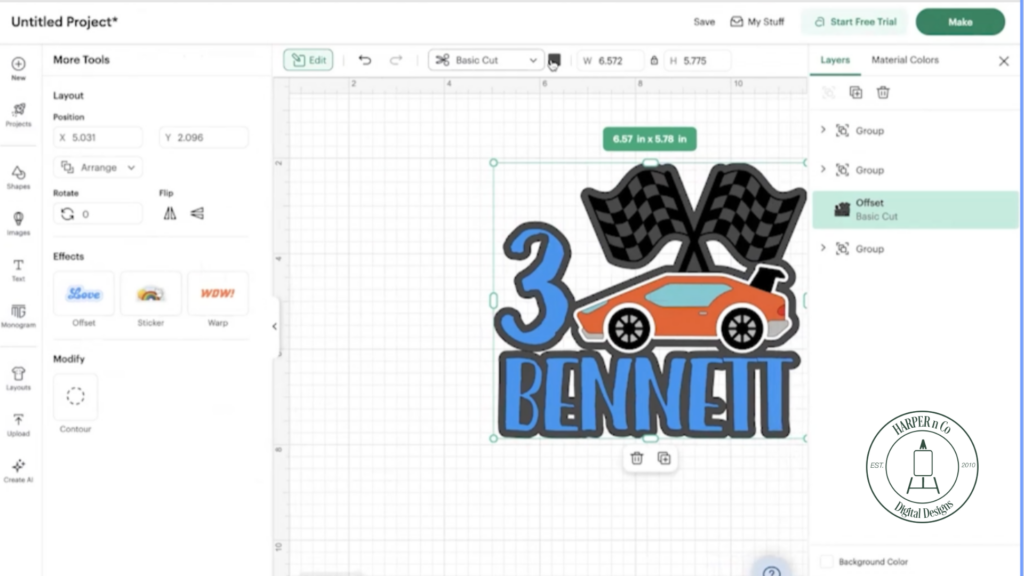
After applying the offset, I changed the color to white.
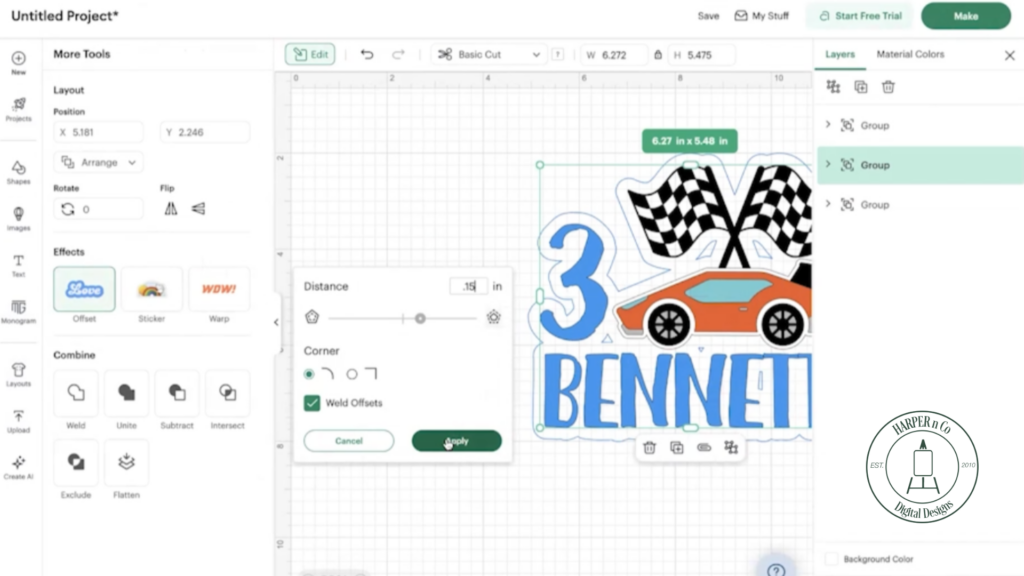
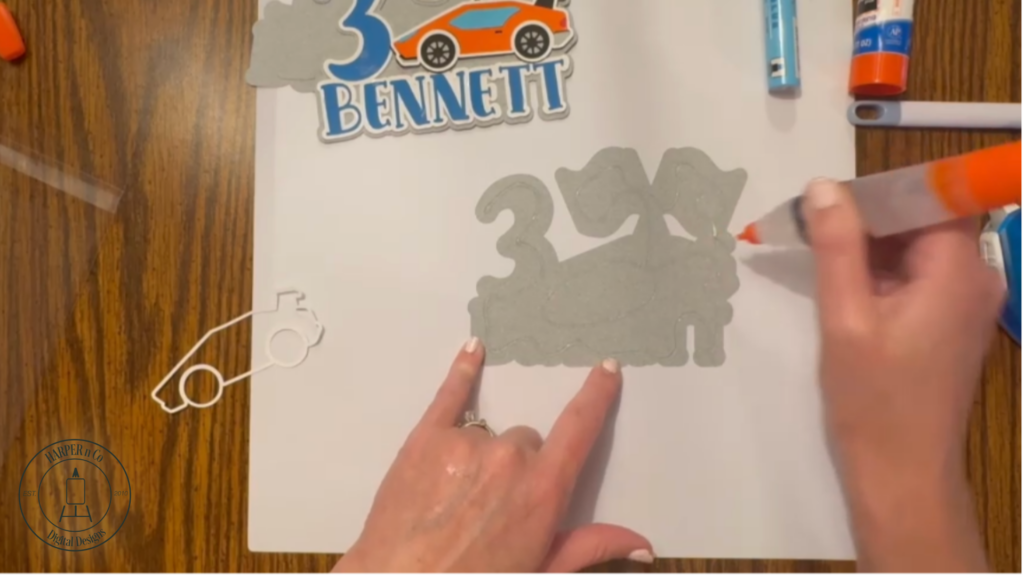
Then repeat the process to add a second offset, adjusting the color as needed (I made mine the light gray already in the design, and because I have a lot of this).
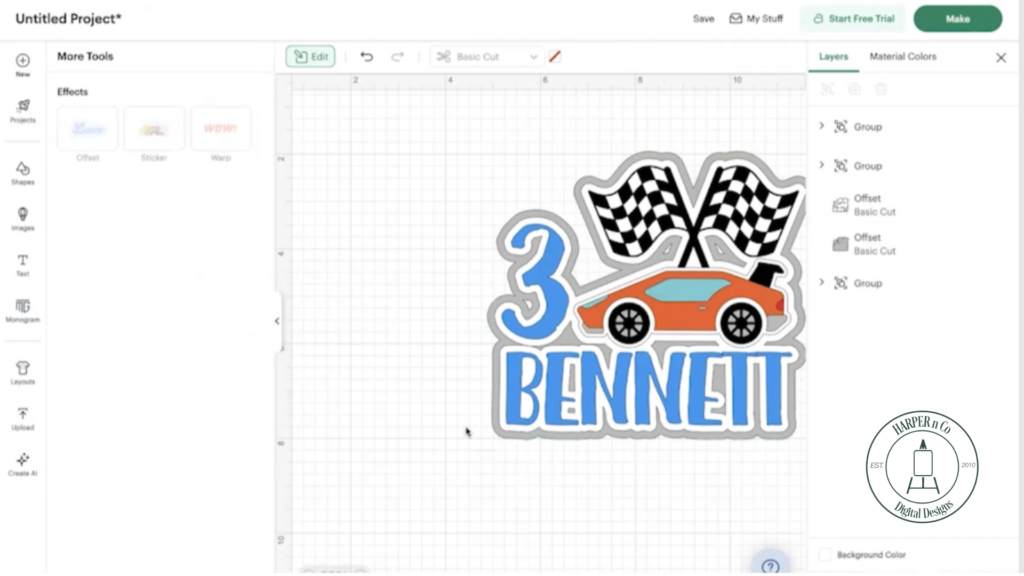
To keep the cake topper sturdy, I cut multiple copies of the (gray) offset layer. My gray cardstock is thick and I was gifted a case of it! If you have a thick cardstock but it’s not in the color you want, cut two out of your preferred color. You can hide the color you don’t want.
Designing a personalized cake topper is so easy in Cricut Design Space!
Cut and Prepare All Cake Topper Pieces
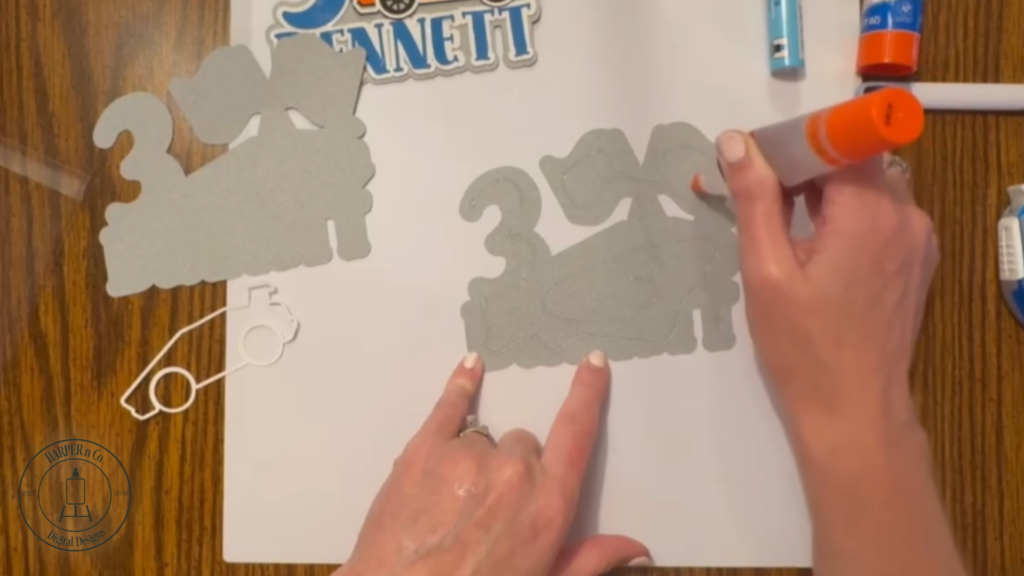
Once your design is complete, hide or delete any duplicates you no longer need. Then cut all of the pieces using your cutting machine.
Organize the pieces by layer before moving on to assembly. This makes the process much smoother.
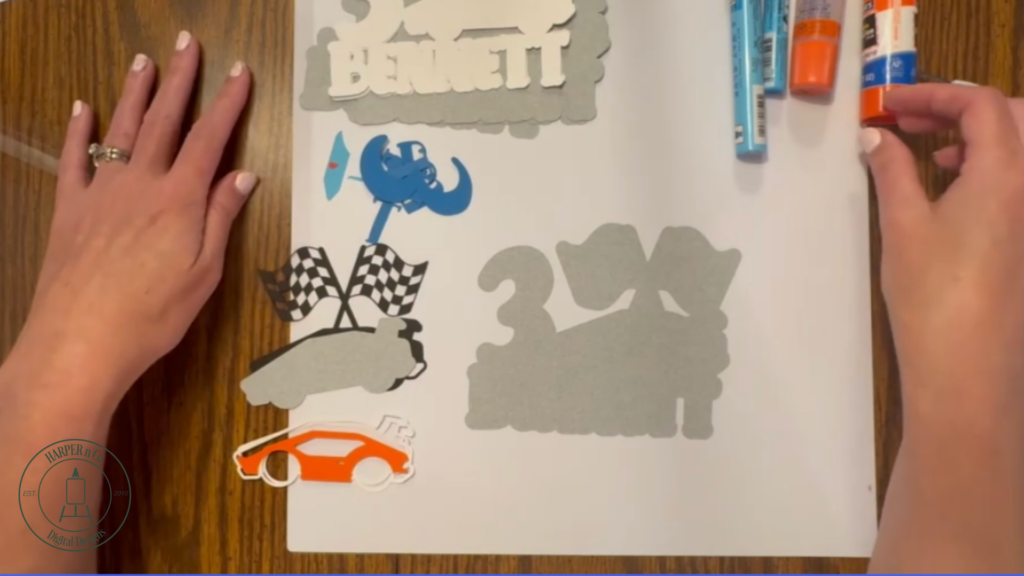
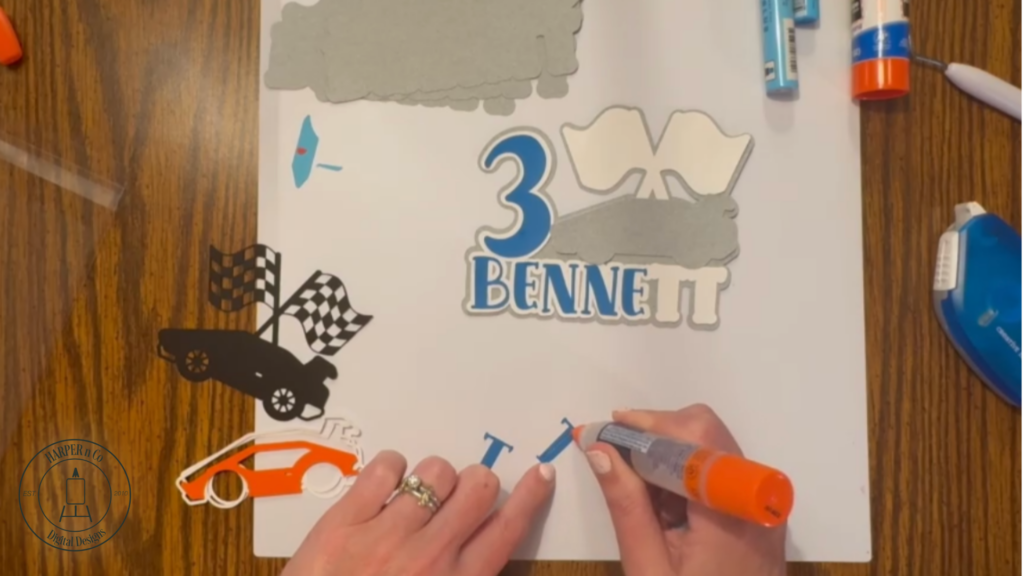
Assemble the Custom Cake Topper
I accidentally cut my white parts out twice, so I decided to use them, more layers just makes it sturdier. Start by gluing one white offset layer to a gray base layer. Then layer the remaining white piece on top.
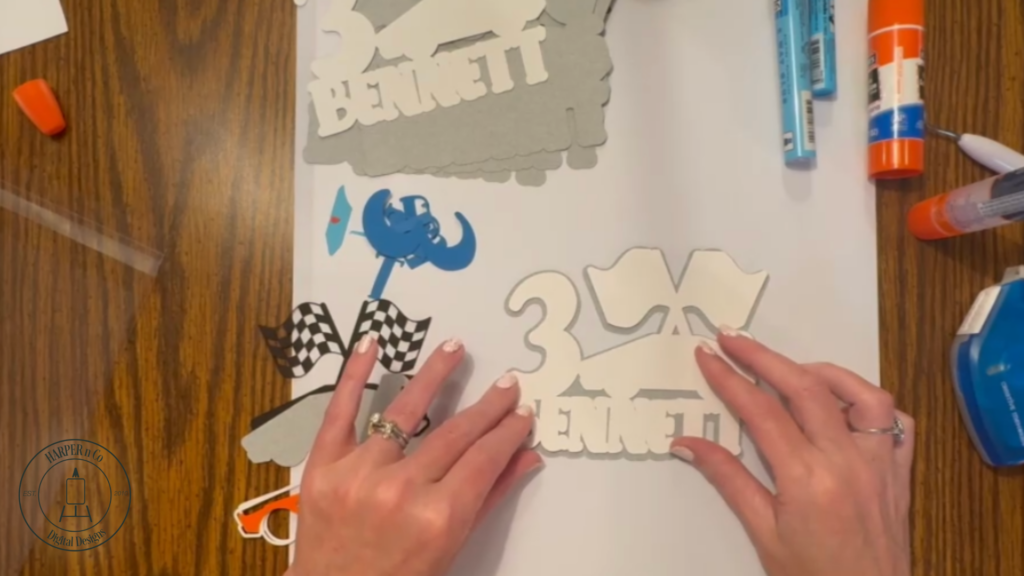
Now it’s time to start assembling the details. The gray car shape layer is first.
Next glue down the letters and number. To make this step even faster, you could use adhesive vinyl instead of paper and then apply with transfer tape.
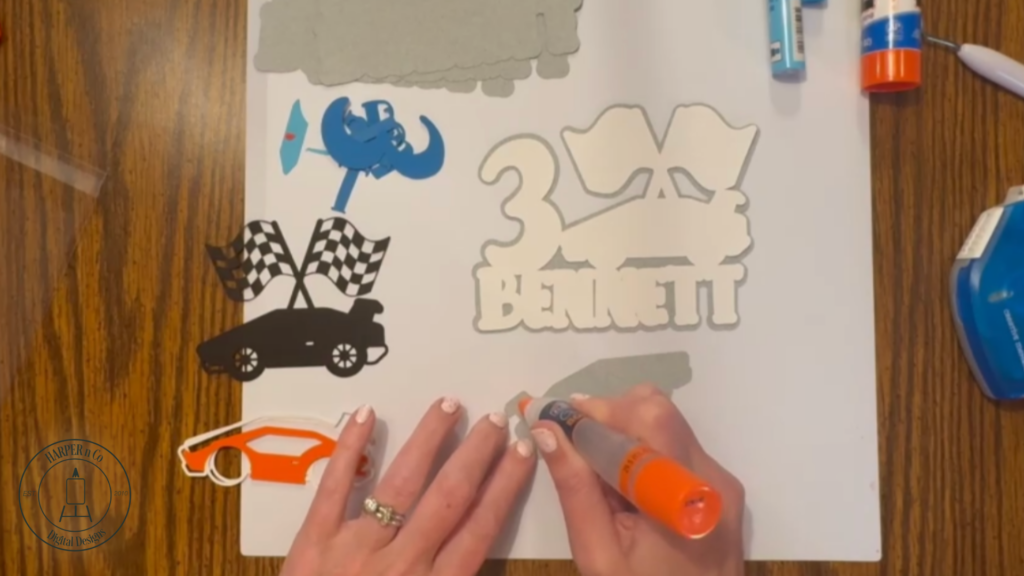
Next comes the black layer of the car and flags. Bearly Art Glue with a fine tip would be great here to make sure the small sections have glue on them, but I didn’t bring that with me.
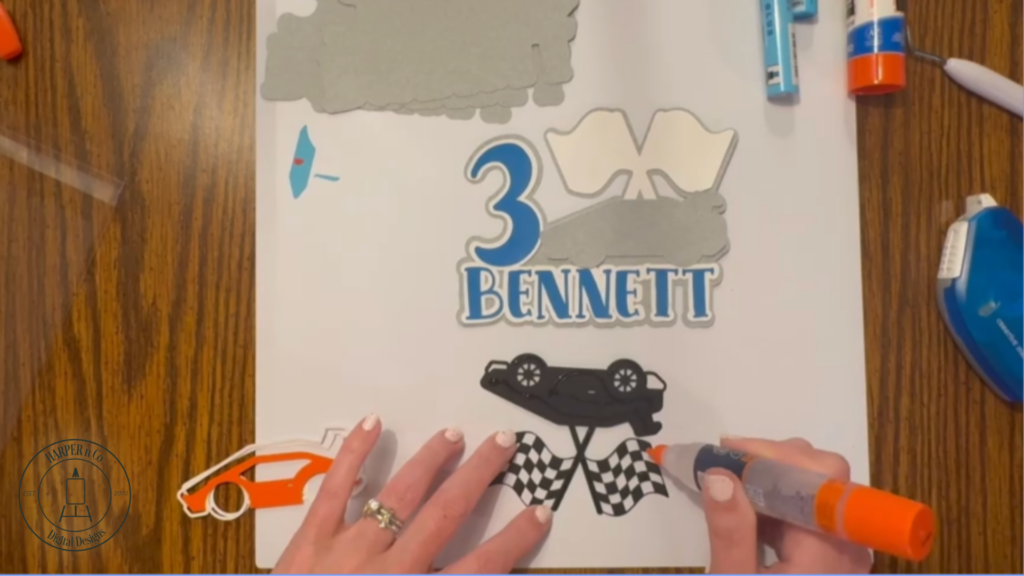
Next attach the white outline of the car, you can see I cut two of these also, I ended up only using one. This gets lined up with the rest of the car so it’s easier to fill in the other pieces.
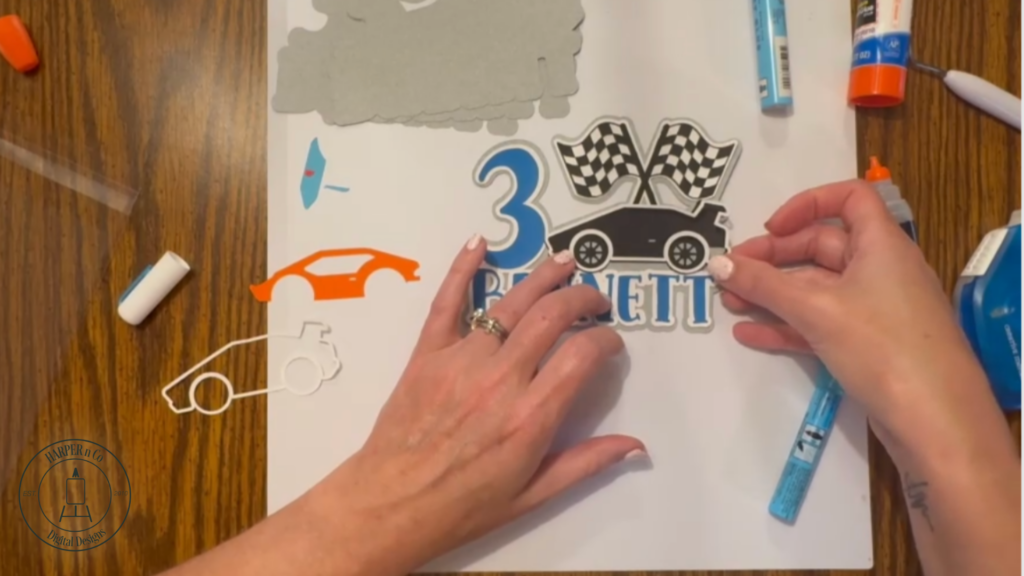
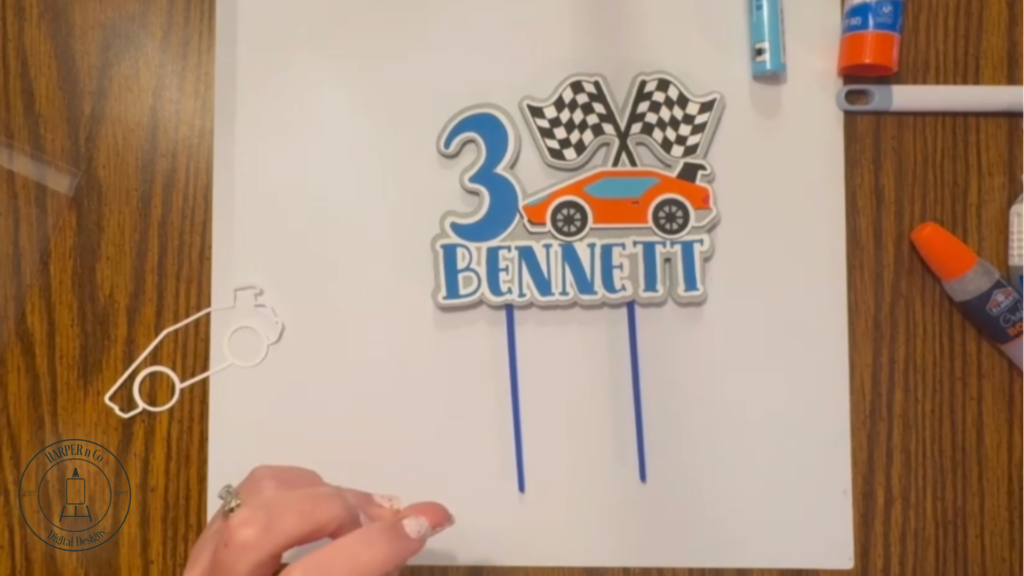
Finish the car by filling in with the orange body of the car and finally, the blue windows and red tail light.
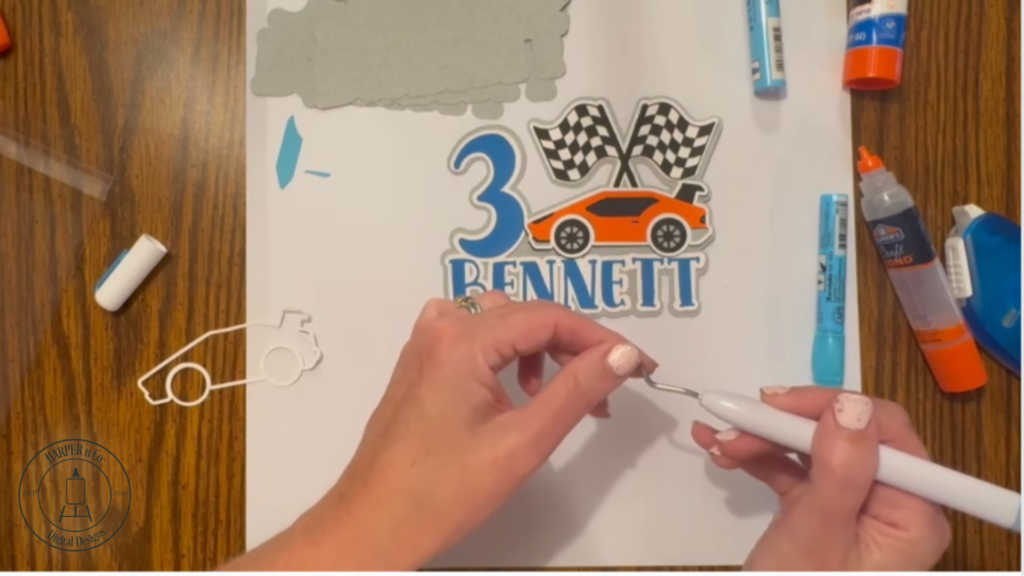
Once the front is finished, glue it to another backing layer to complete the front of the cake topper.
Add Support and Finish the Back
Set the top aside and glue the back two layers of gray together. If you are using a lighter cardstock, I recommend using 3-5 layers, especially if the cake topper will be used for an outdoor party and might need to hold up to wind or on a more humid day.
To the back, glue your lollipop sticks, or in my case, paint brushes! I forgot to bring my lollipop sticks with me and needed to improvise, turns out cheap kid’s paintbrushes work in a pinch.
I put the brush side up so the bristles wouldn’t end up in the cake! I use a hot glue gun for this.

Finally, glue the front and back together to complete your custom cake topper.
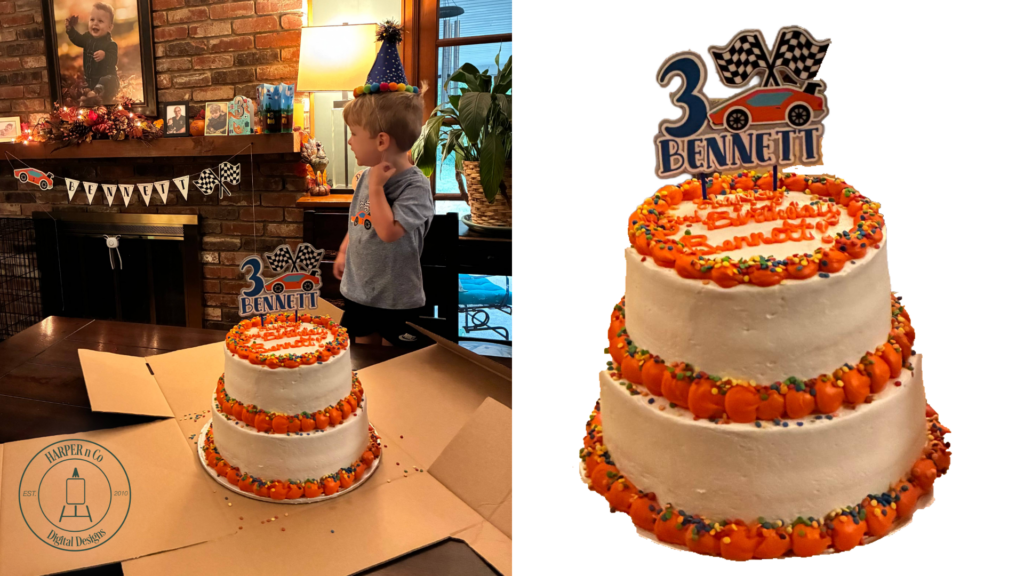
Now just add cake!
Your Custom Cake Topper Is Ready
Now that you know how to customize a cake topper, you can use this same process for birthdays, holidays, and themed parties. This method works with many designs and makes it easy to create a personalized cake topper that coordinates with banners, shirts, and other party décor.
Here’s the birthday boy with his personalize banner and the matching t-shirt I made him.
I offer the banner in my Etsy and Silhouette shops with the complete alphabet, numbers 0-9, and the car and flags so you can make it say whatever you want. Check out how easy it is to assemble in the video below.
If you’re looking for more paper craft projects check out my free Friends 3D Shadowbox Card or a fun 3D Paper Flower.
Pin for Later
Please feel free to Pin and share!