Back to the boy’s bathroom! My goal in the design of our home is for everything to flow together nicely. No choppiness or style changes moving from room to room. So modern industrial farmhouse continues into this space. Mostly I select classic options and throw in a twist here and there. Like using a white subway tile on the walls around the tub but using different sized tiles!
Check out the start of our industrial farmhouse bathroom renovation!
Industrial Farmhouse Bathroom Tile
There are so many tile options on the market today. Since I’m constantly working in other people’s bathrooms and kitchens, I see tons of combinations. Unfortunately, there are still so many people out there that think they need to select beige to be neutral. Every now and then it works, especially with a good wall color… especially if it isn’t another shade of beige!
When we do a bathroom that isn’t beige… well, it’s a lot more fun.
Gray is a much better neutral option. If you’re a fan of HGTV, blogs or anything about design, you probably already know that. If not, well, now you know!
I’ve worked with gray and white throughout the whole house. It makes other colors pop. So, when it came to making selections for O-Man’s bathroom, I knew what direction I would head in.
White subway tile is always a classic.
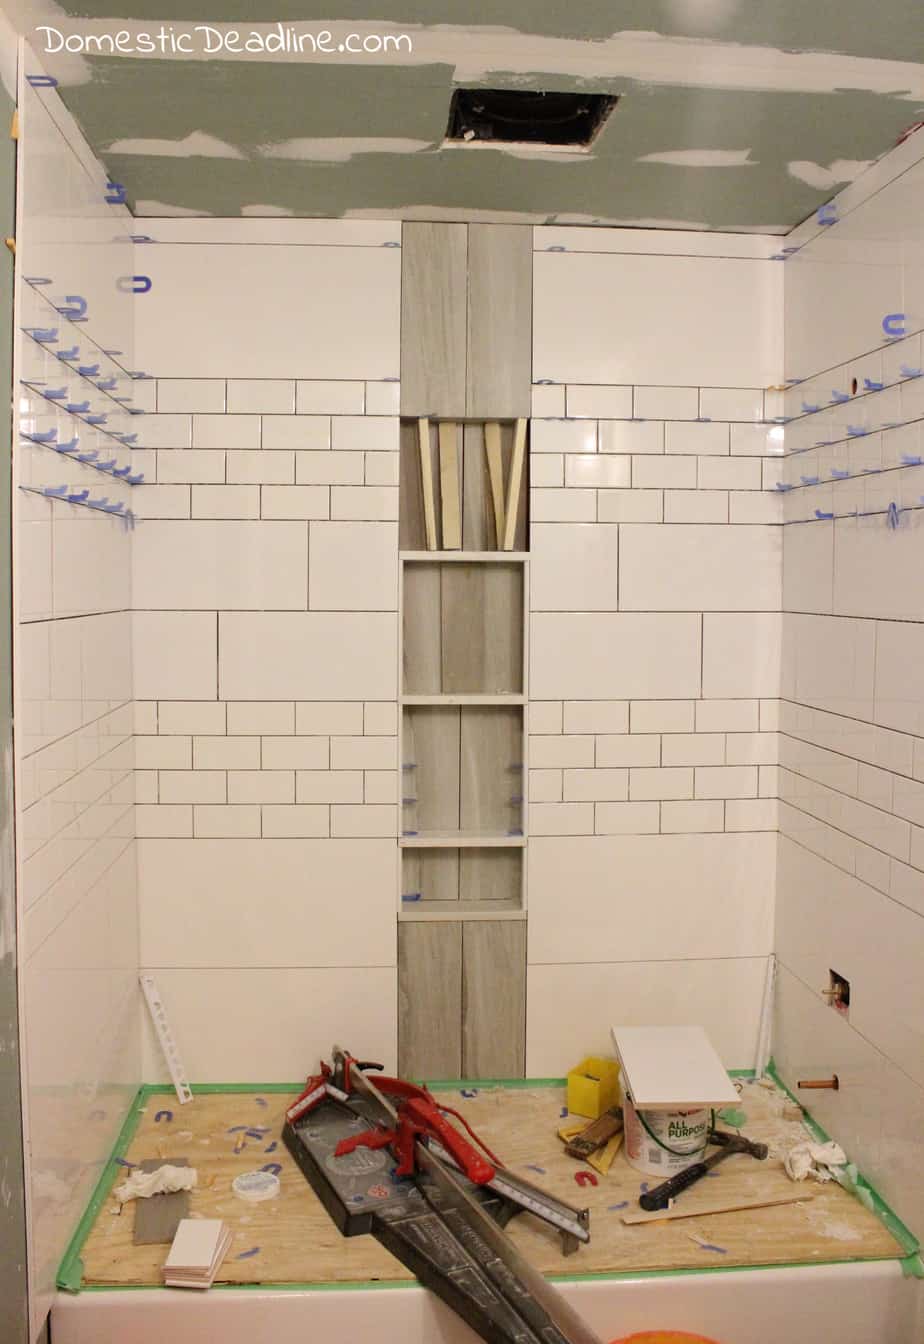
The majority of the walls I tiled in a traditional subway pattern. But… only using the traditional sized subway tiles for a few rows!
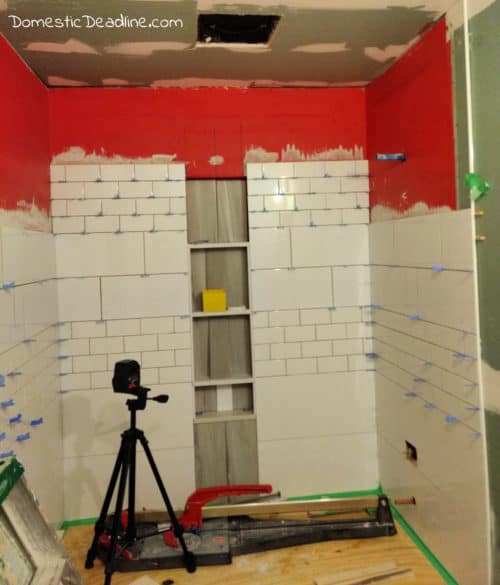
Alternating between rows of giant and medium-sized subway tiles kicked the traditional style up a notch.
With the variety of sized of subway tile used, I knew a traditional bullnose edge tile was not going to work for me. Instead, a clean white edge was achieved using Schluter edging.
Of course, I had to run the tile all the way to the ceiling to add height to the room as well. This has become a popular trend and one I particularly love. Especially since the predominate user of this room will be an 11-year-old boy… just sayin’.
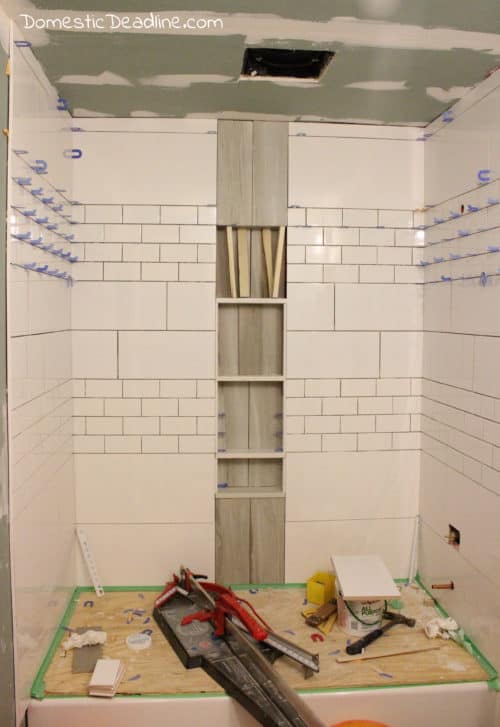
Initially, I had planned to run the tile to the edge of the tub only since I wouldn’t be using a bullnose. But, remembering that whole 11-year-old boy thing and the waterlogged trim I removed… Taking the tile past the tub 3 inches was the right way to go.
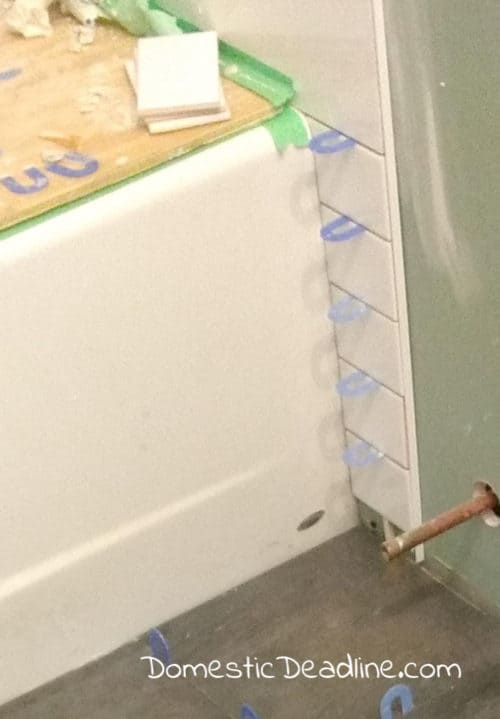
Turned out to be one of my favorite touches! Using the traditional sized subway tile horizontally was the perfect finish to the alternating rows of sizes.
Waterfall Storage Niche
I had some leftover wood plank tiles from another job. With a beachy, whitewashed tone, I immediately fell in love with this tile. This house has 3 styles of hardwood. I pulled them together by having them refinished in the same stain. IronFish’s office has a laminate wood-looking floor, as close as we could find to match with the rest of the house.
With 4 styles of wood flooring, I long ago ruled out using wood plank tiles on my bathroom floors.
But, I never said I couldn’t use wood plank tiles on the walls!
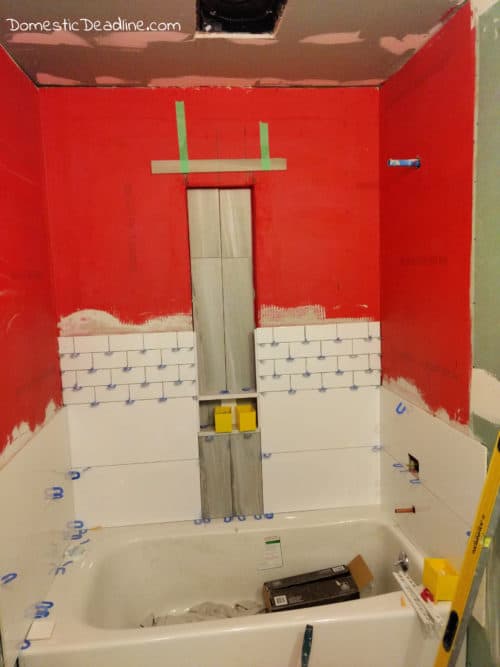
The beachy whitewashed wood plank tiles were the perfect choice for O-Man’s shower niche. Masculine and classy all rolled into one. To give height to the room and variety from the horizontal accent we frequently do, I opted for a waterfall effect. Running the planks vertically down the center of the back tub wall with the shelves built-in.
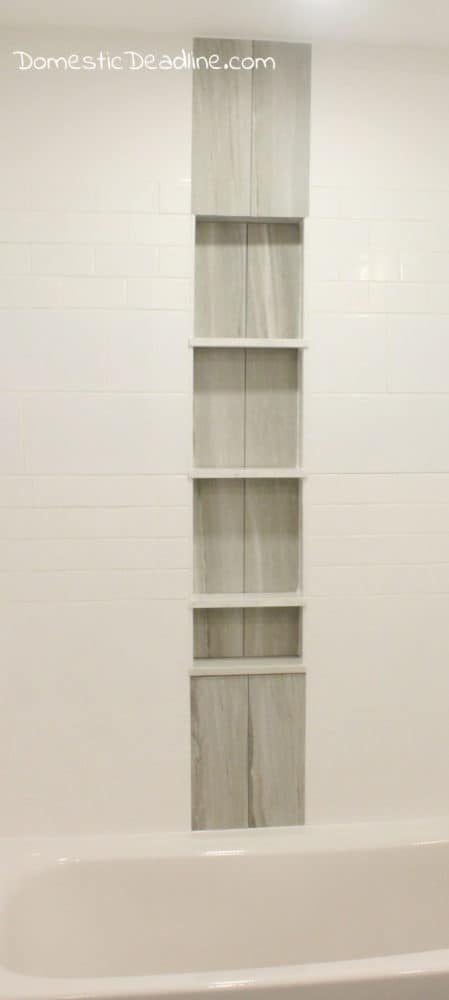
A more rounded Schluter edge was used for the corners of the wall niche. The simplicity of the edging allowed for the wood plank tile and marble shelves to stand out.
Floor Tile
If a customer wanted to use the whitewashed wood plank tile on the floor and the shower niche, I would be all for it. But, as I already said, the 4 styles of wood in my house already, led me away from doing this in O-Man’s bathroom.
Luckily, I had enough tile leftover from another job and it was perfect for this bathroom.
Had I not fallen in love with the tile I did use in my kitchen, this would have been my selection for that space. The 12×24” size is the same as the smaller of my kitchen floor tiles. The gray coloring gives a similar feel.
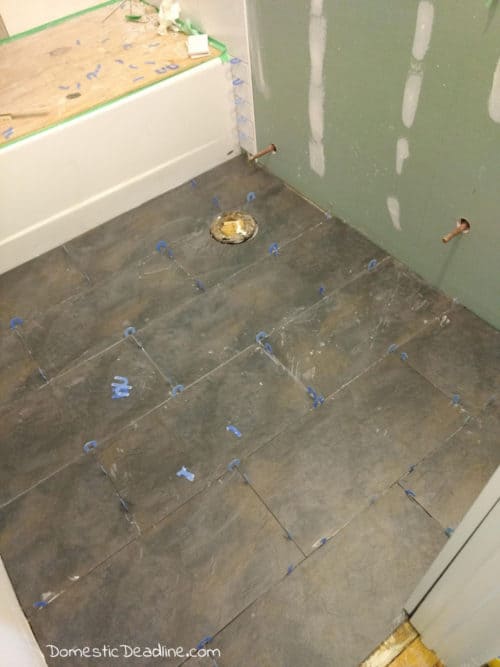
This tile, however, has more texture and hints of dark brown and black flowing through.
Typically, we run tile the long way across a room to lengthen the space. My floor space remaining after the tub was installed was a square.
With all the wall tile running horizontally, keeping the floor tile in the same pattern was the best choice for this space.
DIY Tiling Tips
Tiling is my favorite part of all bathroom renovations. Between this tiling job and my powder room floor, it’s probably obvious I like mixing and matching tiles. Don’t be afraid of this!
A good tile shop (not your big box store) is going to have skilled professionals available to help. There are many manufacturers who design tiles in a variety of sizes to help you create patterns. This is a great place to start. Especially since not everyone has a leftover tile stash like me!
If you are looking to create a look without breaking the bank, find a tile that inspires you and work from there. In most cases, your accent tile will be the most expensive. Using it to accent field tile reduces the cost and makes the accent tile shine through.
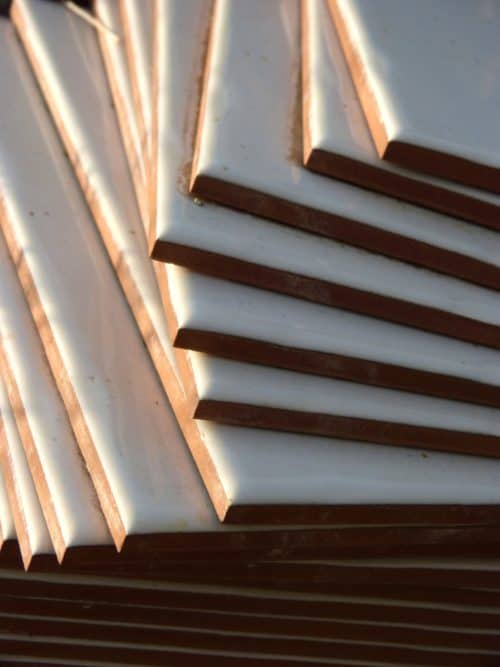
Field tile, in my case, all the white subway tile, is a great place to save money. The traditional 3×6″ white subway tile was by far the least expensive tile I used. It’s the main reason I used it all over my mudroom walls! Inexpensive and classic.
Be careful when mixing different tiles as the thickness of the tiles needs to be considered. A variety of thicknesses will require more skill when installing the tile. Otherwise, the finished walls will have a lot of in and outs where the tiles change. Even a very slight difference in tile thickness can become obvious once everything is finished.
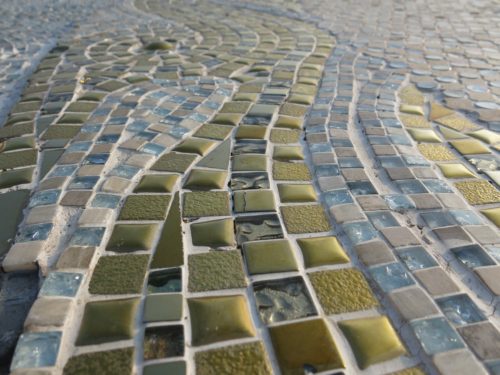
Tools of the Trade
If you are planning on doing a lot of tiling, it’s worth it to invest in good quality tools.
Having used a variety of tile spacers over the years, I have found horseshoe spacers to be my favorite. Because they are rigid, large tiles can’t squish the space smaller. Not only resulting in consistent spacing, but the large size makes for easy removal and repeated use.
Another great tool, especially for dealing with large tiles, is a leveling system. These systems can range in price and user-friendliness. Hands down, this leveling system is my favorite.
Dave and I have a few wet tile saws and a grinder. We used to only use a large wet tile saw. It was bulky, finicky, and finding a place to set it up could be a problem. Especially in the winter when it was below freezing!
Now we only keep a small wet saw in the trailer and cut 95% of our tiles with a Monolit Manual Cutter.
Ok, enough tile talk today. Next up, finding hidden storage! My second favorite thing to do in any renovation!!!

