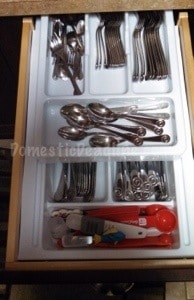
As the holiday season approaches, I’m getting ready for company in my house. Which means I’m cleaning up… It’s also making me think more about organizing… I thought I’d parlay it into the blog and clean up and organize some of my older posts. I still dream of this two level drawer organizer from my old house.
Currently, I have to carefully finagle my 1972 cutlery drawer so it doesn’t fall off the tracks every time someone opens it, so this project will be pretty high on the list once I replace the cabinets!
In our first house, I got to update my kitchen…. twice! Working with a budget, I chose cabinets that met most of my needs and my wallet. Two-tiered silverware drawers were not budget friendly when pre-installed in the cabinets.
So, I solved the problem on my own!
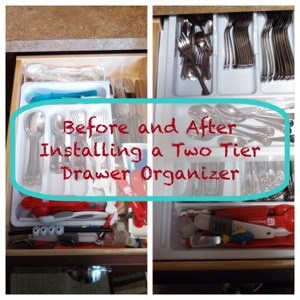
Before:
I messed with drawer organizers for years. This is what had been working best for us:
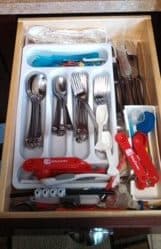
but it still wasn’t perfect. If the silverware wasn’t put in the correct way every time, it just spills into another section. And there weren’t enough sections for our needs.
Solution: Install a two-tier drawer organizer
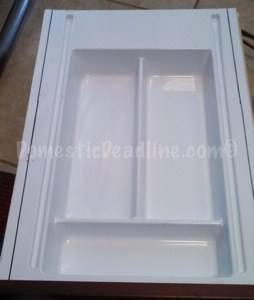
A two tiered cutlery tray! The one I used is Rev-A-Shelf RT 12-4F Rolling Tray Series Deep Cutlery Tray with Rolling Top Full Tray, Glossy White. There are a few different ones available based on the width and depth of your drawer. They can be cut to fit and since I chose to get a full top tray, I had to modify the drawer. Don’t worry, I took step by step pictures!
Cut Drawer
First, empty your drawer. Now remove it from the cabinet, either from the track or releasing the latches.
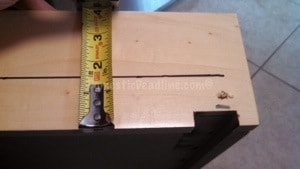
Measure up 1.5 inches from the bottom of the drawer on the back of the drawer. Remember, this measurement may vary if you use the deeper version of the drawer kit.
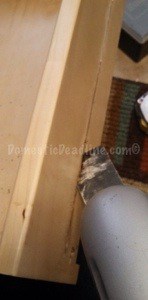
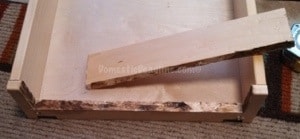
Cut along the line. I chose to use my multi-tool instead of a jig saw or other hand saw. I find this tool easier to use, plus setup and clean up are so quick, I use this for tons of things! Don’t cut completely across the back. Be sure to leave the sides of the drawer intact. After cutting it should look like this:
Cut Drawer Organizer Base:
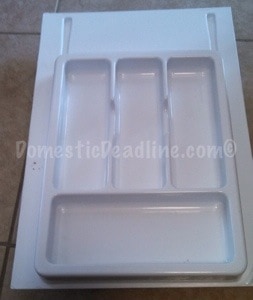
Set the top tier aside. Place the bottom tier into the drawer leaving some room to see the side, like this:
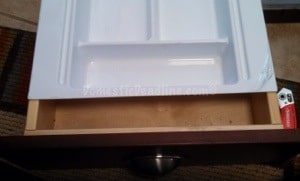
Mark right where those sides are. You need to cut the plastic bottom tier so that it sits down in the drawer.
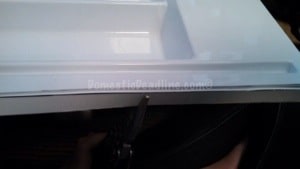
Using a razor knife and a straight edge, cut along the lines you made. I scored it with one pass and then ran the knife along the straight edge a second time to cut a bit deeper. Don’t worry about cutting all the way through. Using a pair of pliers, snap the extra plastic off:
Notch Drawer Organizer Base:
Because I wanted a snug, custom fit, I notched the back of the organizer. After marking it with a sharpie where necessary, again use the razor knife to score and cut.
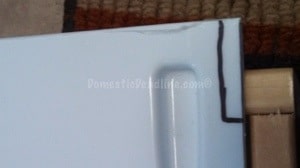
Snap off the extra piece. The base piece should now fit in the bottom of the drawer:
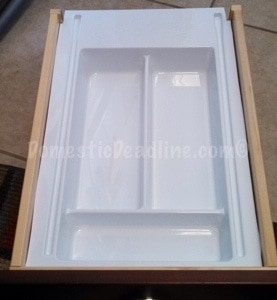
Finish Up:
Reinstall the drawer into the cabinet. Place the top tier into the track. It should slide back (through the back of the cut out drawer) and out of the way. When you close the drawer, it will get pushed forward. Put all your crap silverware back in the drawer and call it a successful day!
Tip:
Something that occurred to me in updating this post, running a bead of caulk along the edges would clean up the look of the cut plastic. Plus, secure it place if I hadn’t had a snug fit.
Not keen on cutting your drawer? A half top tray version is also available as are wooden versions
that I may consider for my knife drawer! I have also decided to keep the back piece of the drawer, just in case I ever decide this isn’t working (but I’m loving it now!)
PS – I used gift cards to get the drawer organizer for free…. Here’s how
How do you organize your drawers?
Originally posted May of 2014, Updated November of 2016






One Comment