Now that the floor is done, the next big install in our DIY kitchen is the cabinets. Certain ones impacted the placement of others and needed to be installed first. Here’s how we dealt with some obstacles and continued building our dream kitchen. Continuing the method of no cropping and showing you the behind the scenes of the renovation with pictures. Because I often worked on parts of the kitchen by myself when IronFish was at work, I’ve selected the best pictures to show what we did. But, you might notice things like electrical outlets popping into pictures. The cabinets are the focal point of this post either way.
Delivery
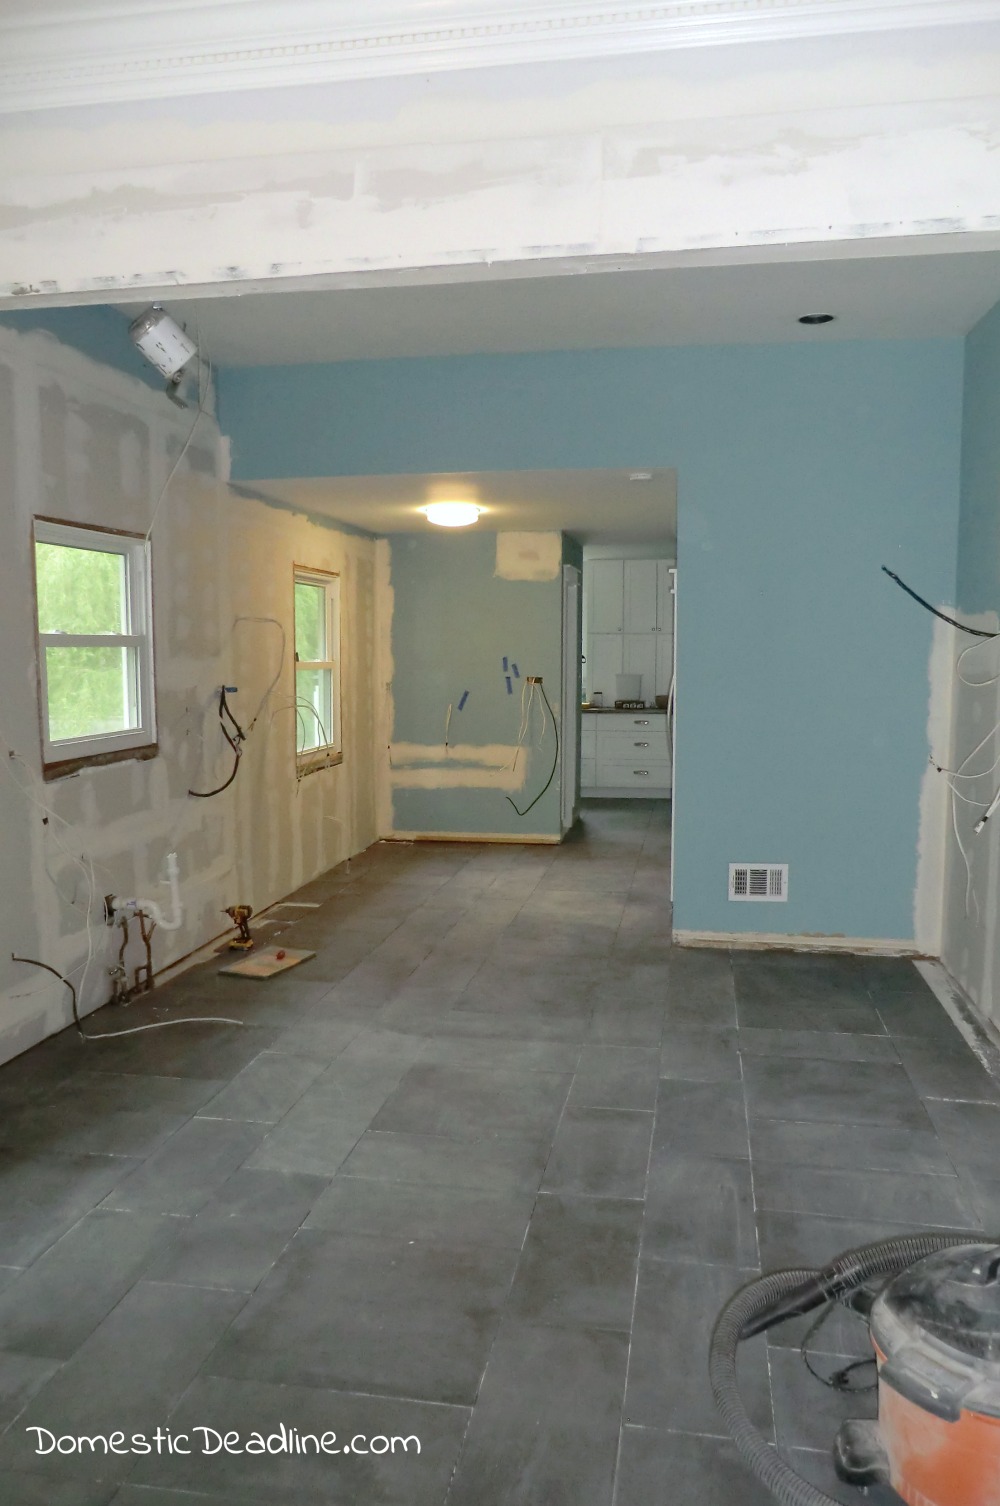
The morning of the scheduled delivery of our cabinets we cleared out the room of all tools. Knowing the cabinets would be arriving boxed and all placed into the room it was best to start with a clean slate.
We rolled out rolls of rosin paper to protect the newly tiled floors which we had mopped the night before. After ordering my cabinets I was given a list of each cabinet with the corresponding item numbers. They are pretty standard, W3612 is a wall cabinet 36″ high by 12″ wide. Drawer base 30 (of which I have several) is indicated as DB30.
As the boxes were brought into the kitchen, I wrote with a permanent marker where each would go. While the box may have said SB36 to indicate it was a 36″ sink base, I clearly wrote “sink base” on the top and side of the box.
Once all the cabinets were in the kitchen and clearly marked, IronFish and I arranged them closest to where they would be installed.
Cutting Cabinets
A bit nerve wracking, but we actually had to cut the very first cabinet we installed. The sink base needed to be centered under the window. Normally we would drill holes for the supply and drain pipes. However, my kitchen is on a slab and my pipes run below it.
We had to cut a rather large space out in order to make the pipes accessible under the sink.
It’s not pretty, but it’s functional. I’ll make it look nicer once everything is finished. As you can see, we also used our multi-tool to cut a hole for an electrical outlet. This is for the tank of my instant hot and cold.
Sink Wall Cabinets
Once the sink base was in, we were able to measure for the dishwasher and cabinet on the other side. To the right of my sink will be the trash and recycling cabinet.
Using shims we leveled the cabinets. Each cabinet gets secured to the ones on either side as well as into the studs.
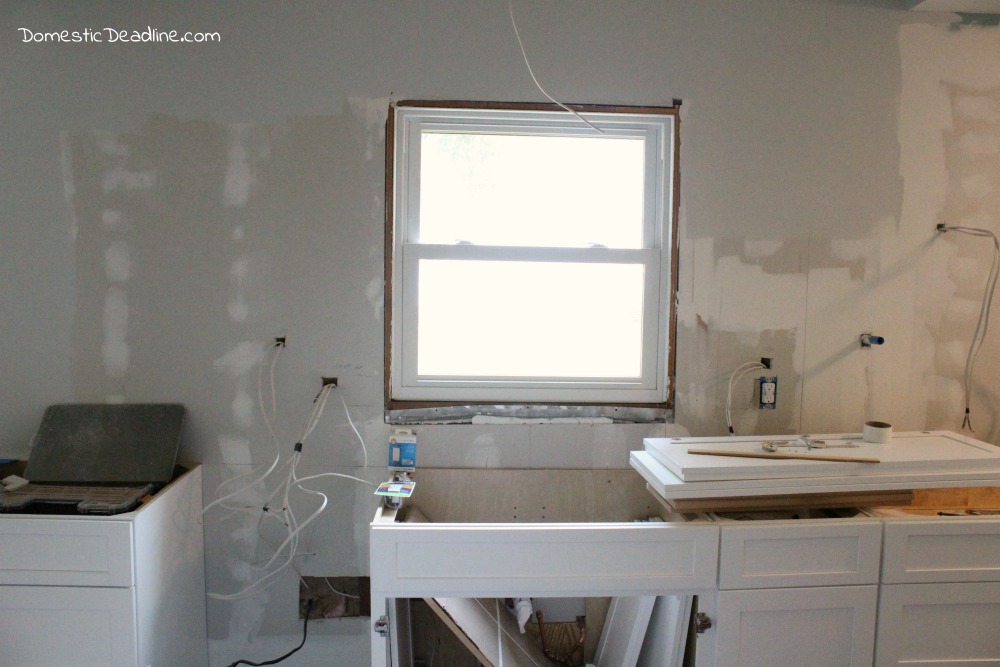
We then continued to install the base for the cook top and the narrow cabinet to the right of the stove top.
I was getting a bit excited, so I didn’t always stop and take as many pictures as I wished I had.
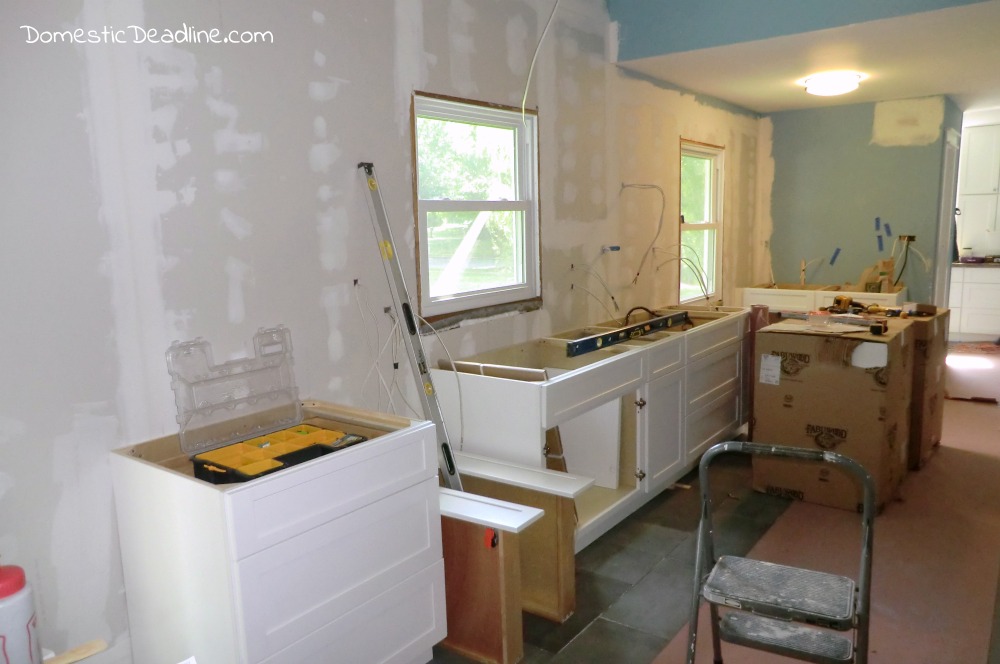
But, once that sink base was in, we were able to install the rest of the cabinets very easily.
Baking Center
The back wall, leading towards the mudroom, I have coined “the baking center.” It’s this counter where I plan to have my KitchenAid mixer and other commonly used baking tools.
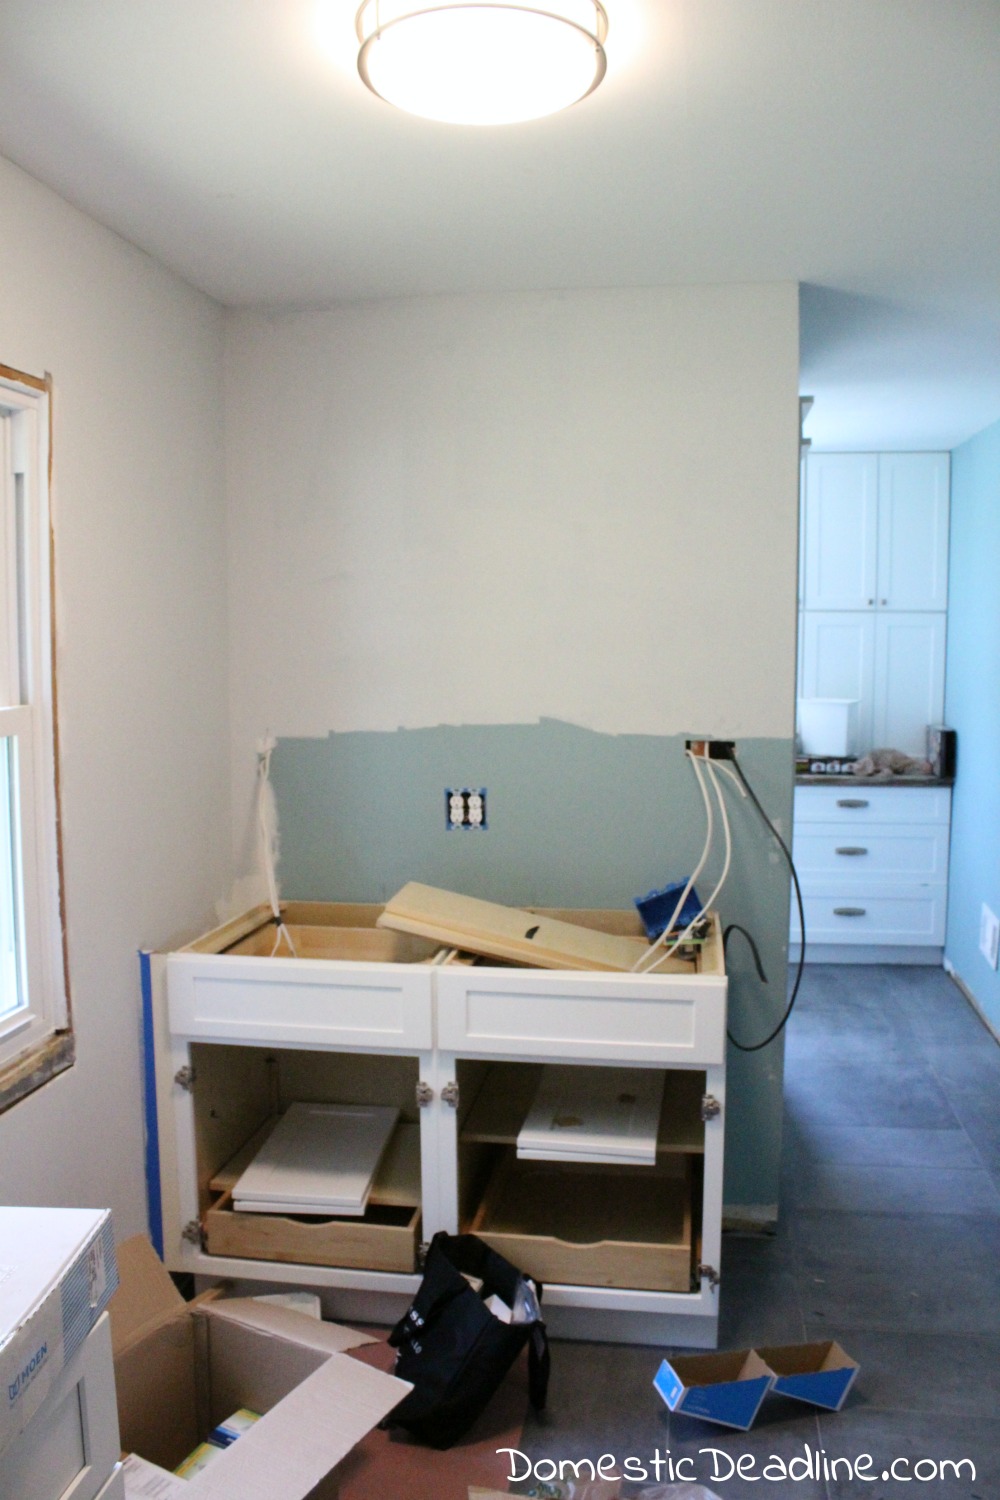
Above this area, I plan on having open shelving.
Oven Wall Cabinets
Now came the tricky part. You may have noticed we set several base cabinets right away.
The first two spaces I shared will have open shelving or very small upper cabinets.
This back wall, on the other hand…
… is a different story.
This will house my double ovens, microwave and several upper and lower cabinets.
But, getting the monster of an oven cabinet in, took quite some time. And, I forgot to take pictures until we had wrestled with all the cabinets.
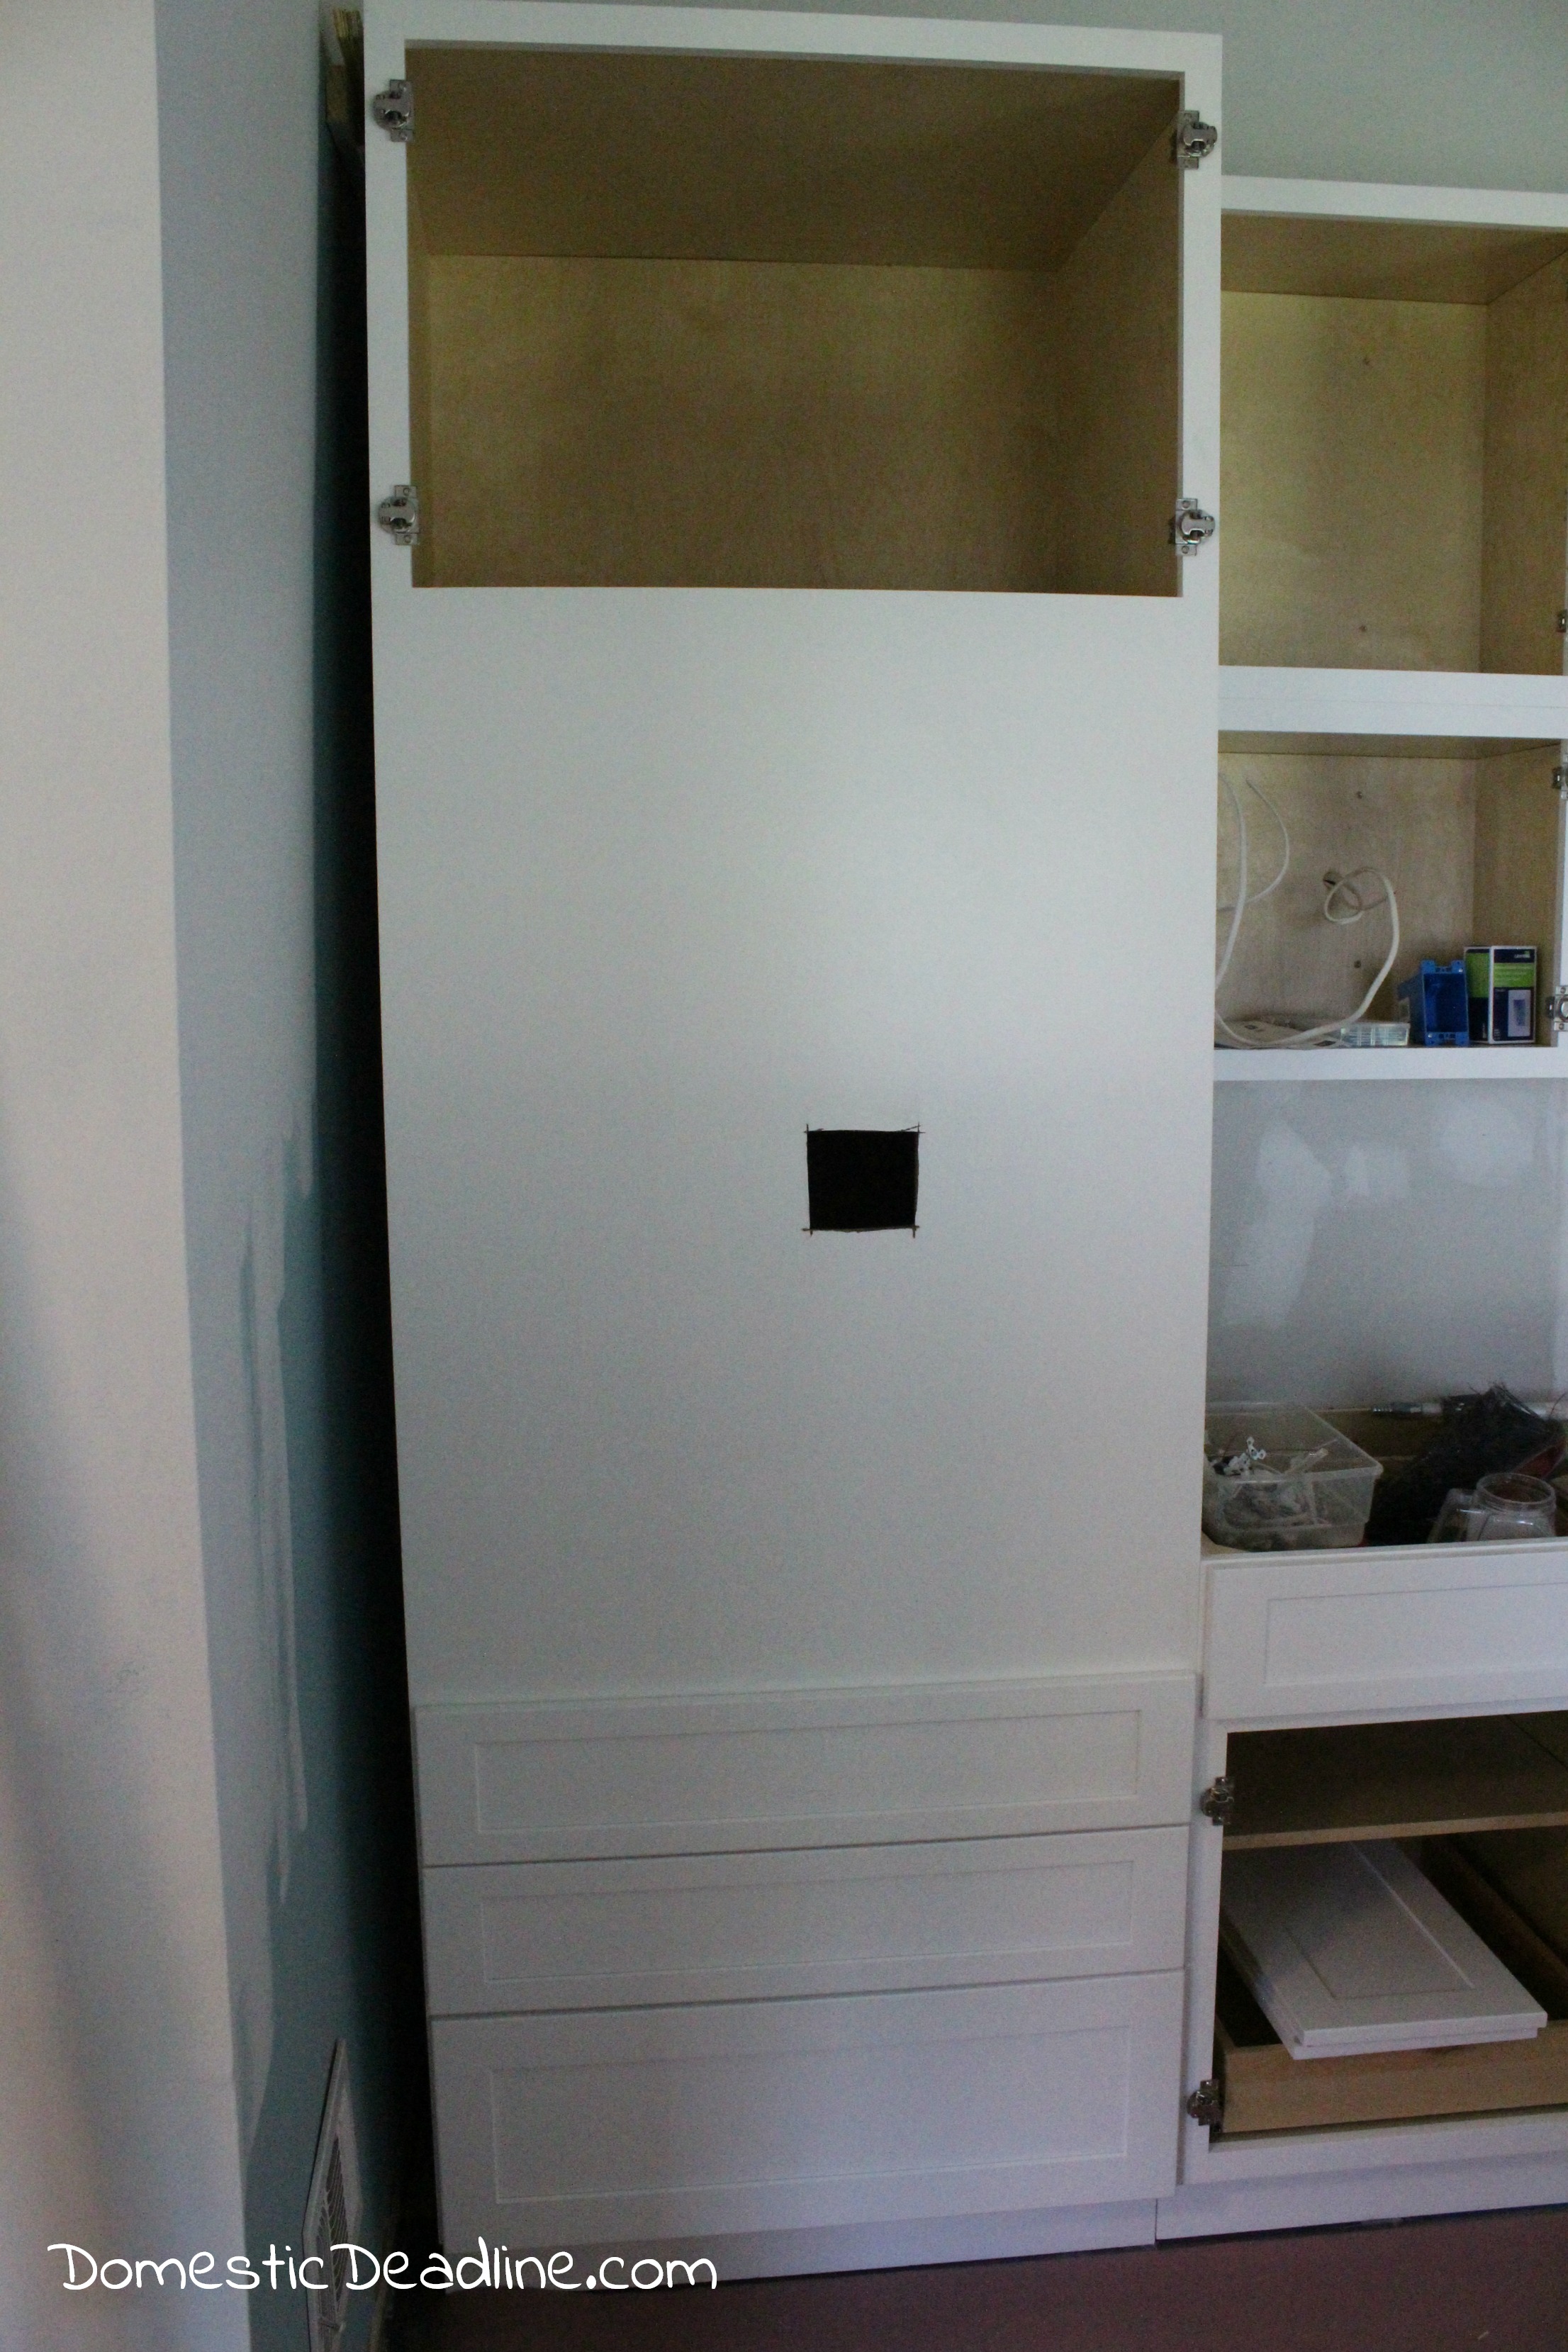
Once the oven cabinet, at 96″ tall, was in place, we attached and installed the other upper cabinets. This is always easier to do without base cabinets below.
The oven cabinet also had to be cut. We started with a hole in the front large enough to get my arm through. Because the back was also cut to allow for the wiring for the ovens, I needed to be able to reach the wire and pull it into the cabinet. The rest of the cutting was done later to be the right size for the ovens.
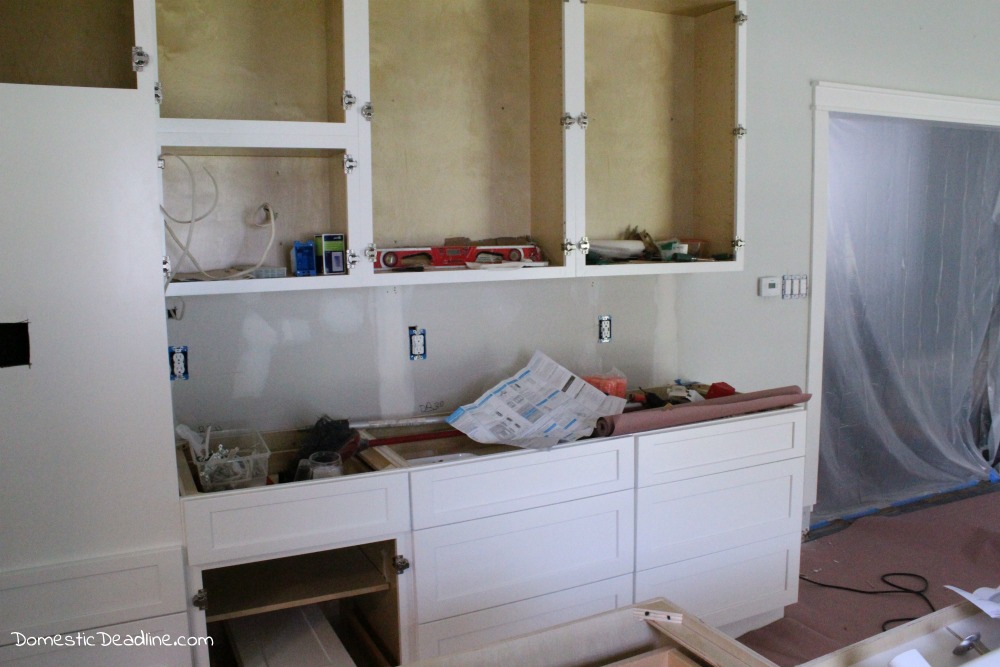
The base cabinets were added after the uppers. It’s pretty safe to say the above pictures are from a few days after the cabinets were installed. While I did take a few pictures that day, it got pretty late into the evening and the lighting was pretty poor.
Island
Finally, we were able to install the island cabinets. I had really wanted an island with room for bar stools but originally hadn’t thought it possible.
After working with the kitchen designer at the lumber yard where I purchased the cabinets, he and I were able to think outside the box a bit.
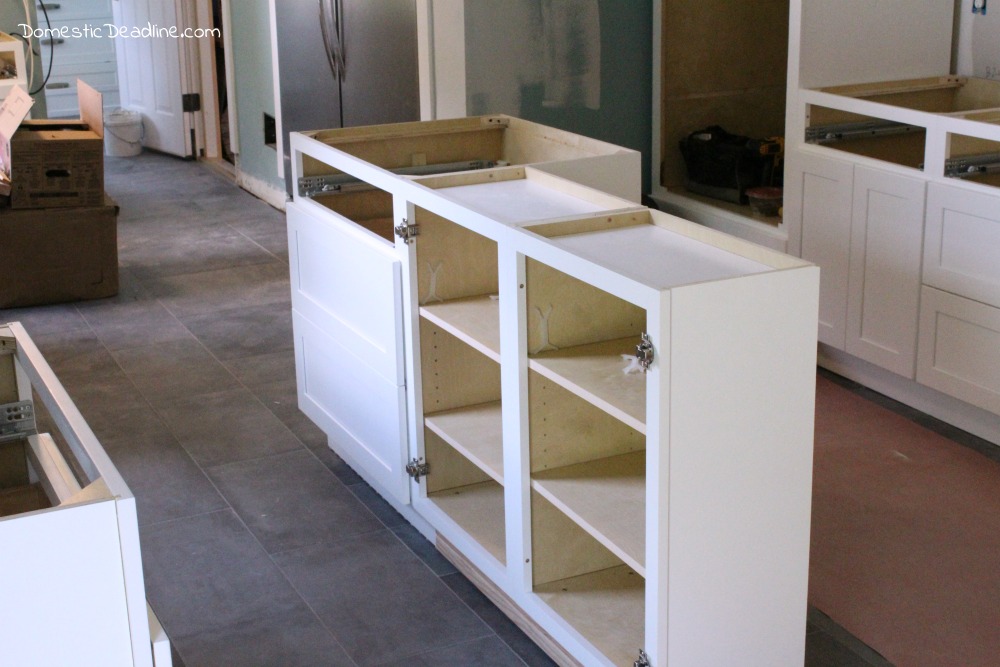
The island consists of a drawer base cabinet and two upper cabinets at only 12 inches deep. IronFish built a base for the two upper cabinets to make them the same height as the drawer unit. Counter tops will extend the full depth of the drawer cabinet. This will allow for space for bar stools to be used.
Kitchen Cabinets Installed
Two long days of work and we had all the cabinets in place. Drawers and doors were removed so the cabinets could be screwed together.
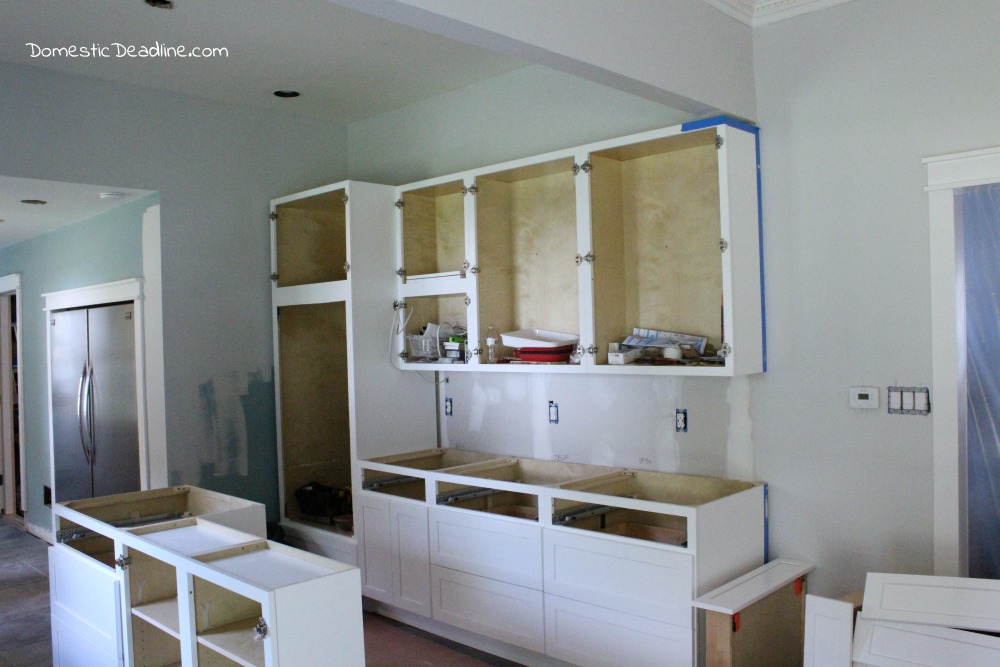
I have more than 3 times as many cabinets as I had in my before kitchen.
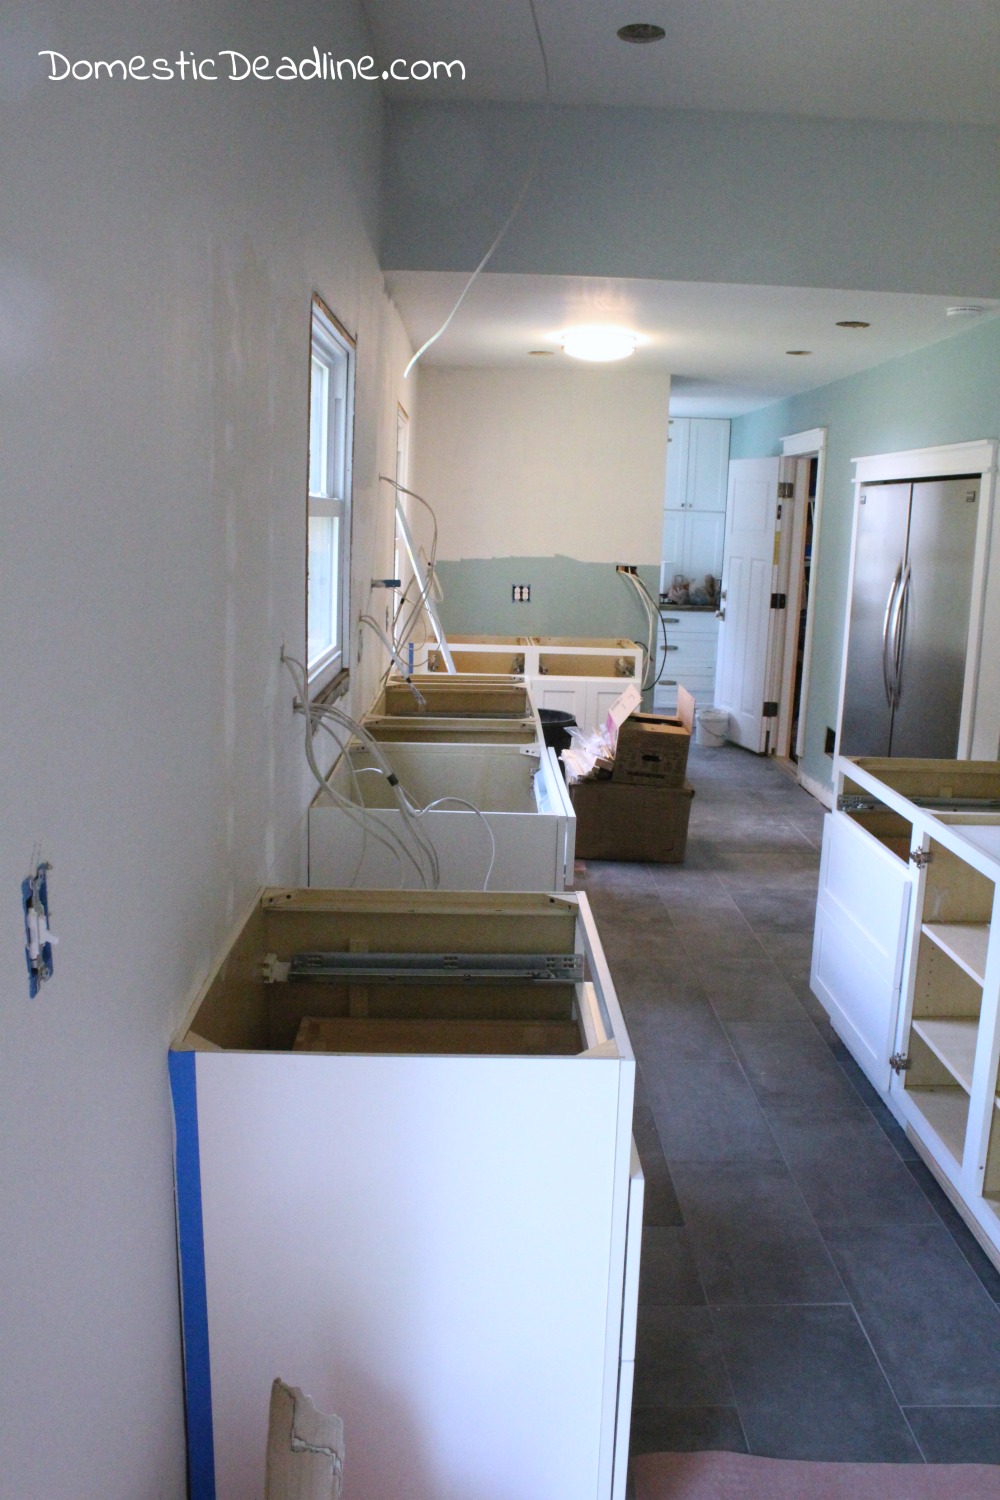
Once the cabinets were all in place I was able to have the counter tops templated. My kitchen keeps moving towards a reality!!!







3 Comments