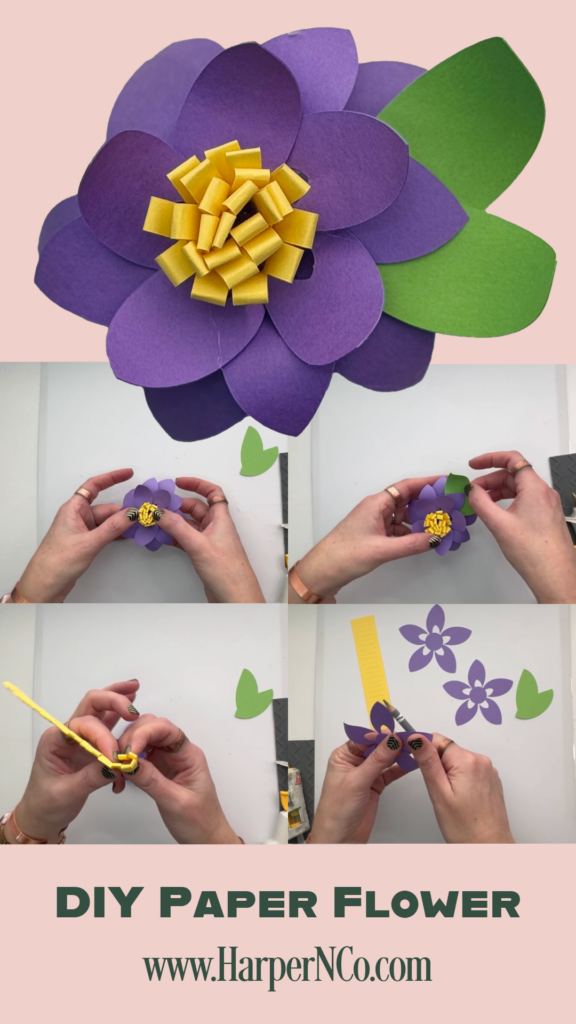
Layered 3D paper flower projects are an easy way to create dimensional paper art using a cutting machine like a Cricut or Silhouette. In this tutorial, I show you exactly how to assemble the layered 3D paper flower from the video, step by step, using the same order and techniques shown on screen.
If you ever need to see the shaping or glue placement more clearly, the video is the best visual reference to use alongside this written guide.
Cut the Pieces for the 3D Paper Flower
Get the file from my Etsy shop or Silhouette shop and upload it into your cutting software.
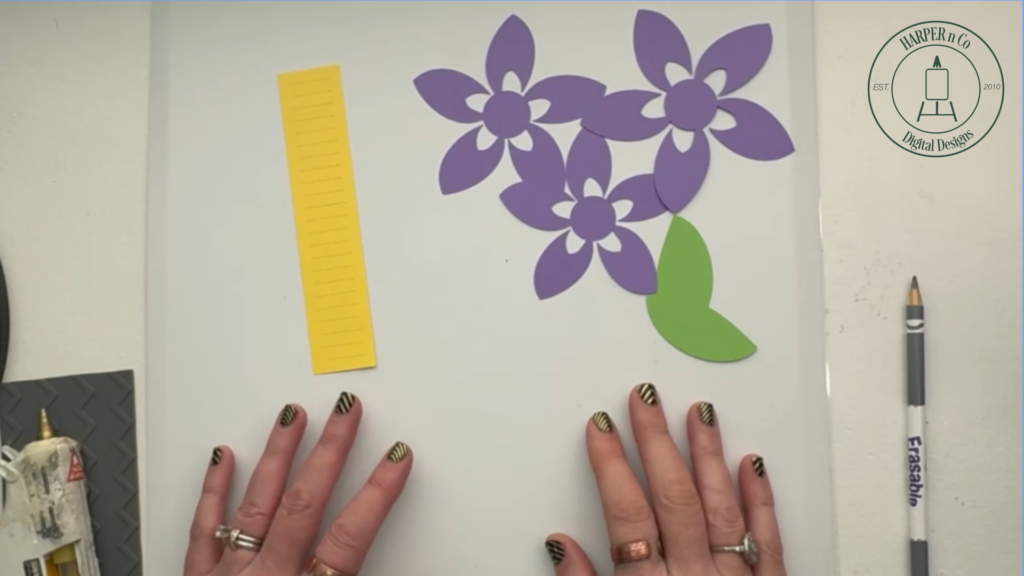
To begin, cut all of the pieces for your layered 3D paper flower using your cutting machine. This design includes three flower layers in three different sizes, one stamen piece for the center, and two leaves in slightly different sizes.
Once everything finishes cutting, remove the pieces from the mat and organize them by size. Having all of your layered paper flower pieces ready before assembly makes the process much easier.
Prepare Your Work Surface
Next, set up your workspace. I work on the back of an old cutting mat because it protects my surface and keeps everything contained while I work. Since I don’t like ending up with glue everywhere, the back of a cutting mat has saved my workspace more times than I can count.
Then, plug in your hot glue gun. I also recommend using inexpensive silicone mats trimmed to size. These mats help catch excess glue and make cleanup much easier when assembling a layered 3D paper flower.
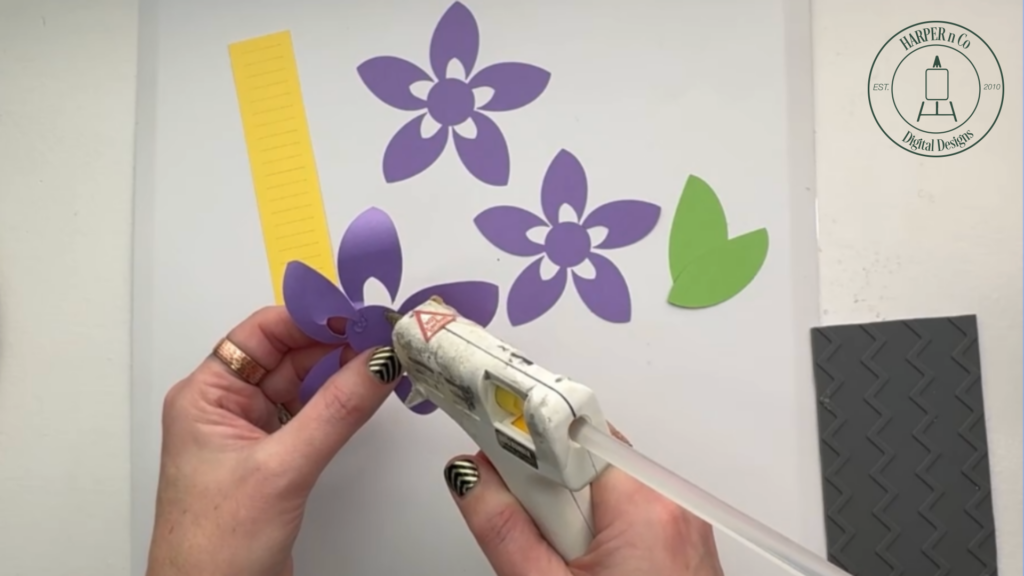
Shape and Assemble the Largest Flower Layer
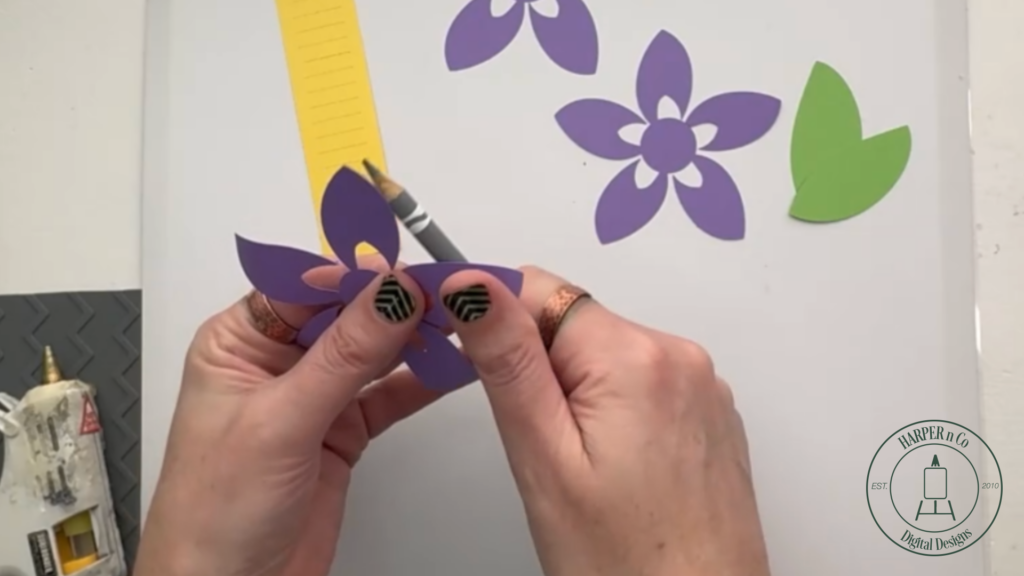
Now, start with the largest of the three flower layers. Each flower layer has five petals, and only one edge of each petal is connected.
First, take a pencil and gently roll each petal back slightly. This shaping step gives the layered 3D paper flower its dimension before any glue is added.
After shaping, pinch one petal inward and glue the loose edge toward the center of the flower. Hold it in place briefly until it sets. Continue gluing each petal the same way as you work around the flower.
At this stage, it is completely fine if the center feels open. The next layers of the layered paper flower will fill that space.
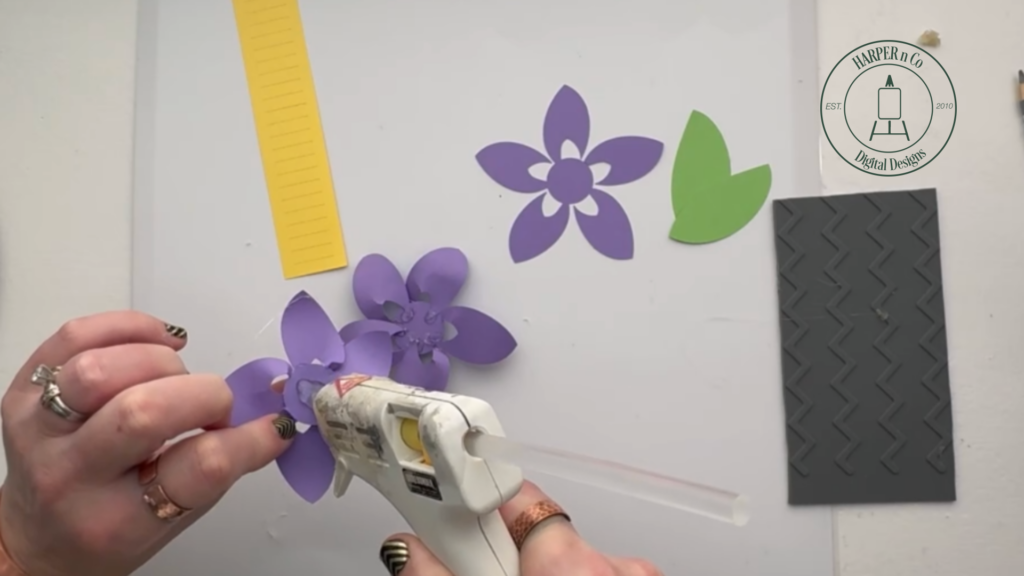
Assemble the Second Flower Layer
Next, repeat the same steps with the second flower layer. Roll the petals slightly, then glue each loose edge inward toward the center.
Once assembled, place this layer inside the first flower and offset it so the petals do not line up directly. Offsetting the layers is what creates depth and makes the layered 3D paper flower look dimensional.
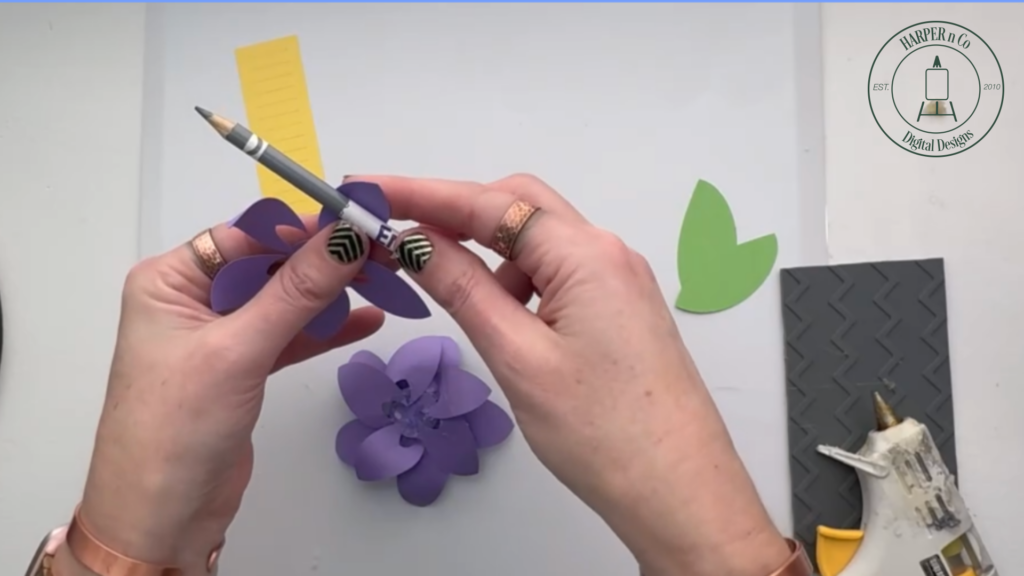
Add and Shape the Smallest Flower Layer
Now, move on to the smallest flower layer. For this layer, curl the petals a bit more inward than the previous layers.
After shaping, glue the petals inward just like before. Then place this smallest layer into the center of the flower, again offsetting it slightly from the layers below. At this point, the layered 3D paper flower should already have a full, dimensional look.
Create the Center for the 3D Paper Flower
Next, take the long stamen strip with slits down the middle. Gently fold it with your fingers, then roll it loosely around a pencil to add curve without creating a sharp crease.
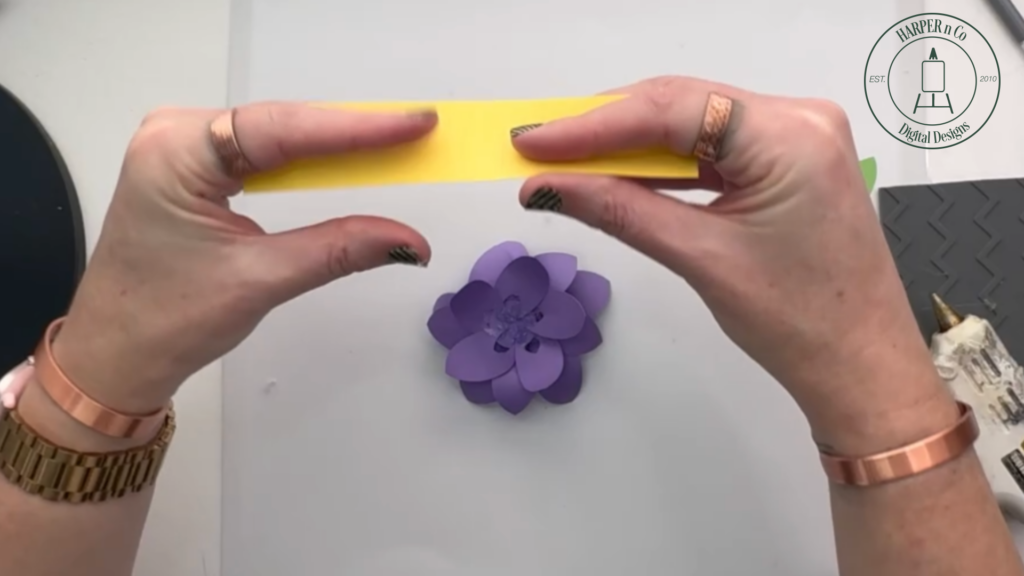
After that, run glue along one side of the strip and pinch it together at the bottom, keeping the top loose. Slowly curl the strip into itself, adding small amounts of glue as you go.
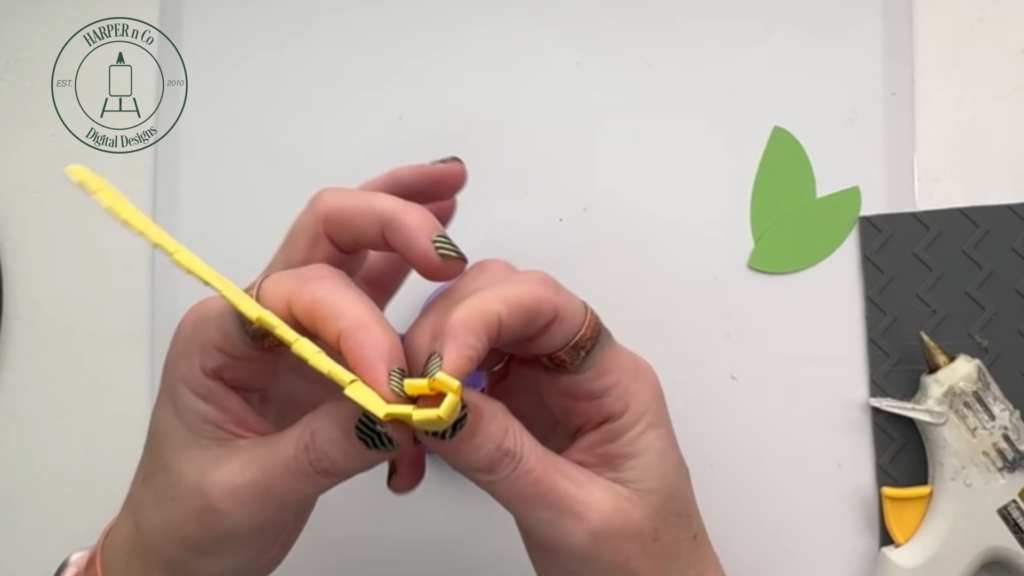
Once formed, allow the center piece to dry briefly. You should notice that it stays open at the bottom while filling in nicely at the top of the layered paper flower.
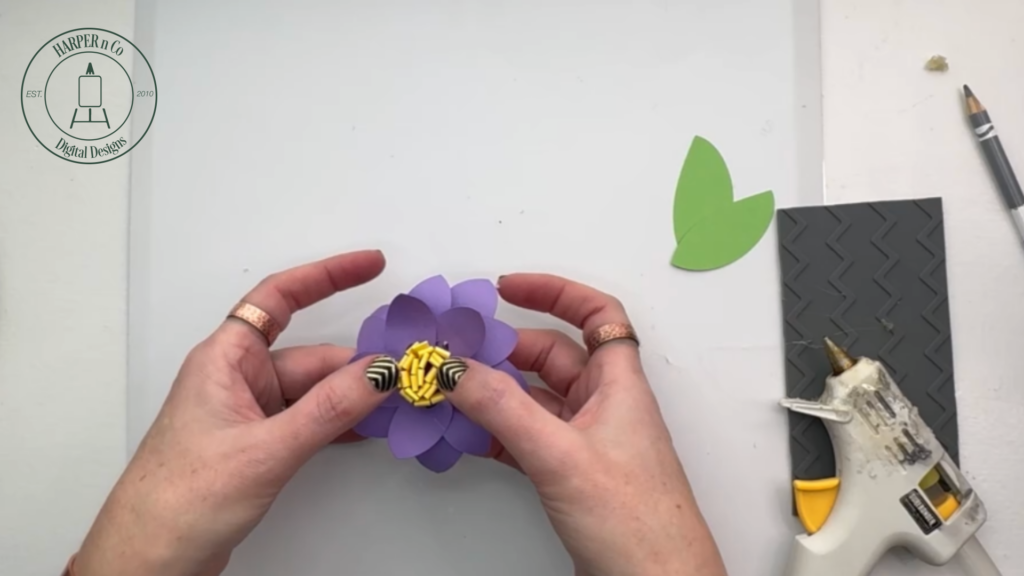
Attach the Flower Center
Now, add a generous amount of glue to the bottom of the center piece and place it directly into the middle of the layered 3D paper flower.
Hold it in place until secure. Then gently pull and bend the edges outward to finish shaping the center.
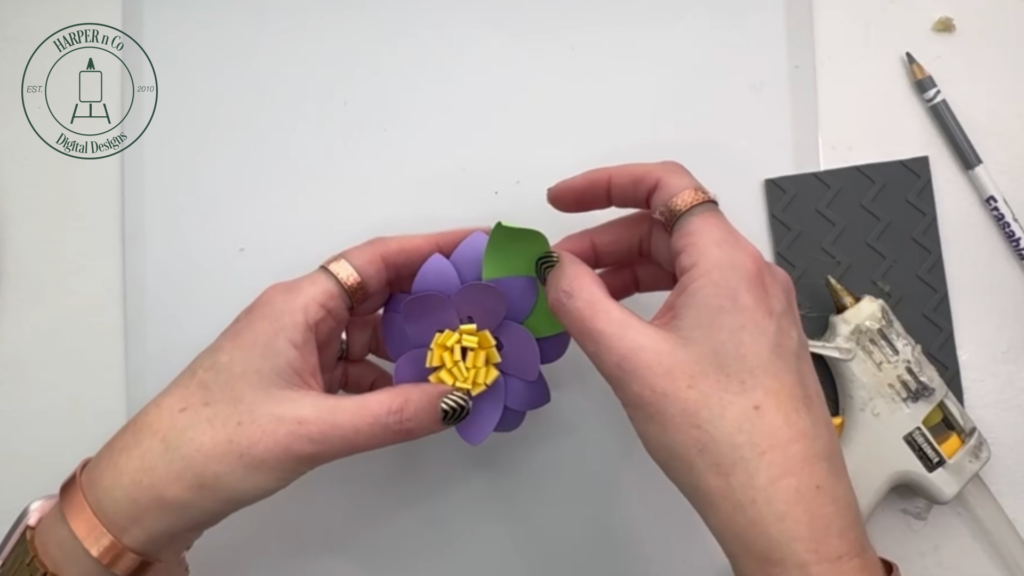
Add the Leaves
Finally, take the two leaves and give them a gentle forward curl. Glue the leaves together, then add a small amount of glue and slide them between two flower layers.
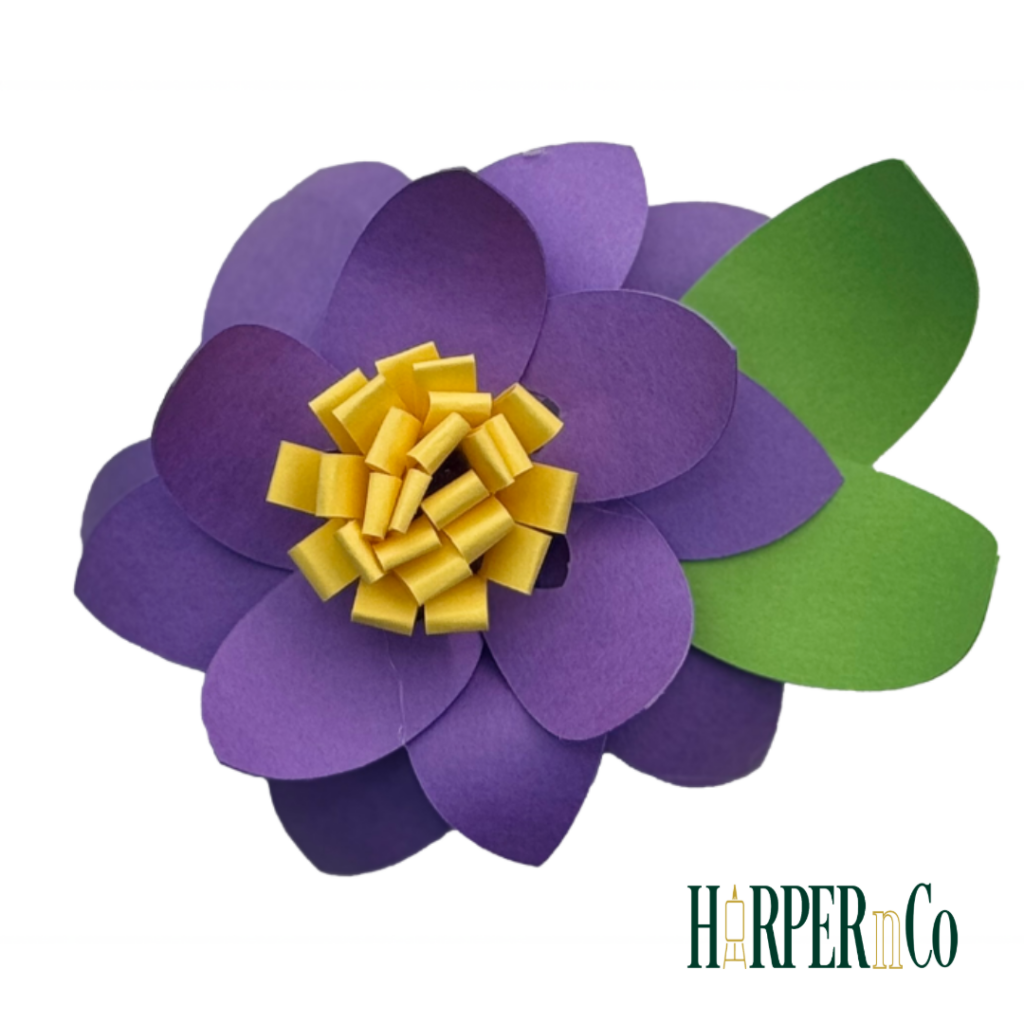
Hold the leaves in place until the glue sets. Once finished, your layered 3D paper flower is complete.
Watch the Layered 3D Paper Flower Video Tutorial
This written tutorial follows the same steps shown in the video. However, watching the video will help you see the shaping, rolling, and glue placement more clearly as you assemble your layered 3D paper flower.
Looking for other paper projects? Check out my 3D Shadowbox Friends card and get the FREE SVG
Every month I add at least one FREE SVG to my Freebie Library. Check out what’s new here.
Pin for Later