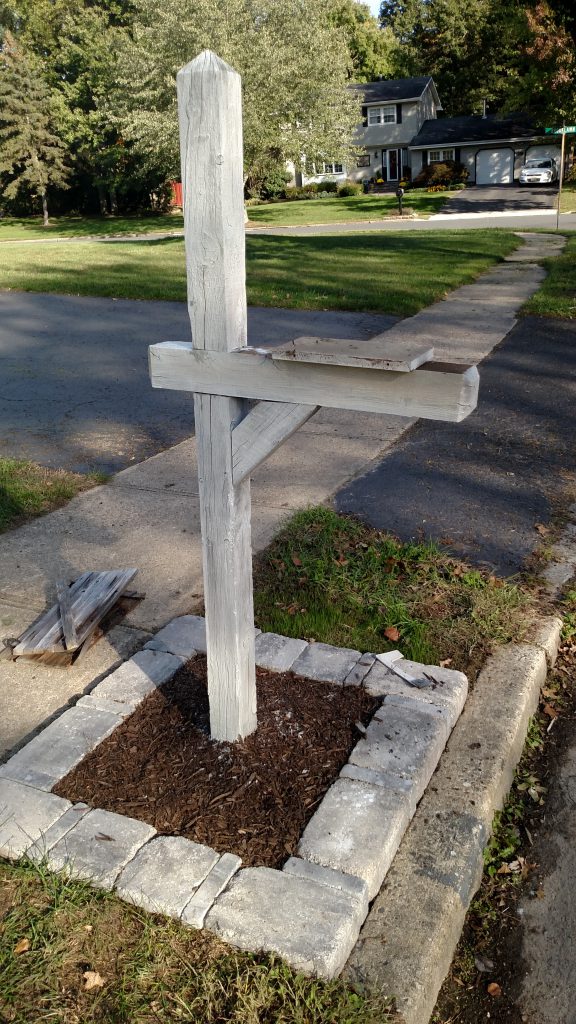
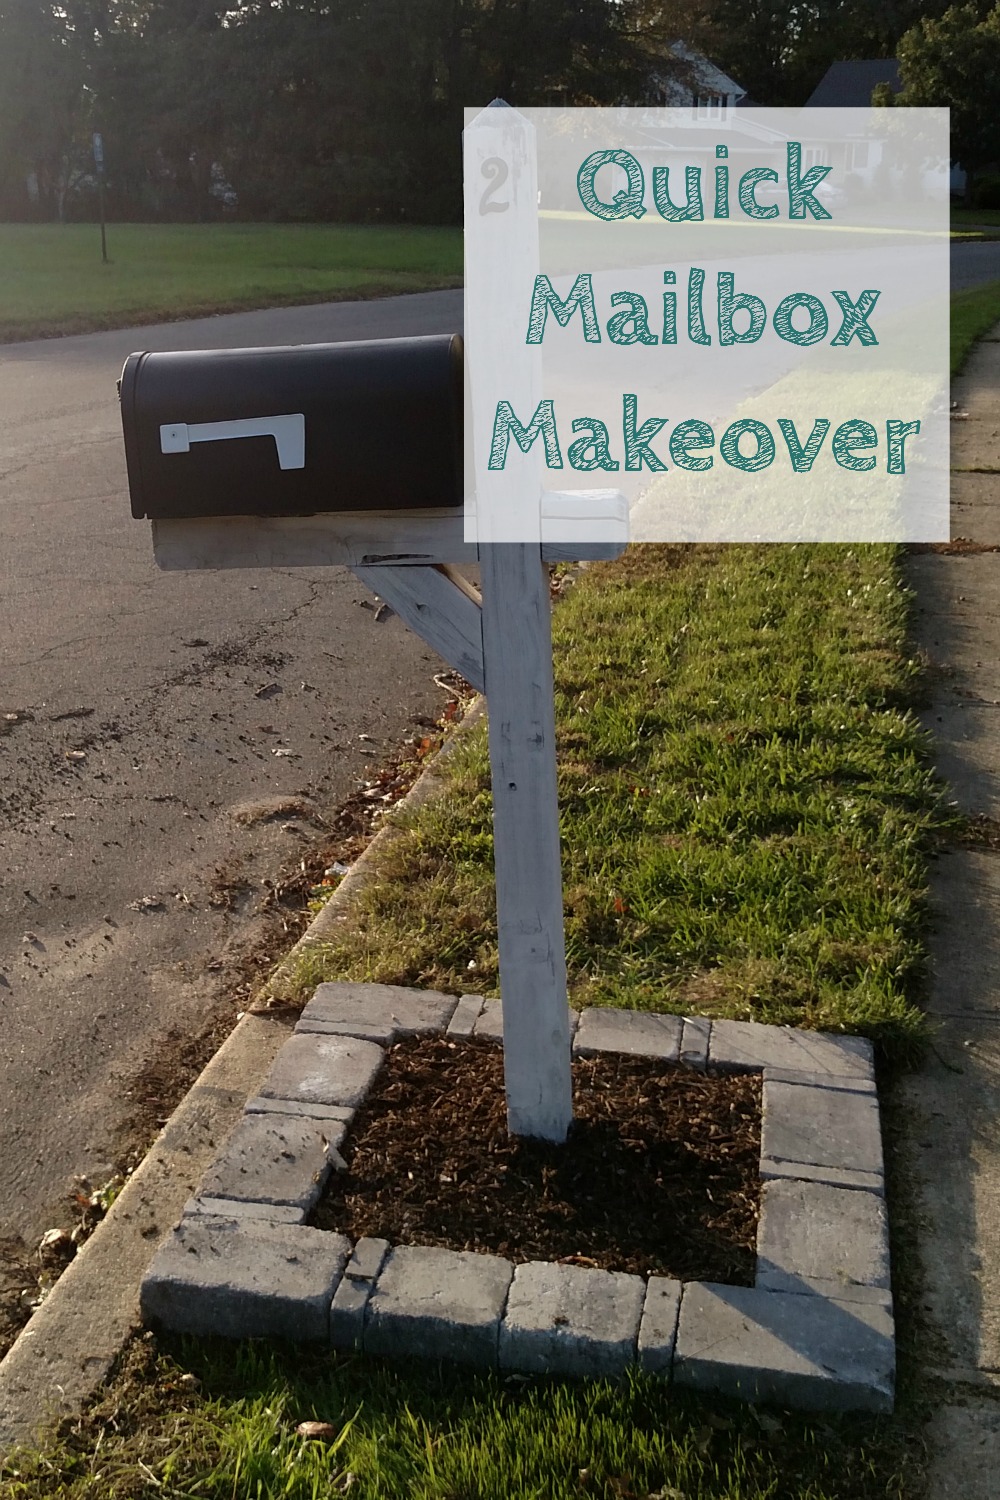
Pulling into my driveway the other day I suddenly decided it was time to do something with the mailbox. IronFish had recently removed the overgrowth and deteriorating wood edging from the base and replaced it with pavers and mulch, so the improvement was already half done. It was a little bit of a trial since we are planning on updating the pavers and flower beds eventually.
This post may contain affiliate links. Which means, if you click the link and buy something, I may receive a percentage of sales at no additional cost to you. Thank you for supporting Domestic Deadline.
Before:
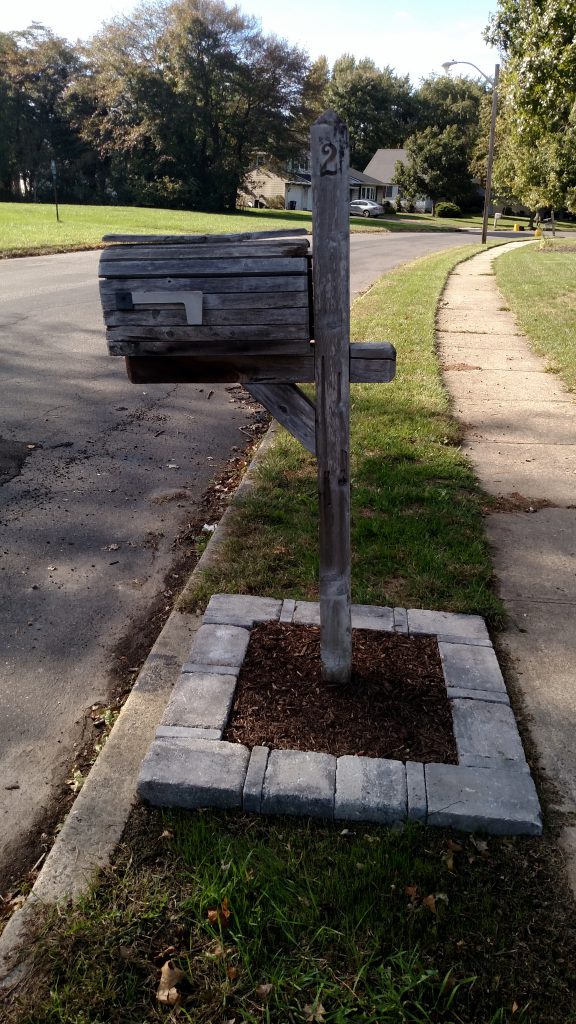
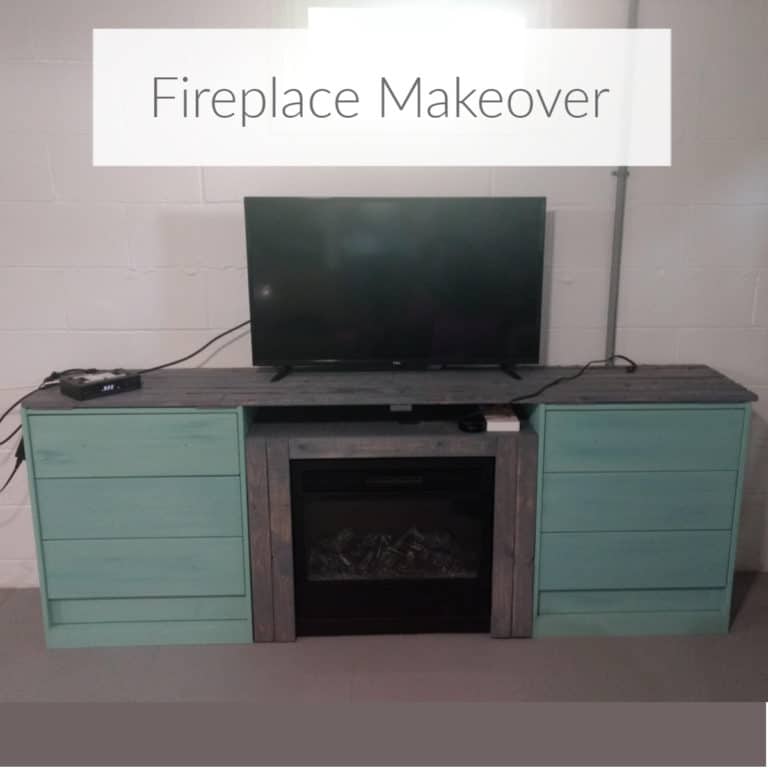
Frequently people passed our house because they didn’t see the numbers on the mailbox. They were there, just tarnished and hard to see. Still in my work clothes, I grabbed the leftover watered down paint from whitewashing my fireplace.
Prepare
Originally I was going to whitewash the post and the mailbox. When I started cleaning off the moss growing on the wooden slats wrapping the mailbox, I realized half were ready to fall off and it would actually be quite easy to remove all of them.
Paint
Four rusted drywall screws were holding the mailbox to the post. Under the wooden slats was a mailbox still in pretty good shape. The numbers used to be polished brass, but a quick coat of black spray paint on each of them and the mailbox while the post dried, made everything look new.
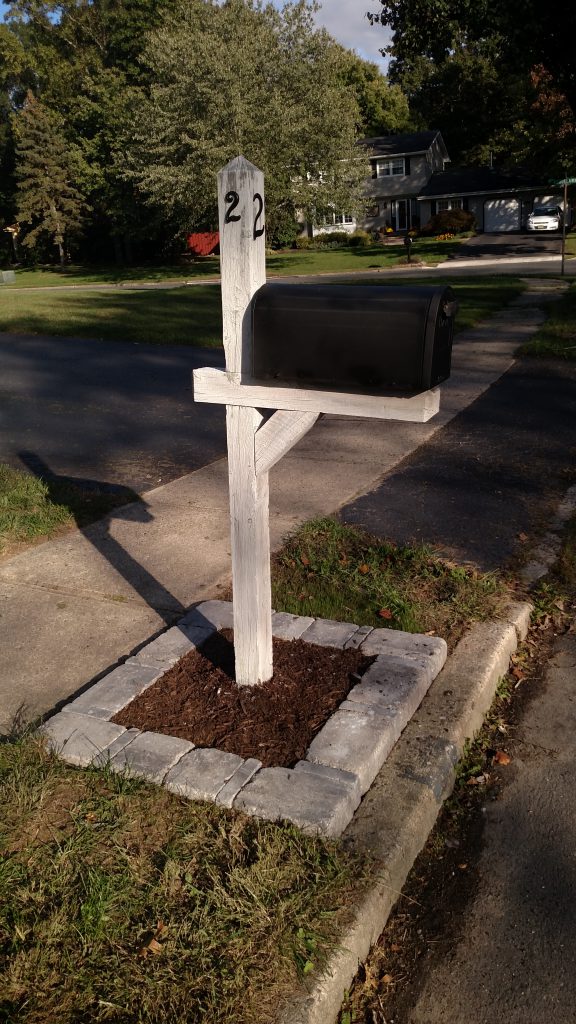 I would have painted the flag red (like it’s supposed to be) but I didn’t have any on hand. It was so sun bleached it was already white so a little spray paint just made it crisp. I will eventually put one of these on instead, probably in the spring.
After:
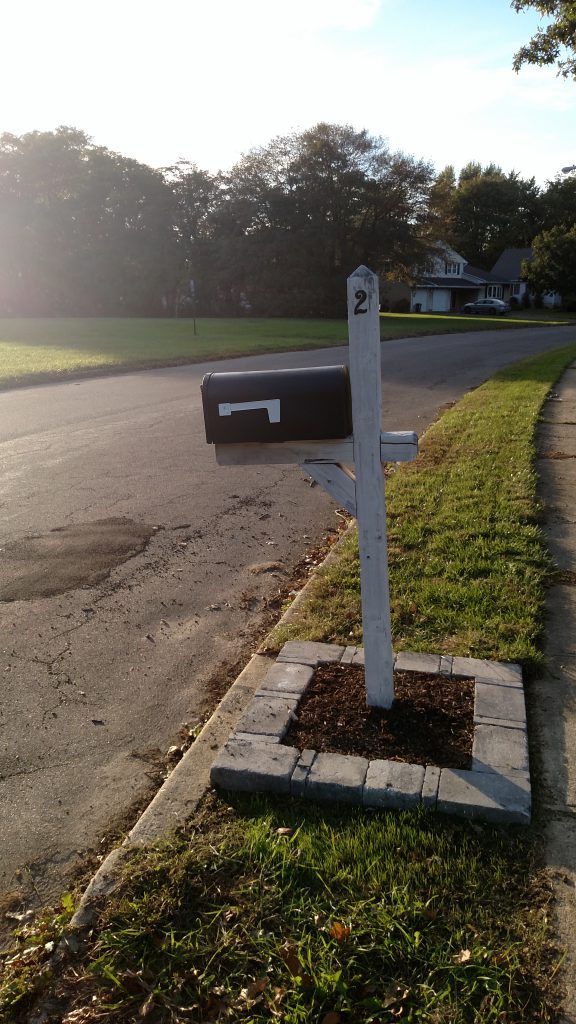 It’s been so much nicer when I pull in the driveway now, but mostly I love that it took me about 30 minutes, no money and actually made a big impact!
Don’t forget to pin this so you remember it later!






18 Comments