I feel like I’ve been working on this kitchen for a year. But the truth is, it’s just been a tad longer than 2 months. We were only non-functional for about 3 weeks. Everything now is finishing touches, and all those little projects are about 90% finished. Yesterday, in an effort to check something off my list, I installed a great little gadget. This quick and easy project can be added to any kitchen, new or old in just a few minutes. From opening the box to use, the whole project took less than 30-minutes… A toe-kick vacuum! Sweeping and cleaning up the kitchen is now even easier!
Making Clean-Up Easy
I’m not even sure how I ended up finding this product. Sometimes I think of things and then do a search to see if my idea is already a reality. This time I was sitting in the dentist’s office waiting for O-Man to have a cavity filled. I found the Sweepovac on Amazon. It didn’t take me long to decide I needed to add this to my kitchen.
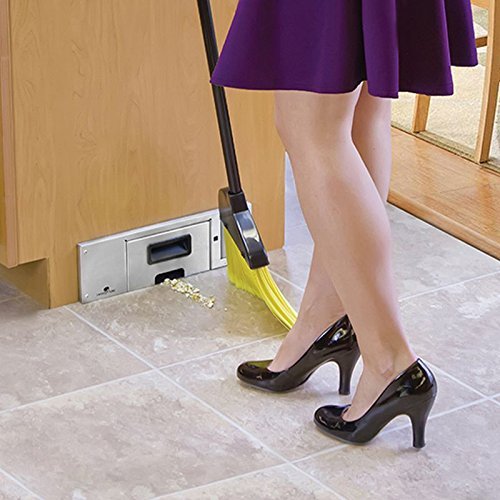
Because seriously, if my legs could look that good while I sweep the floor in heels, then I really will have my dream kitchen!
Installing
First thing I did was use the included template to mark where to cut my toe-kick.
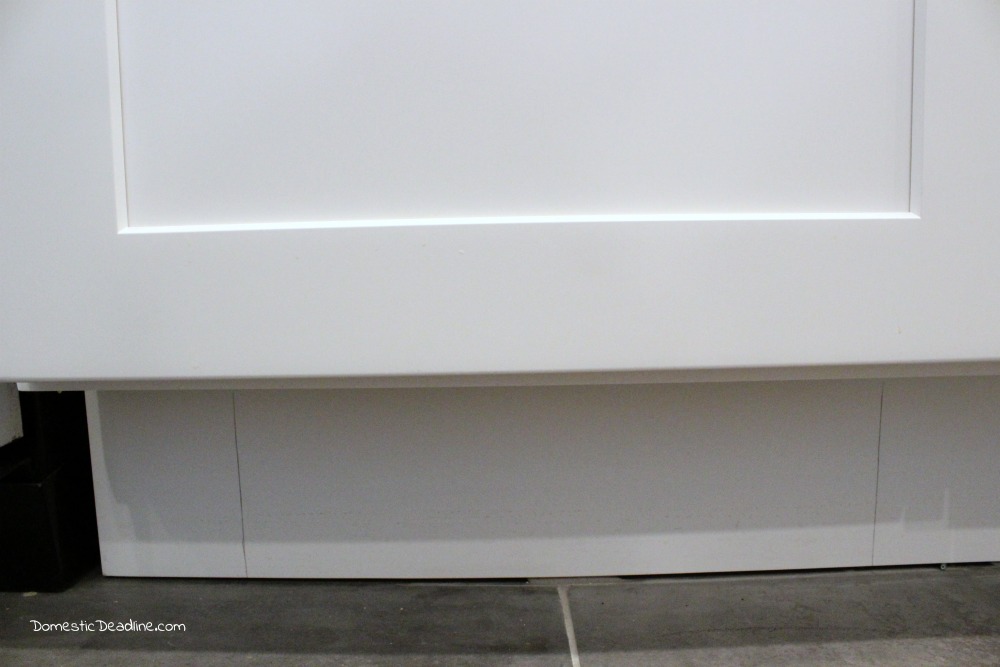
My sink cabinet has an outlet inside since I will also be installing an Instant Hot and Cold. So, this was the perfect place to install the toe-kick vacuum. Plus, it’s close to the center of the kitchen and dining room, making it a good spot to sweep the pile to.
Once the space was marked, I used my multi-tool to cut the toe-kick.
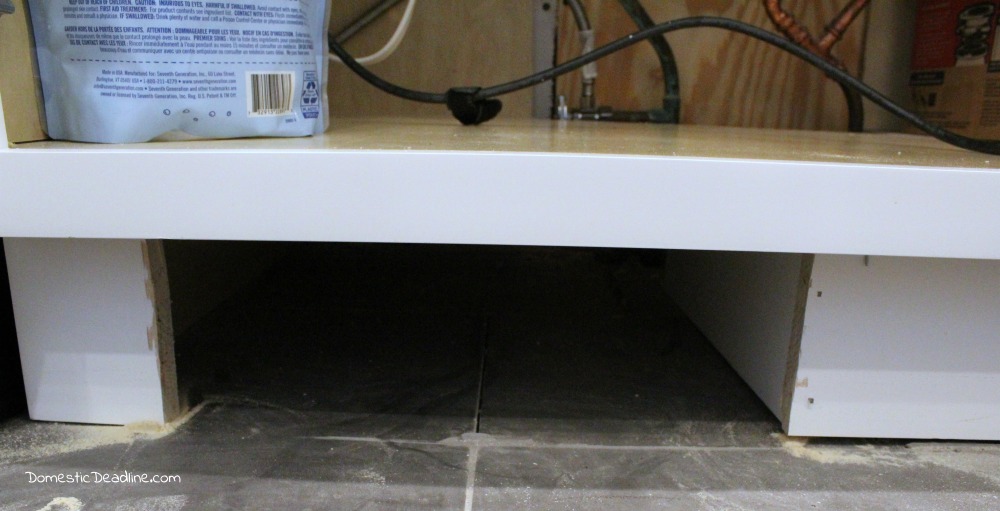
Because of where I cut my toe-kick, the rest of my toe-kick wasn’t securely attached. I used the scrap piece to stabilize the rest of the toe-kick.
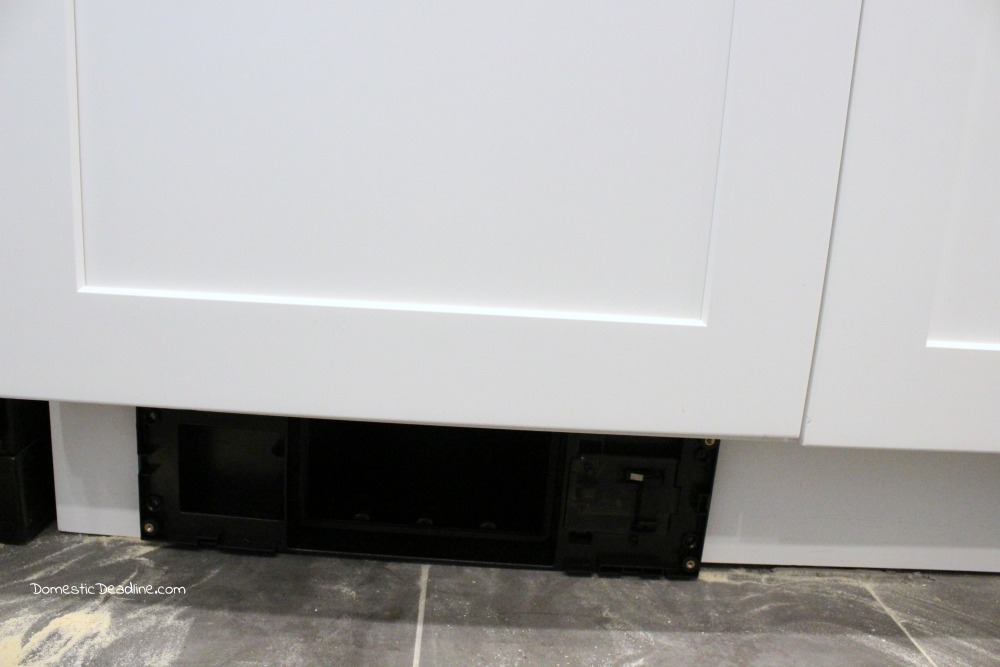
Next up, I slid the unit into place and fed the cord through a hole already in my sink cabinet. If I didn’t have this access already, I would have had to add an additional step of cutting a hole in the cabinet to feed the cord through to the outlet.
The unit simply screws into the toe-kick with 4 included screws.
Toe-Kick Vacuum
The last thing I needed to do was snap the face plate back on and slide the center of the vacuum in place. This is the part that holds the vacuum bags.
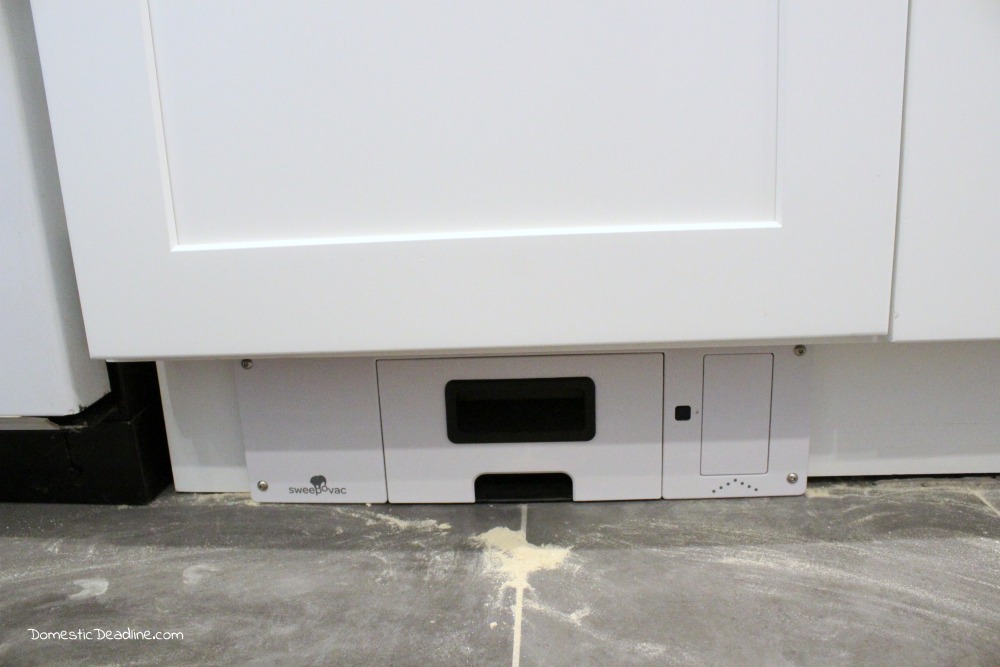
And I swept all the saw dust up to it to test it out. The square on the right side gets tapped with your foot to turn the vacuum on and off.
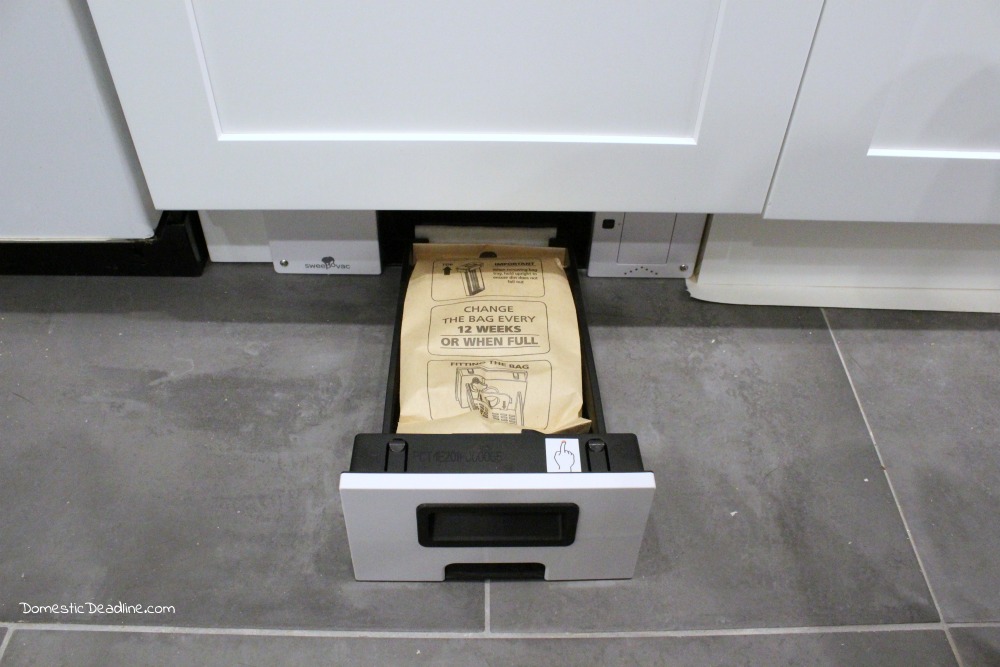
When I need to change a bag, all I have to do is pull out the center portion. It slides right back in and clicks into place.
IronFish has been referring to the toe-kick vacuum as “the robot.” O-Man actually is excited to sweep the floor!
Aside from being a really quick project, this little toe-kick vacuum can be installed into any kitchen or space as long as it can reach an outlet. Cleaning the kitchen floor is so much easier now!







25 Comments