When we first told the kids about the new house, O-Man wanted to know if he got to design his room. “Of course,” we said, and he got to work designing his new room…… IN MINECRAFT!
Before we knew it, he showing us his perfect room….. Stone walls, blue sky ceiling, green grass carpet, wood bed with red bed spread, white pillow and REAL fire torches all around the room….. Or a whole house made out of REAL gold…. Yeah, that kid sure has unrealistic ideas.
Once we got all the floors, trim and doors done, we tackled the walls and ceiling in Every. Single. Room…. Starting with the kids rooms and moving around the house. Tasha and O-Man both helped paint their rooms, June-Bug was still in Ohio.
O-Man agreed to starting with painting his room a solid color. Adding Minecraft artwork and deciding later how much more to rock the theme. Together we painted the room Marina Gray, his choice. O-Man was given a handed-down queen size bed with a wood headboard. He loves it, since a wood headboard was a part of his original design. He picked out a rug from Ikea when we first moved in and all the kids got the same desk. Red bedspread and gray sheets were on his Christmas list. I surprised him with a Minecraft wall decal.
Then not much happened in his room for several months, unless you count pinning ideas to my Pinterest boards! His toys took over. There wasn’t much way for him to clean up his room when he was told to.

Time to Fix That…
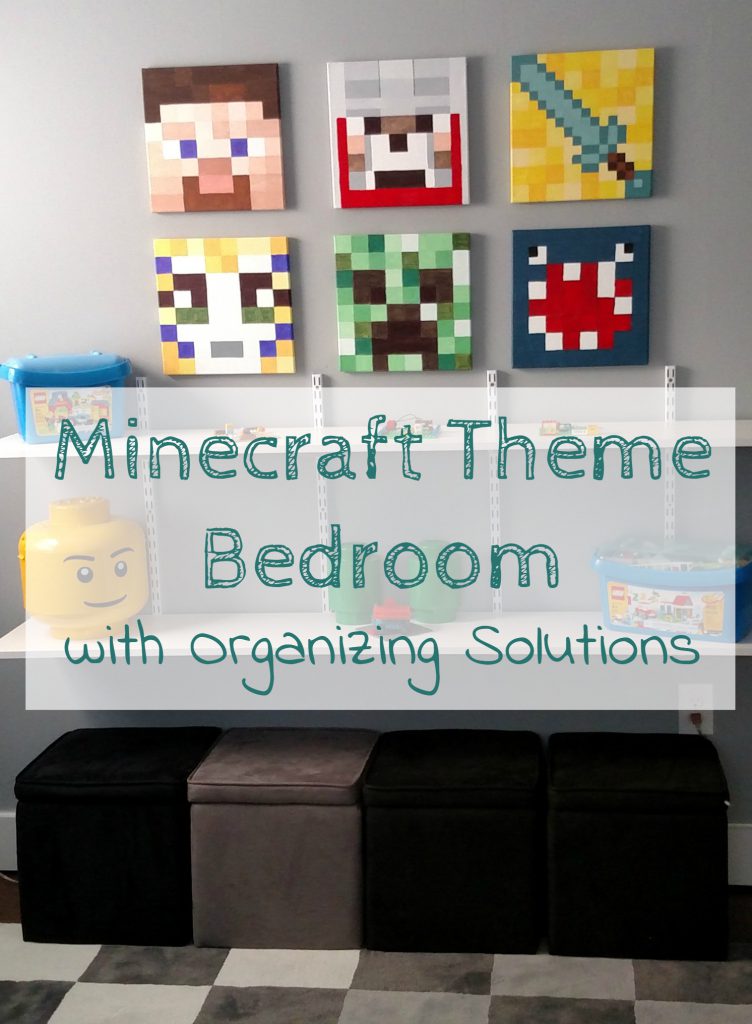
I was envisioning a wall in his room with shelves, low enough to use his storage ottomans as chairs, and for him to reach the shelves to display his Lego creations. Plus a place to display the Minecraft canvases I was determined to finish (I started them before we closed on the house!). Tons of pins inspired me but this particular room’s toy storage shelves fit my mental picture the best.
We set to work installing shelves and cleaning out the toys; fitting the majority into storage ottomans. The closet and desk were given a bit more attention than I’d given them a few months before; when I just wanted to get stuff out of site!
Adding the Minecraft Theme with Canvases
O-Man gave me 6 characters or tools and we did a bit of online searching for images he liked. I was looking for simple images I could use as my guide for each canvas. Once we agreed, I drew lines on each 12″x12″ canvas. Lines in vertical and horizontal directions are each 1.5″ apart. This left 8 squares across and 8 squares down and grid lines to follow.
Despite taking pictures, I can’t find them at all!
Using acrylic craft paint and a straight edge brush, I started filling in the squares. When I needed multiple shades of a color, I added in white to lighten up some of the shades or other colors to darken the shade a bit (ie, a drop of orange added to yellow to deepen it a bit). For a few of the canvases, I needed to divide one of the 1.5″ square into 4 smaller squares. My trusty ruler and pencil to the rescue.
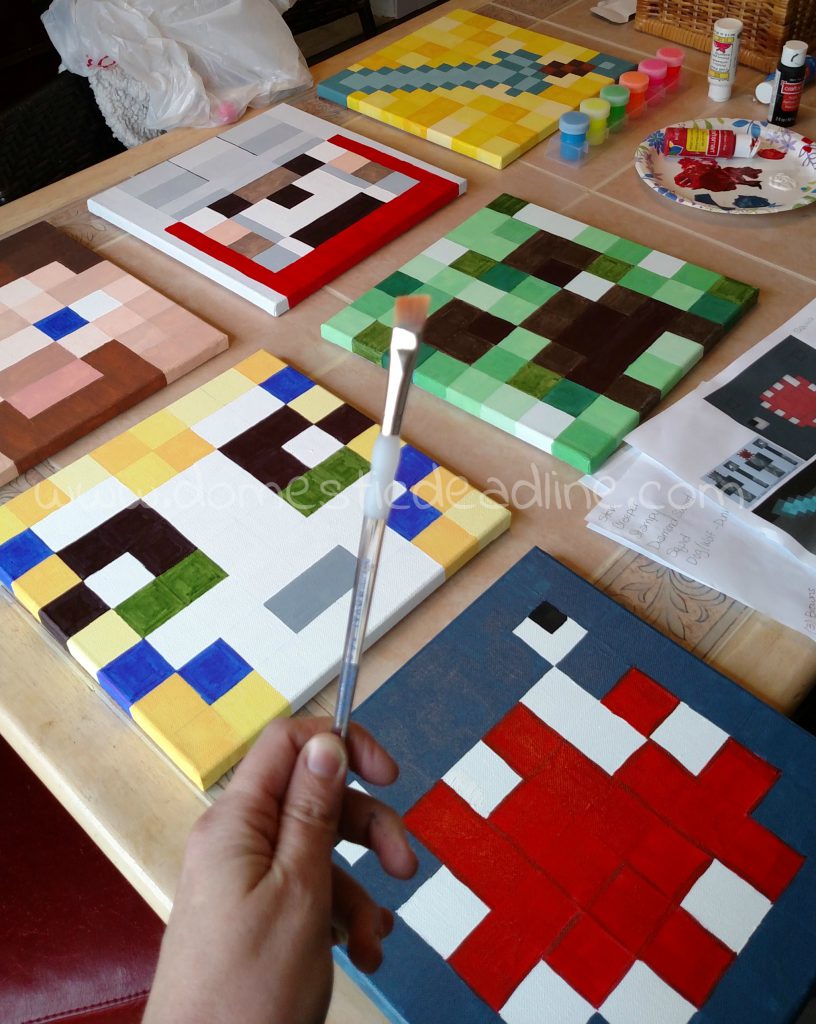
While each picture is different, my confidence improved as I painted. The first one I drew lines over the printed image and numbered the squares to go with the color I thought the square should be painted (created my own paint by number). By the third canvas, I just started painting! It’s only paint and could be painted over if I messed up! And, I did mess up!
Before and After
We are all really pleased with the after
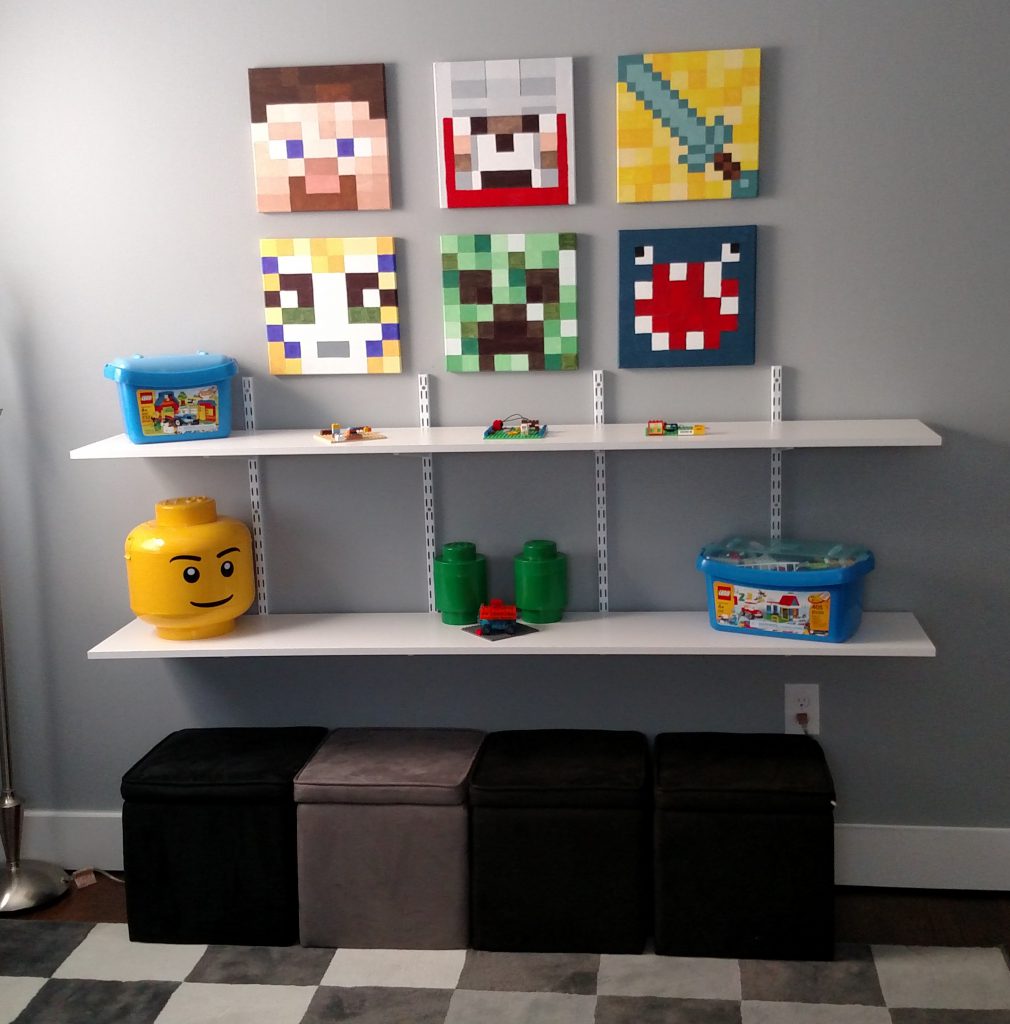
O-Man was really proud of the results. He loves showing off his room now. Unfortunately, this didn’t make him neater, but it does make it much easier for him to actually clean up his room when he is told! I’m still looking for the ultimate solution for making kids neater; I’m sure all moms are.
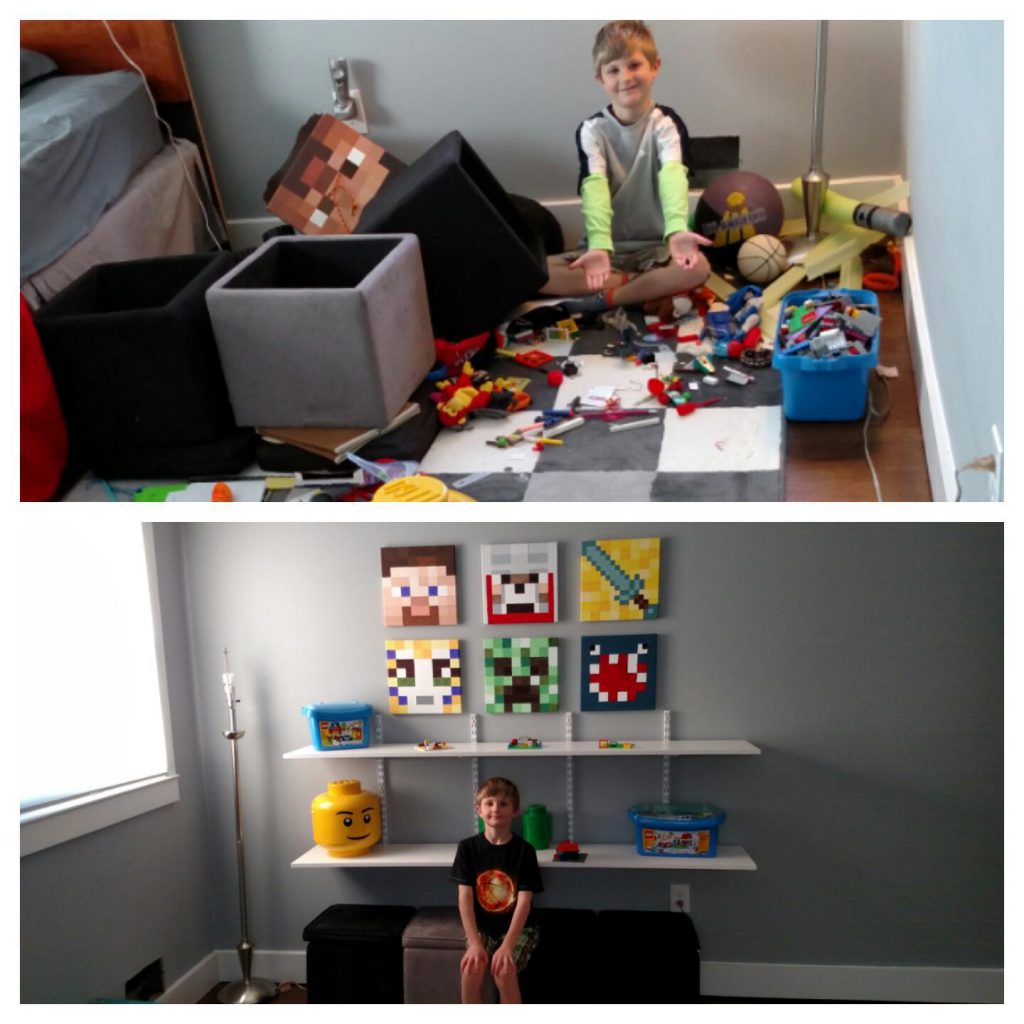
Nope, he still doesn’t have a lampshade. He broke the first one and the replacement, so I haven’t bothered to replace it again. I have however covered the gaping hole that is his vent duct. Check out how I made them for the whole house here.
Two Tips
First, I start with my lightest colors and end with the darker shades, that way if I mess up, I am painting a darker color over a lighter one. Second, paint the sides of the canvas too. This results in a finished, more professional look. Whatever color is closest to the edge, I wrap it right along the side.
O-Man loves the results! Command Strips are my favorite way to hang canvases and lighter weight pictures. After all the holes, dents and gashes we filled before painting, I’d rather not put more new holes in my walls than necessary!
Affiliate links are included in this post to items similar or the same to what I used.








7 Comments