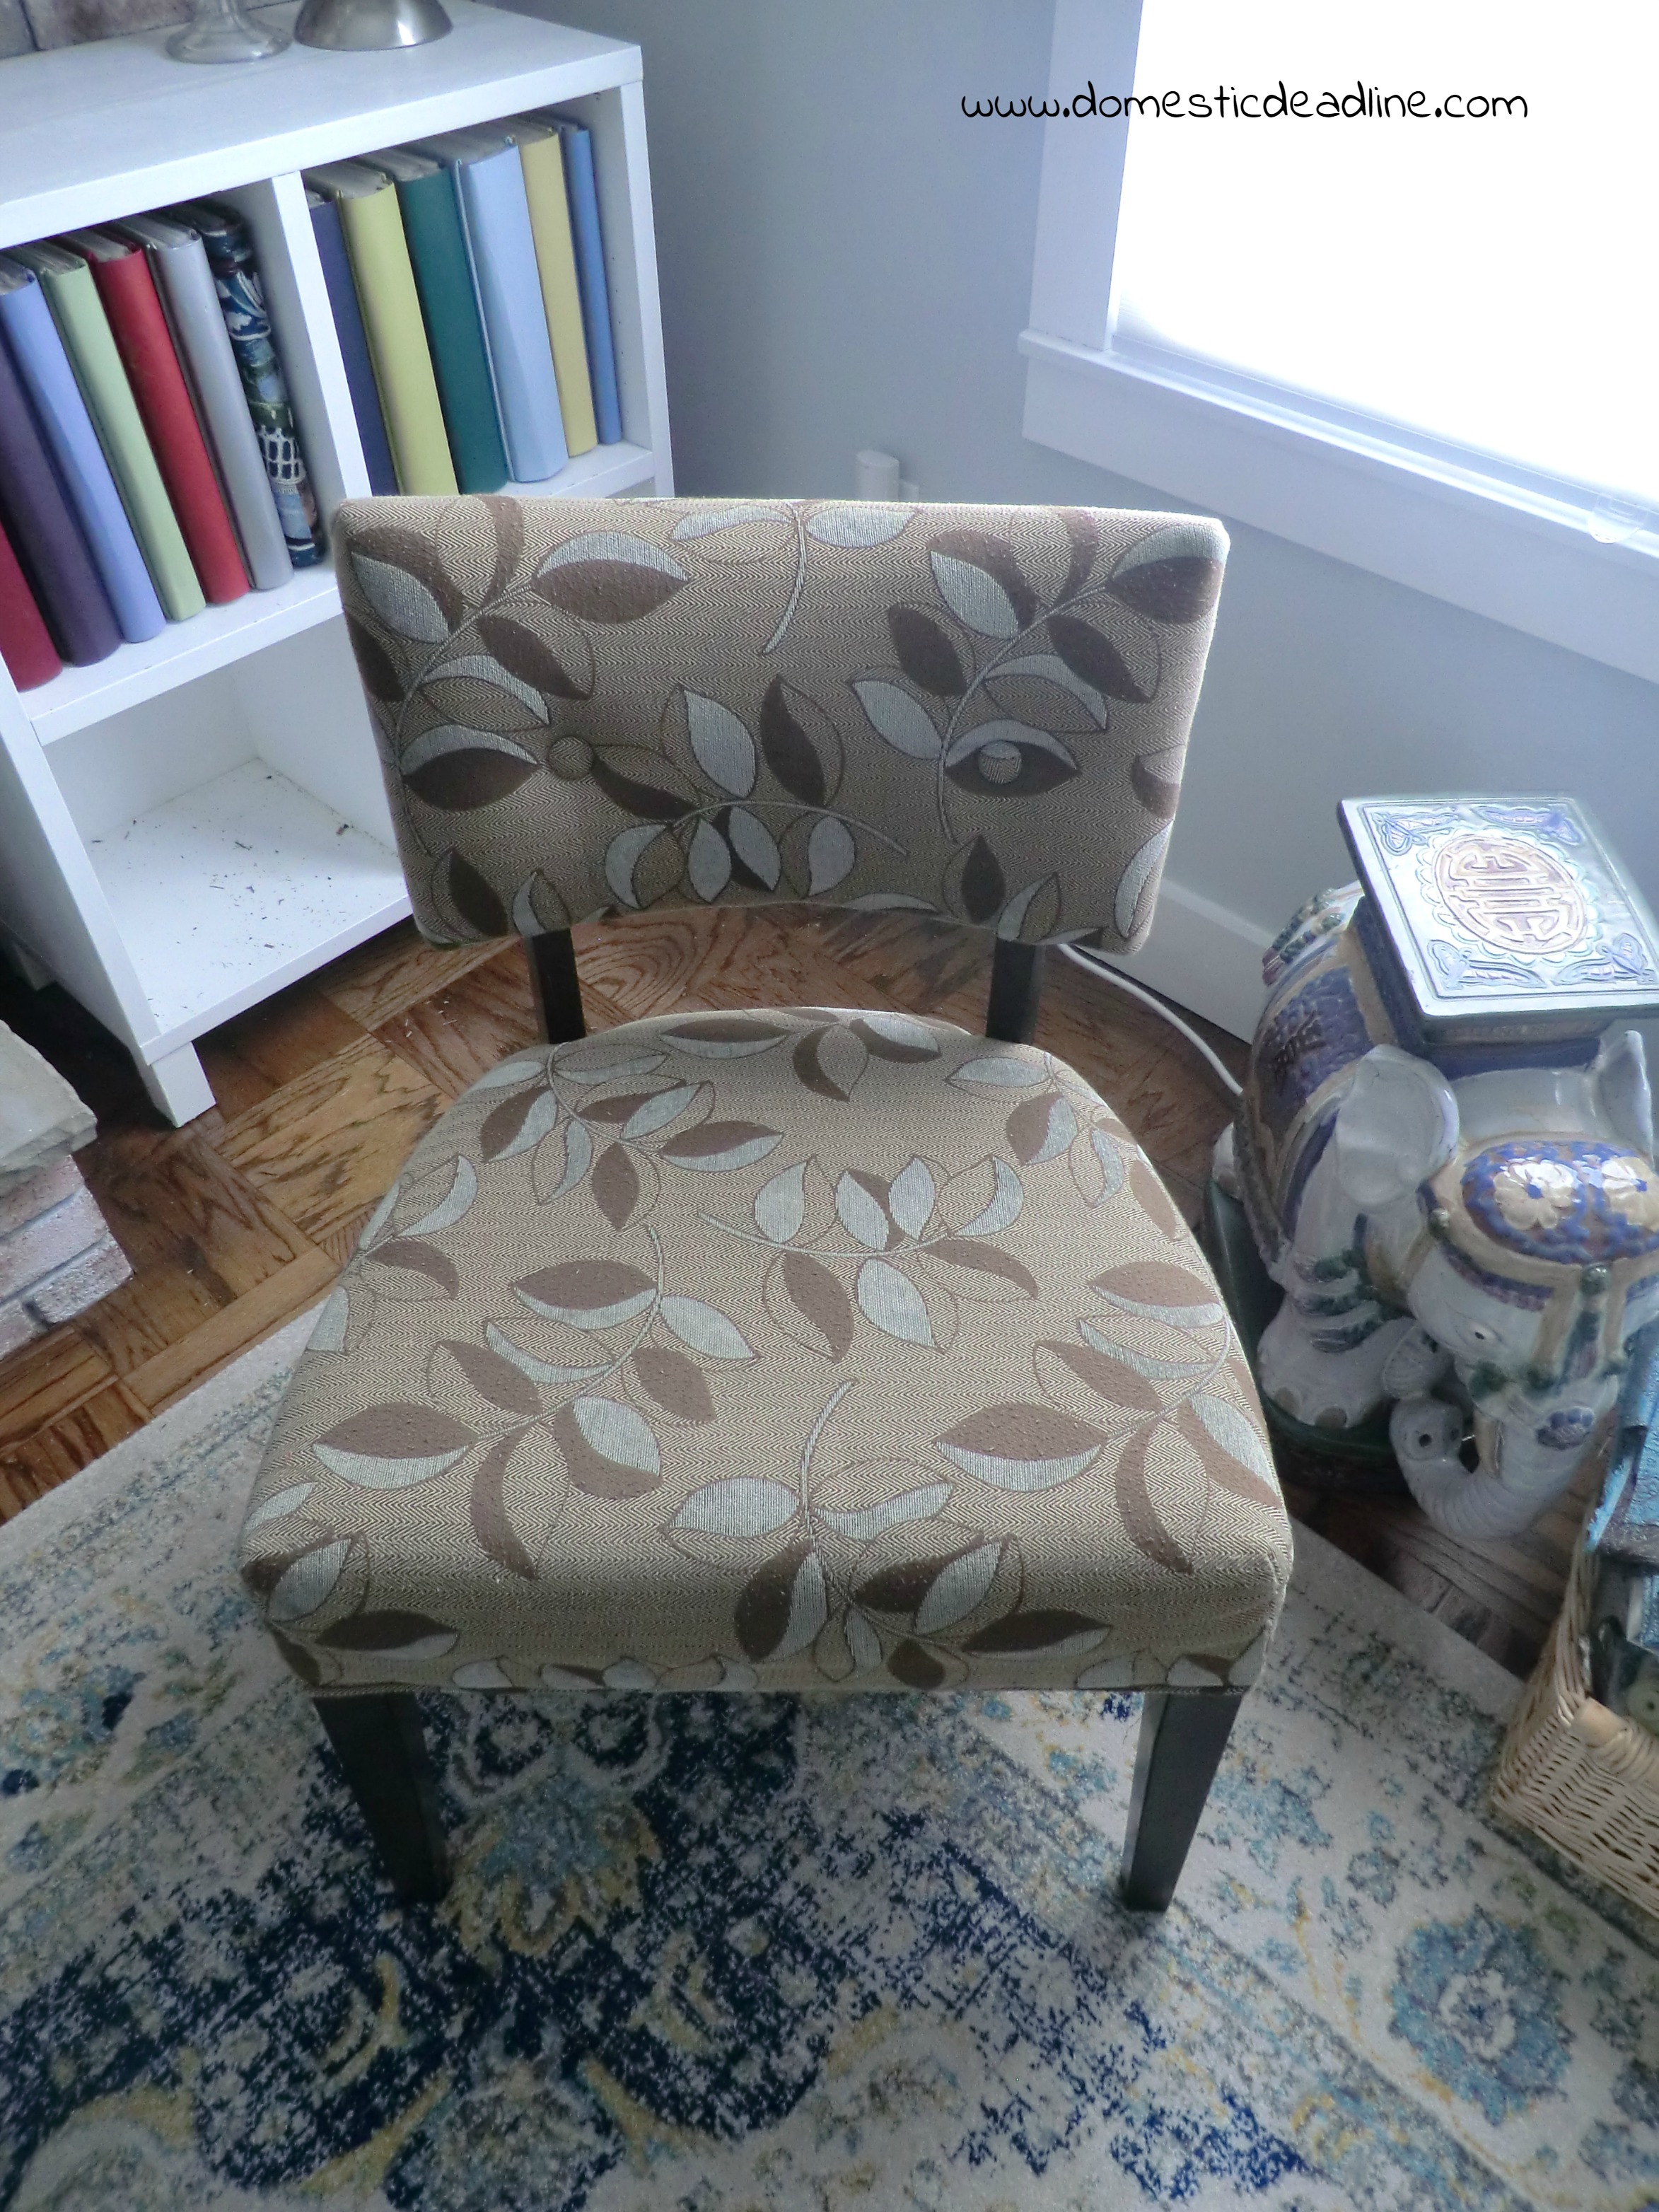
A few days ago I didn’t like this little chair. In fact, I had thrown a blanket over it to hide it. But, it served a purpose as an extra seat when we have a room full of guests. Then I decided to do something about it as my contribution to this month’s crafty destash challenge (here’s last month’s entry). You will have to check back for that post. Today, I’m going to share the quick Valentine’s Day pillow I whipped up to help show the chair and the holiday some love!
This post may contain affiliate links. Which means, if you click the link and buy something, I may receive a percentage of sales at no additional cost to you. Thank you for supporting Domestic Deadline.
Here is the chair before. Once upon a time, I really liked it. It coordinated well with our living room in the old house. The cost was also perfect, only $90 five years ago!
Fast forward to the new house, it didn’t stick out as totally wrong, I just didn’t feel like it added anything to the space.
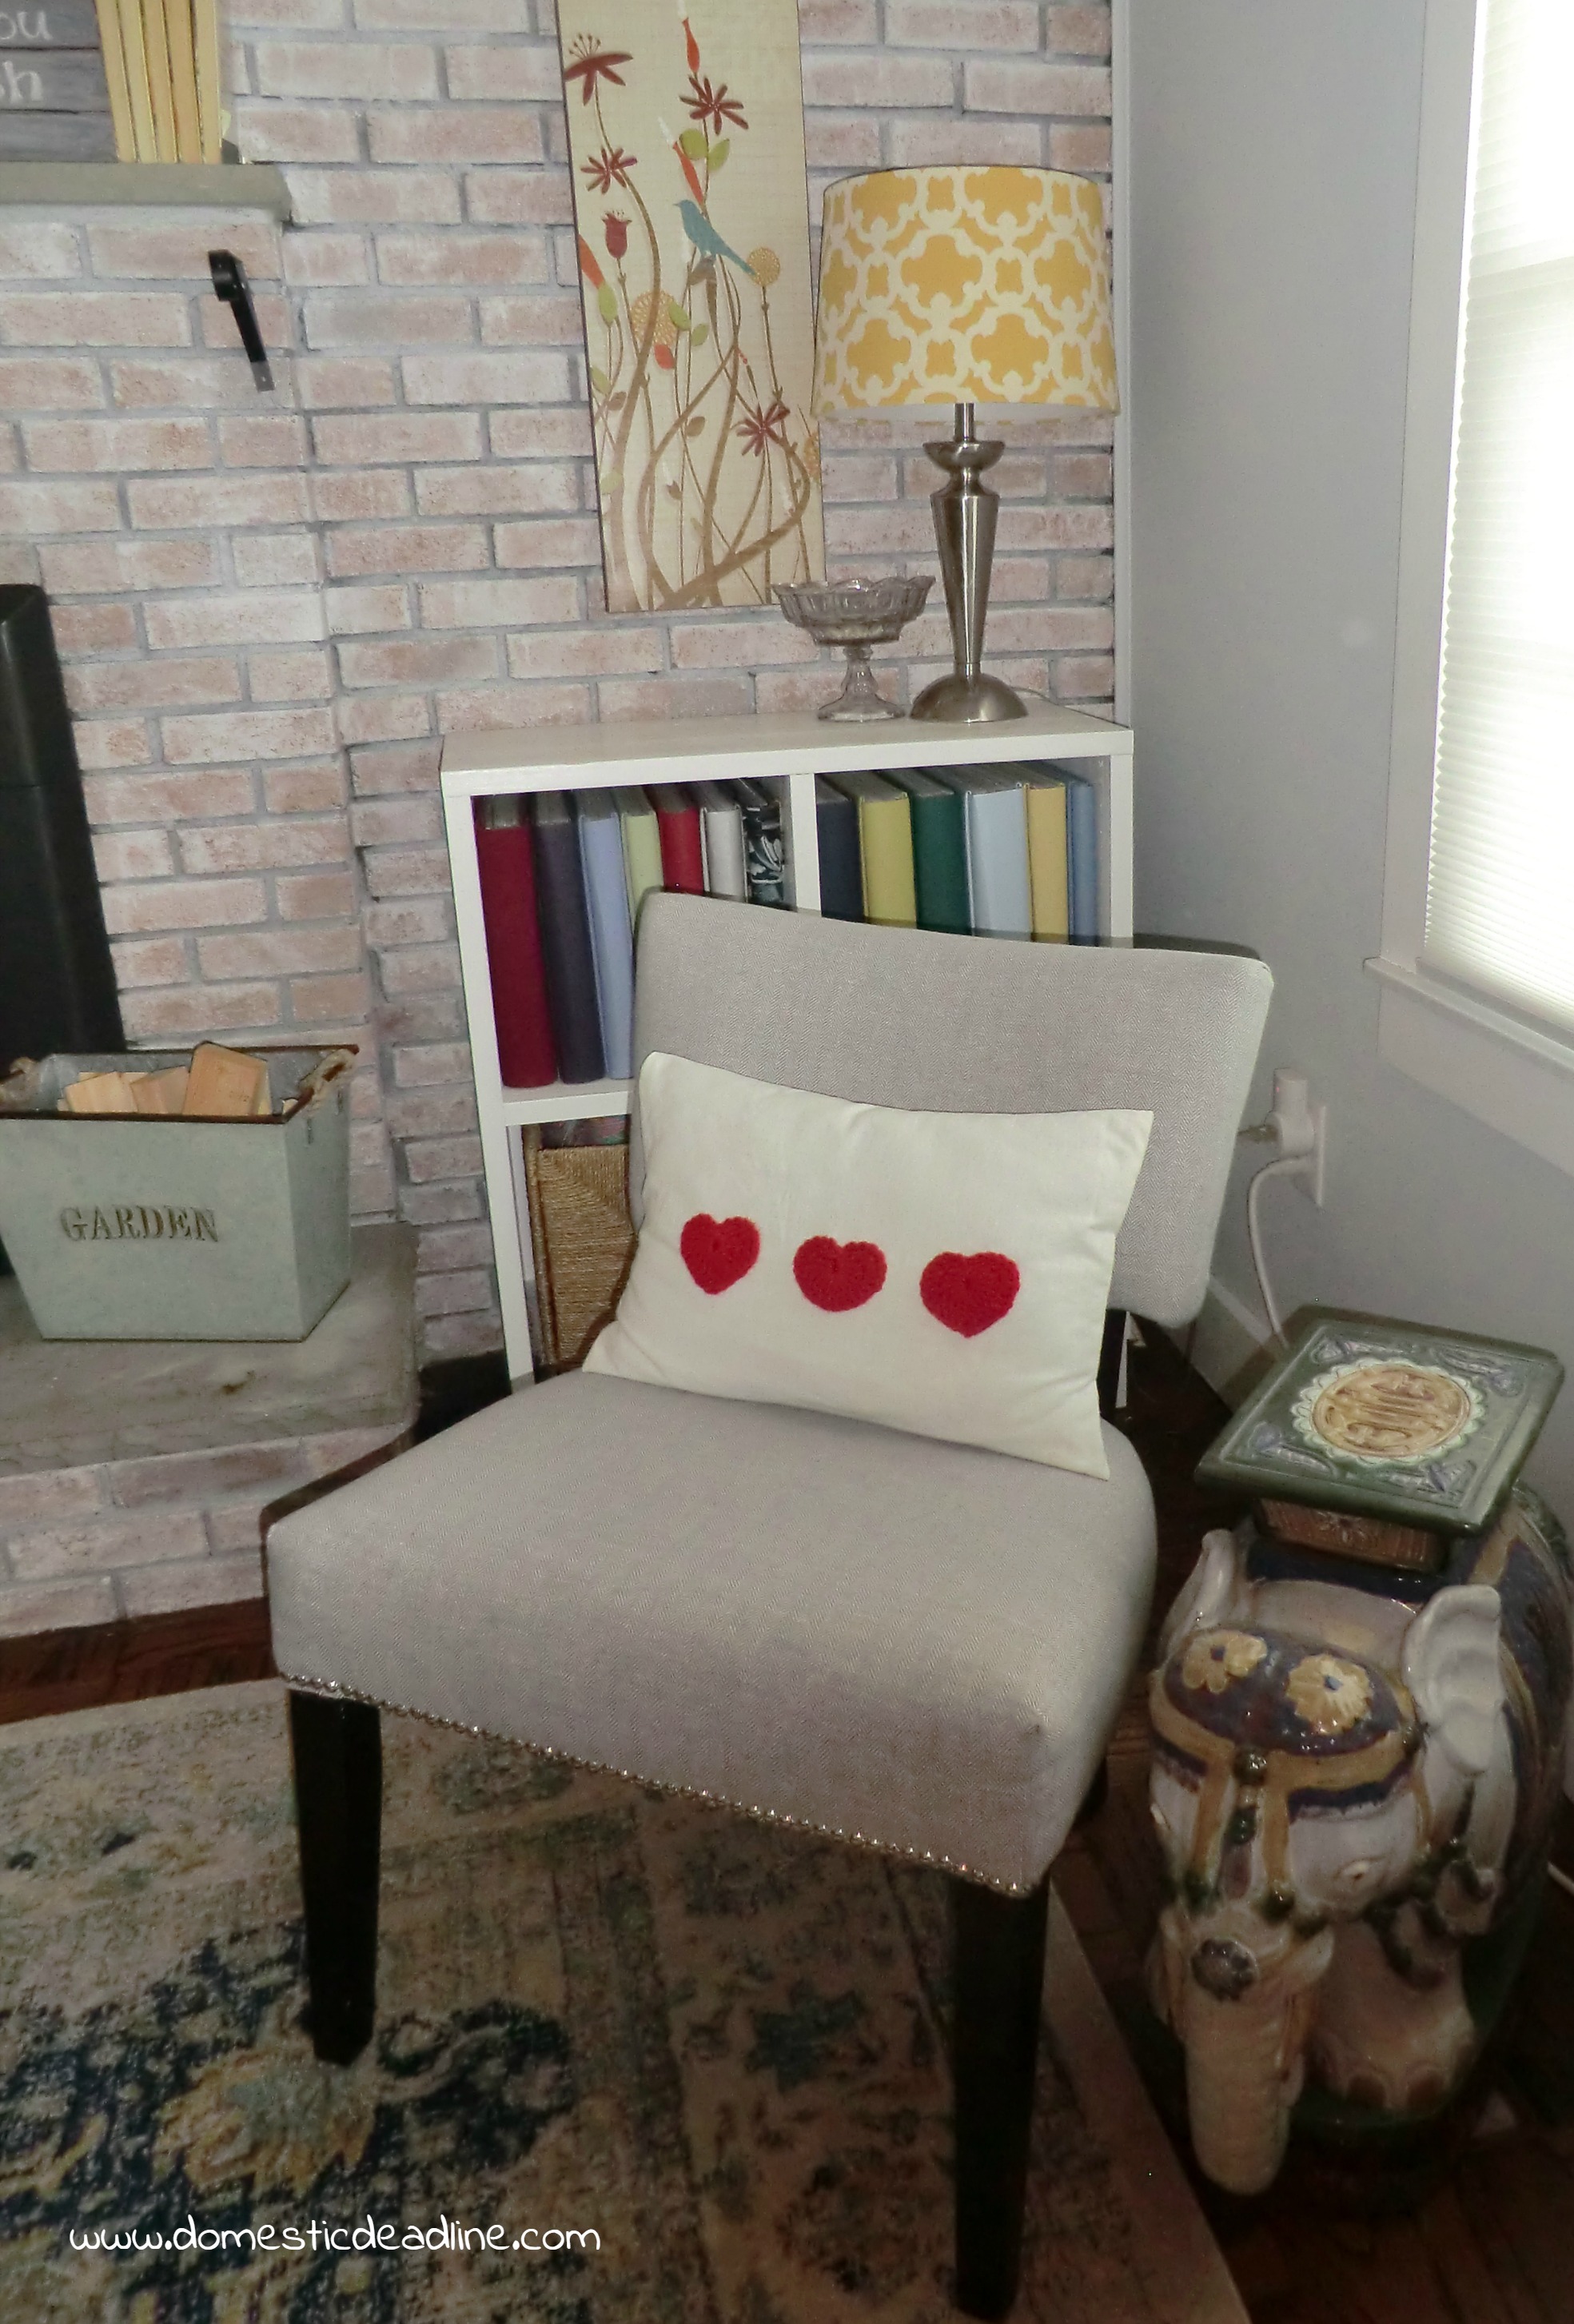
And once it was reupholstered, I loved it again! With my mantel sharing the love (hint: free printable link there!), I went looking for a cute heart pillow cover I made a few years ago. Not having a lot of extra space to store seasonal pillows, I made covers for my existing throw pillows.
That cover was either inadvertently given away when we moved or still in a box. Probably the latter. I decided it would be faster to just make a new one than to keep looking.
But, I also goofed, I thought I was taking pictures and realized I didn’t have a memory card in my camera!
So, I’ll give you a brief tutorial and link to some other great tutorials that go more in-depth to the same process I used.
Pillow Cover
Envelope pillow covers are super simple and the perfect way to add seasonal pillows to your decor. Krista at the Happy Housie has a great tutorial. I used a lumbar pillow as my insert and old curtains for the material.
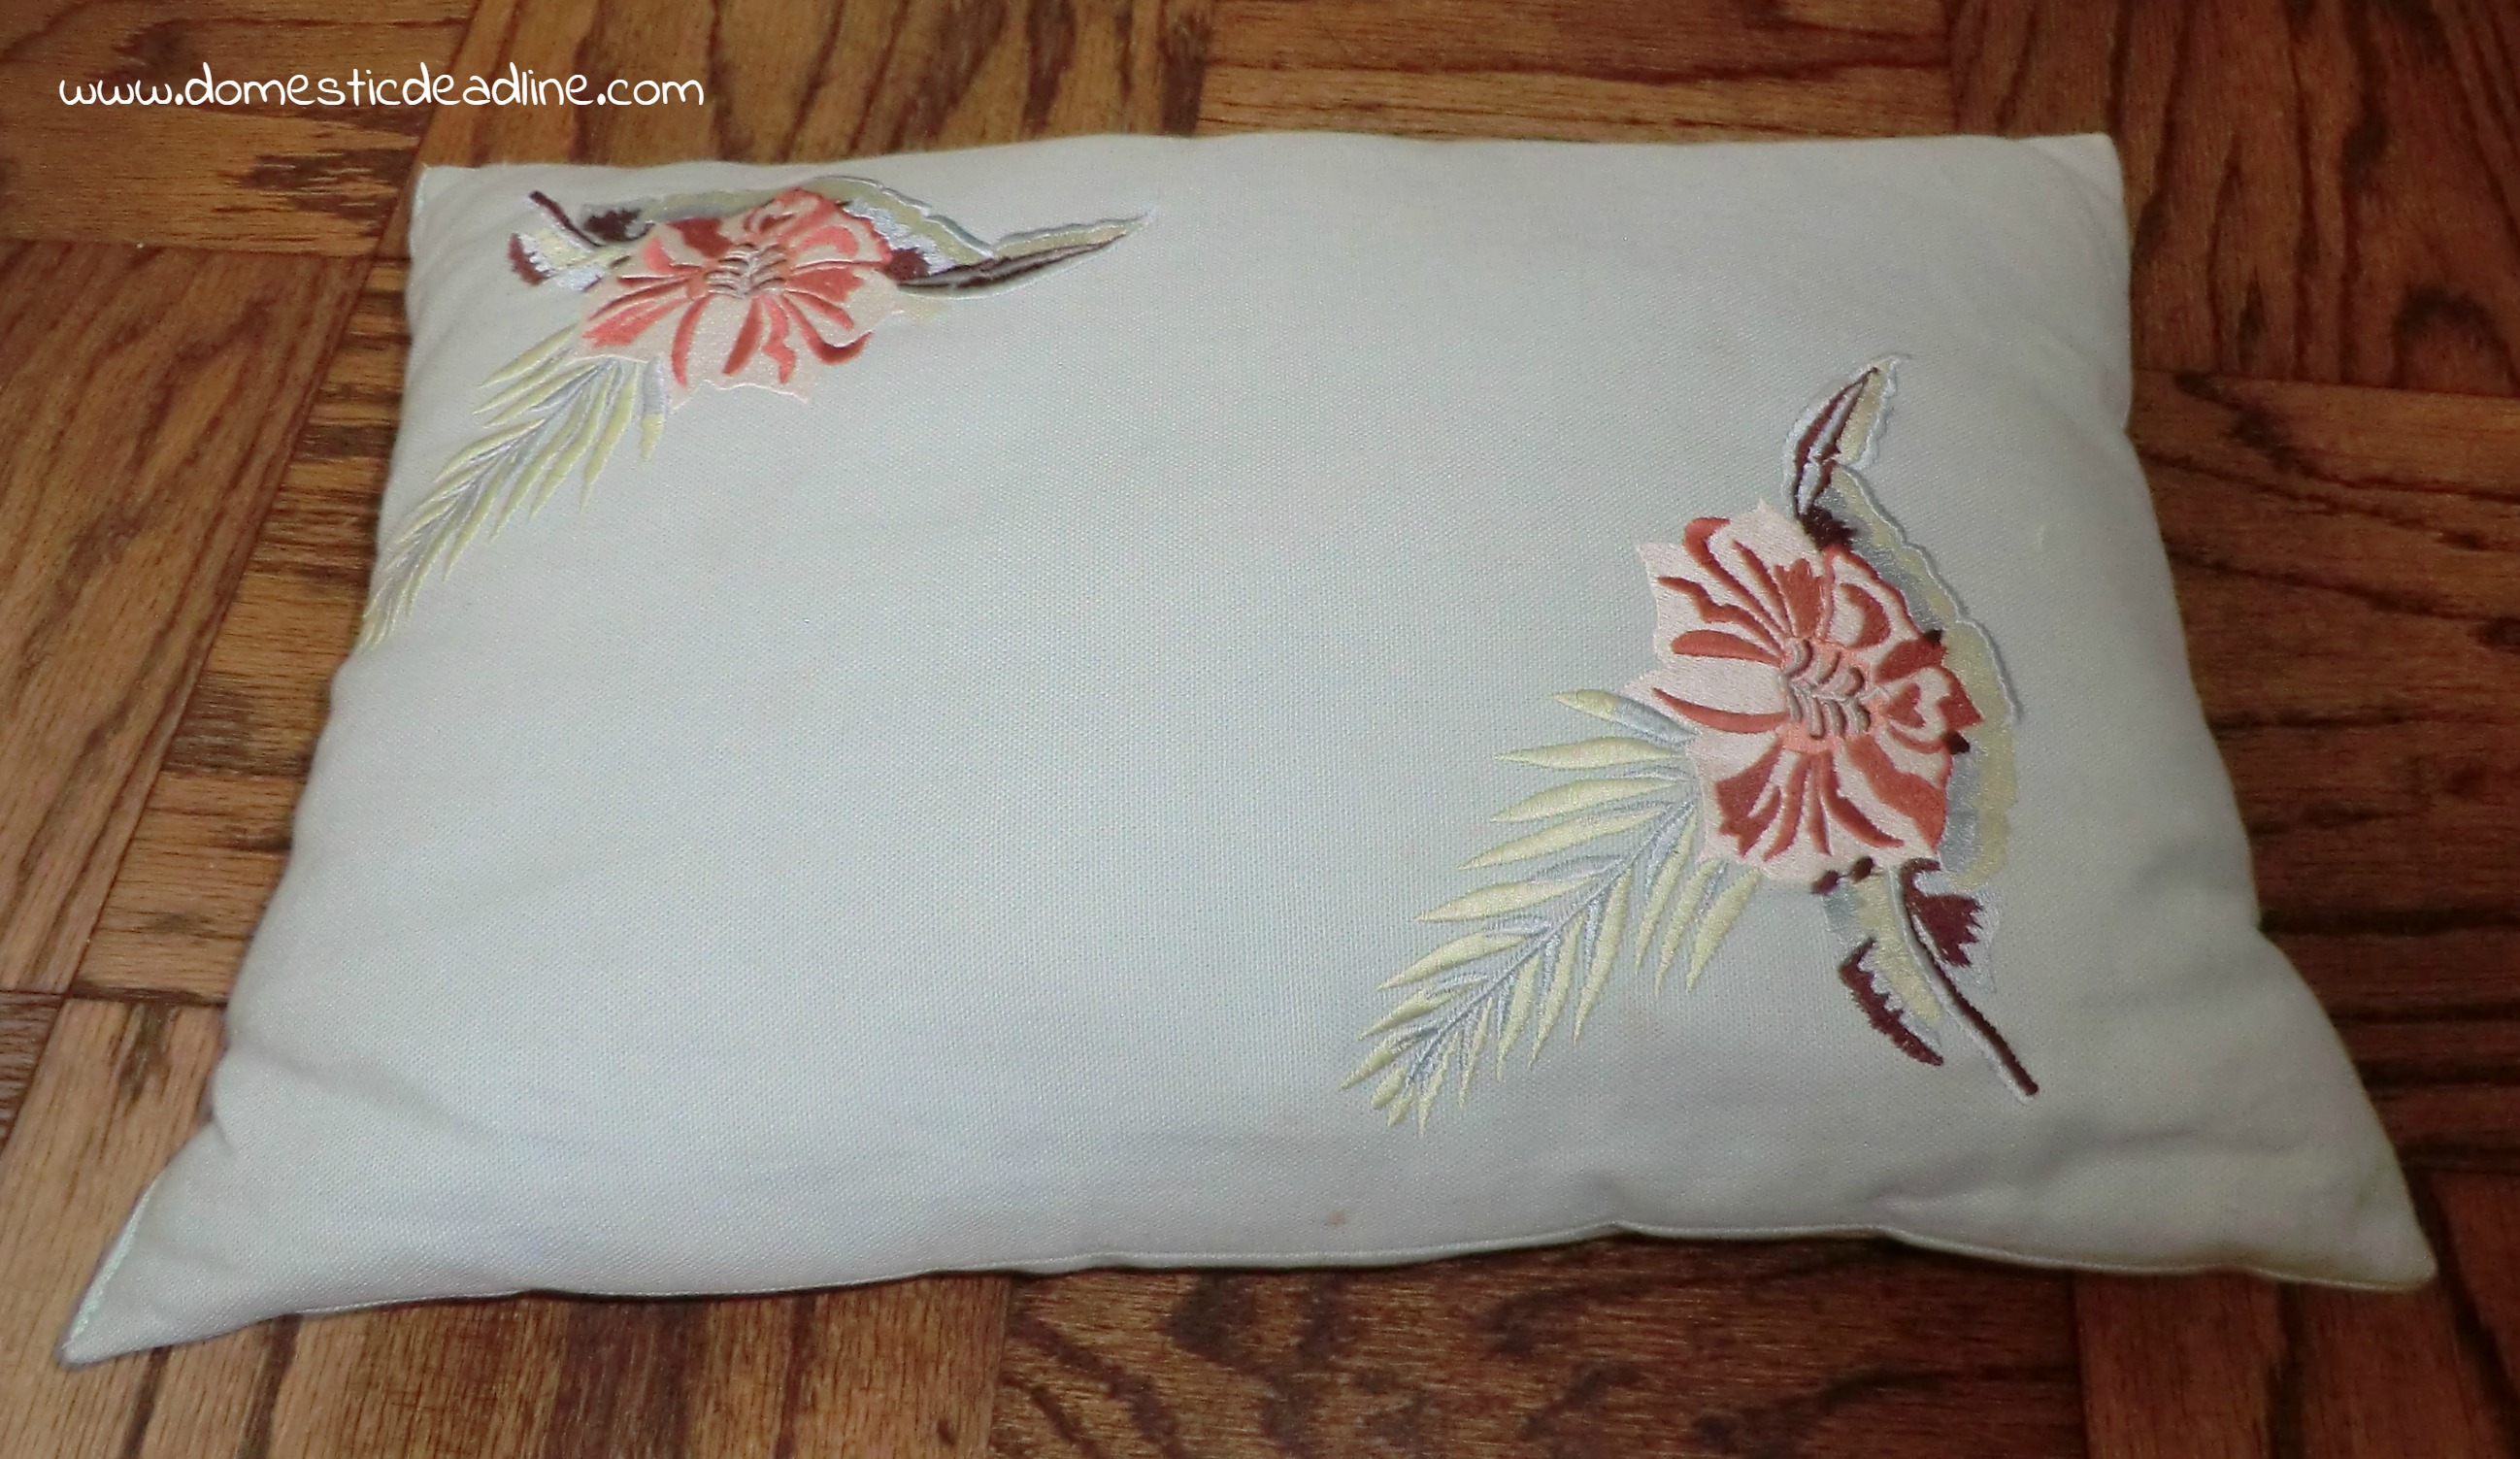
Here’s the before of the pillow I covered:
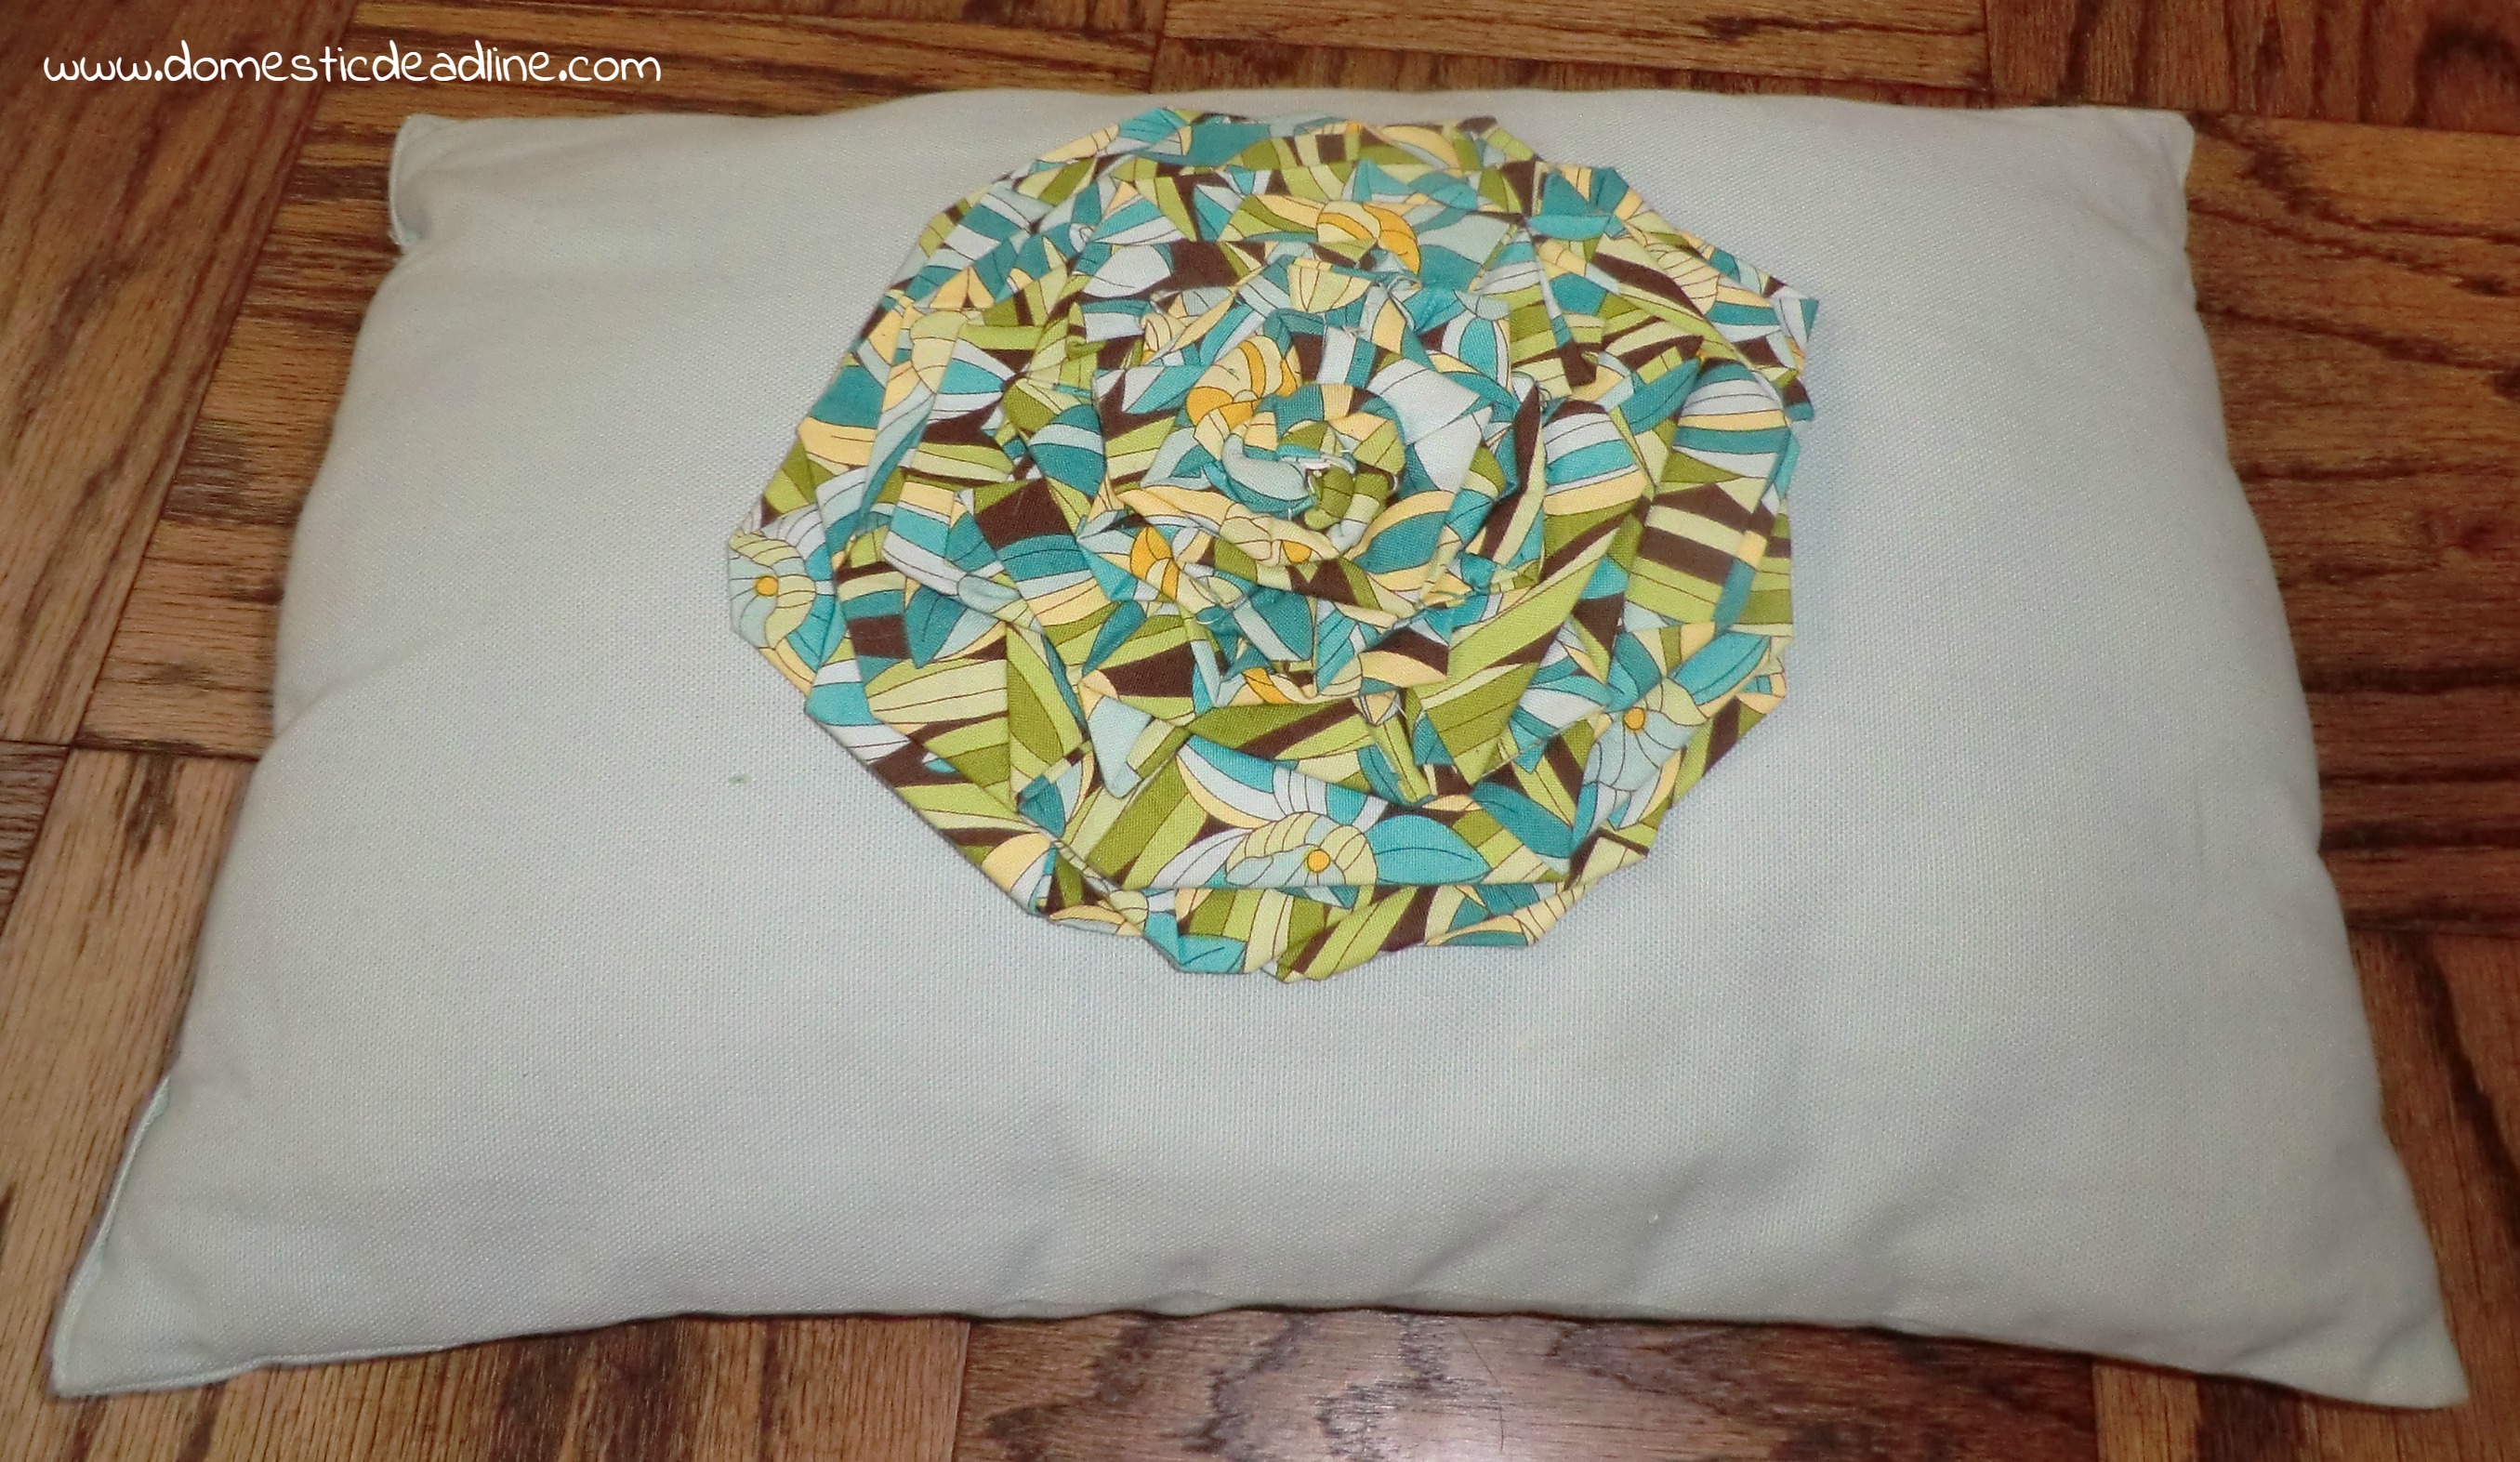
It was actually already on its second life, I embellished
the flip side and used it for a few years this way:
Hearts
I have bins and bins of yarn, much of it given to me by a friend. It’s going to take me years to get through, but I’m sure I will eventually! Any red yarn will work, I used Red Heart (get it? lol!).
Recently, I needed to get more of a specific yarn to finish a project (yep, ran out and despite the bins, didn’t have any more of the right color and weight). I was very pleased to find fabric.com had the best price on the yarn I needed, with free shipping!
But this project can be done with scraps, multiple shades of red and pink, or even red fabric with white hearts?!?!?
These hearts can be made any size. Simply by using chunkier yarn and a larger hook or a small hook with fine yarn, you easily get different sizes. My yarn was #4, I used an H hook (it’s my go to hook size).
Pattern
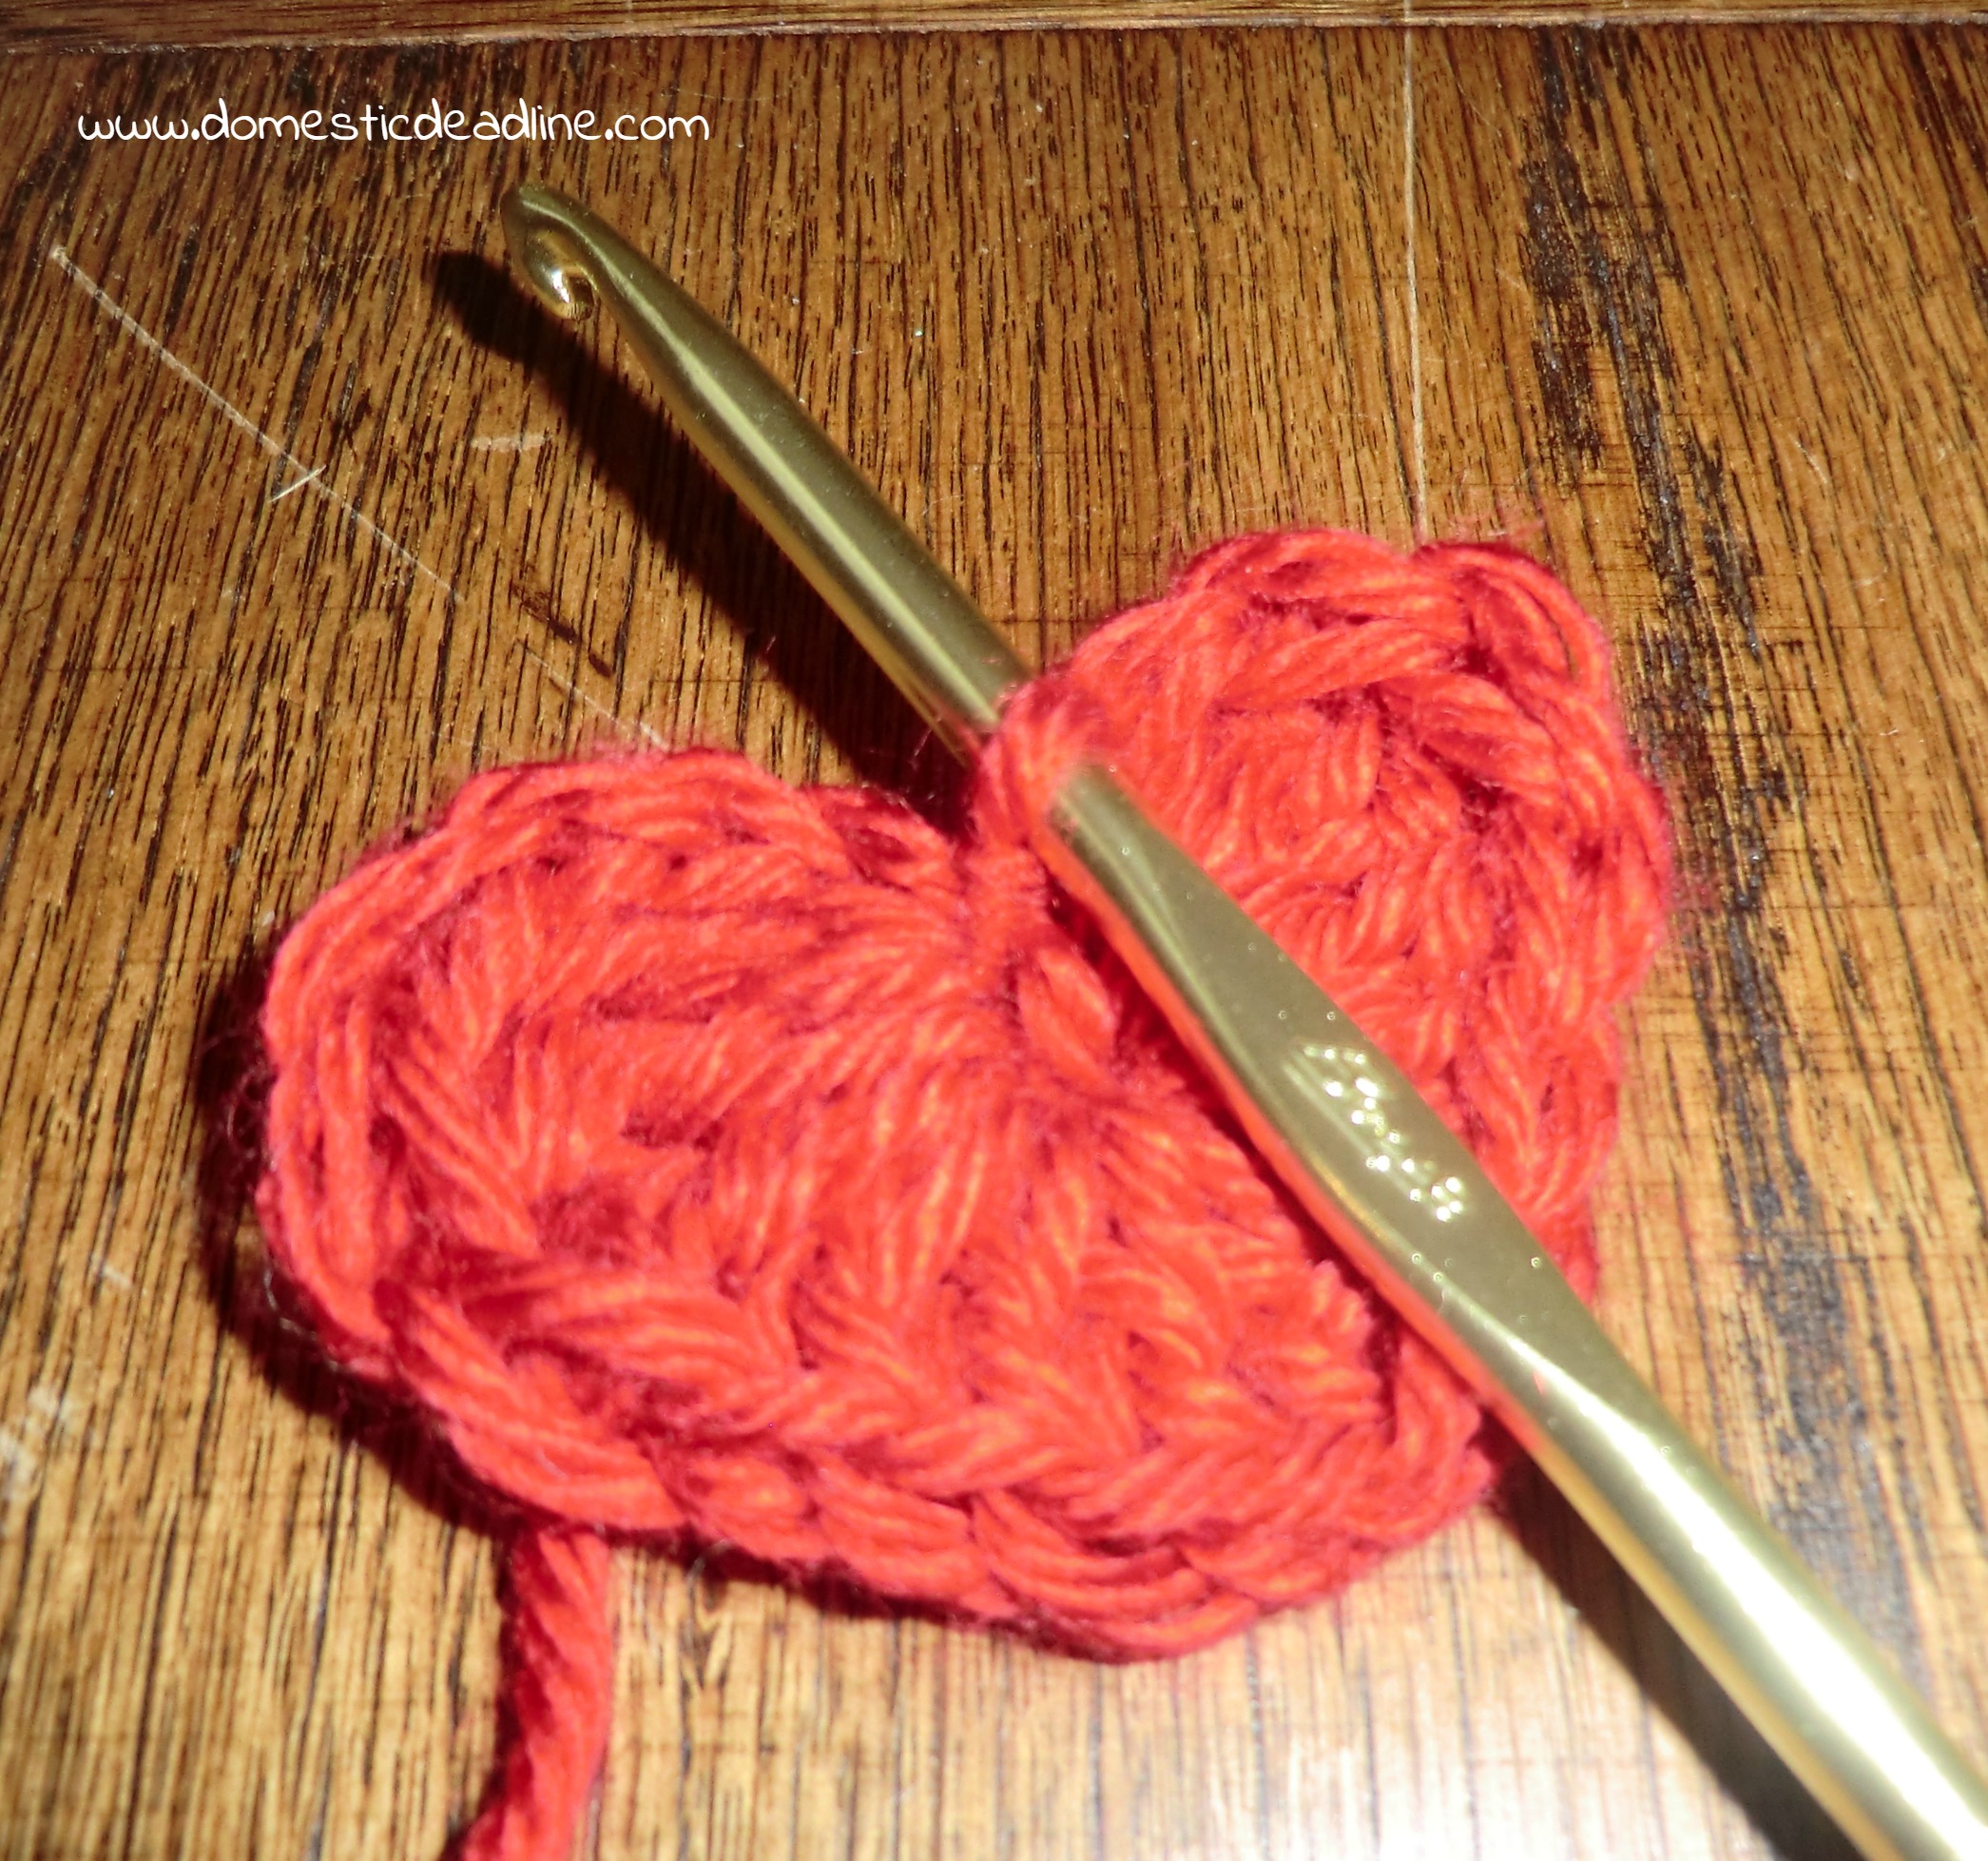
Round 1: Chain 4. Stitch this sequence into the very first chain: 3 trc, 3 dc, 1 trc, chain 1, 3 dc, 3 trc, chain 2, slip stitch (reminder, all in that very first chain!). If you stop here you have a baby heart!
Round 2: Chain 3. In the first trc do a sc and hdc, (continue working around the heart) 3 hdc in next stitch, 2 hdc in next stitch, sc in the next 4 stitches, chain 1, dc, chain 1 (you just finished the bottom point), sc in the next 4 stitches, 2 hdc, 3 hdc, hdc and sc in next stitch, chain 3, slip stitch in the center.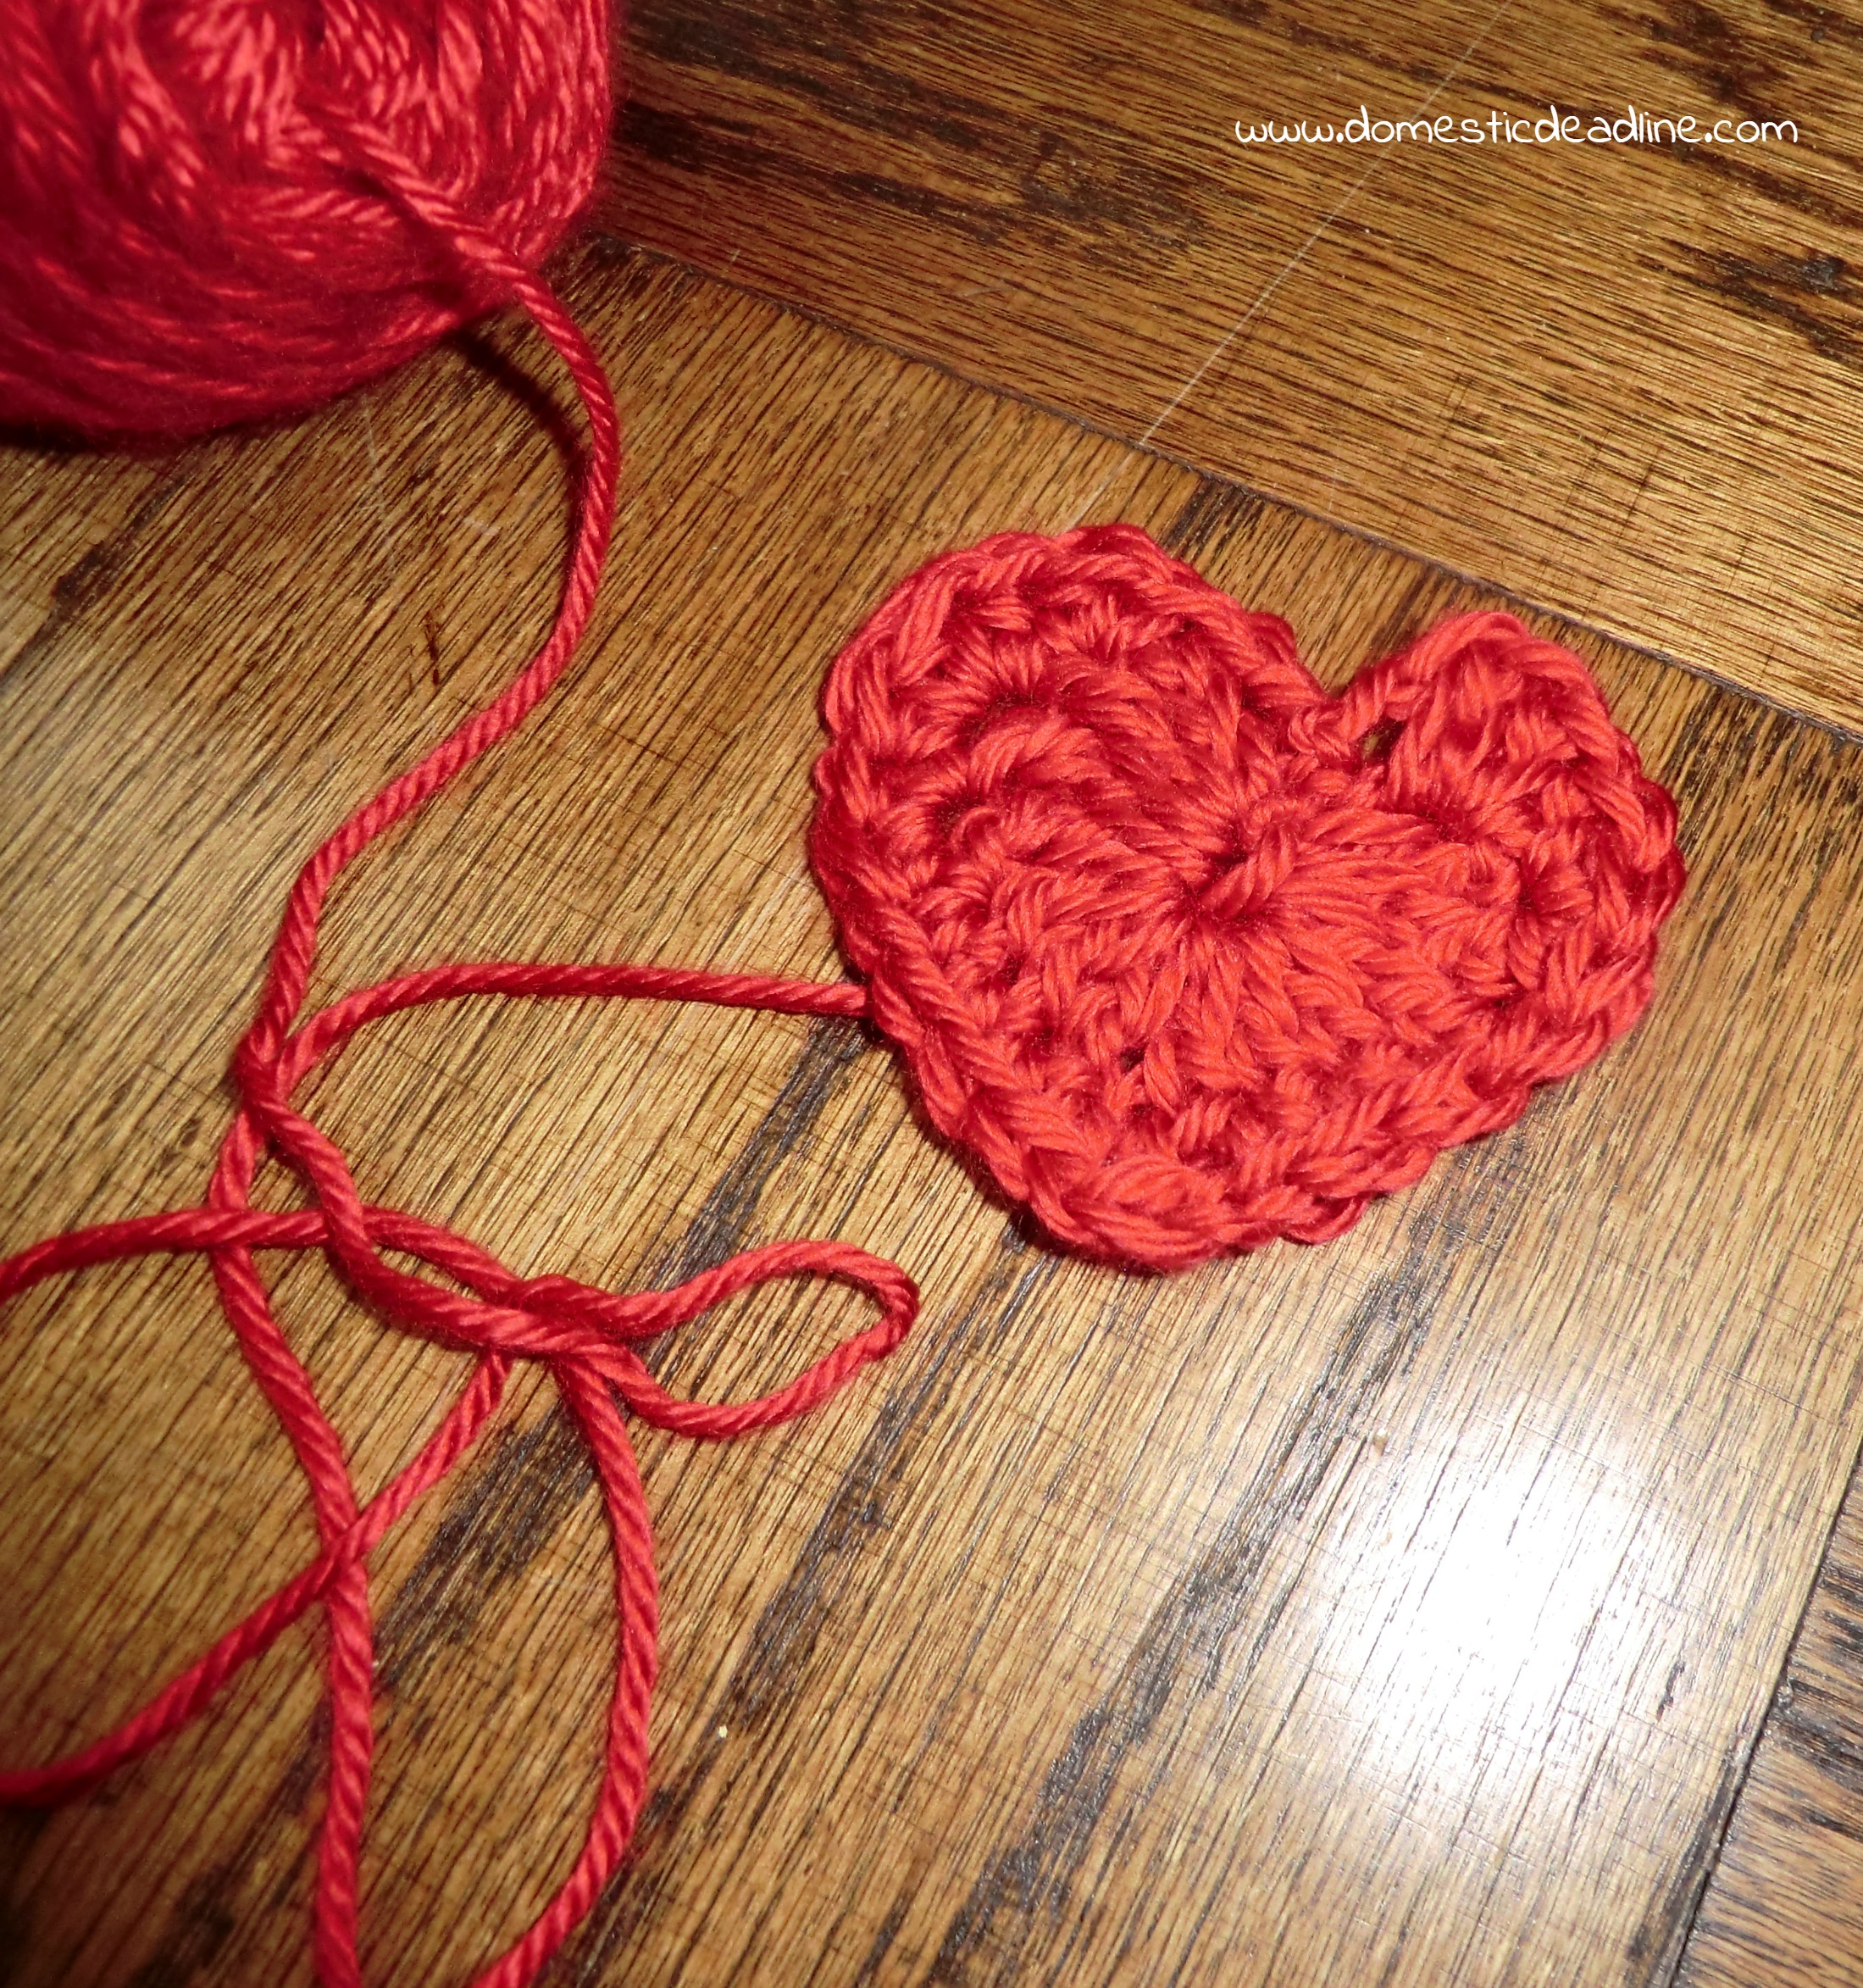
That’s it!
Make a few, they work up quick. I made 3 for my pillow.
3+1=Pillow!
Once I had my hearts and my completed envelope pillow cover, I just had to stitch the hearts in place. Using a coordinating thread, I hand stitched them in place.
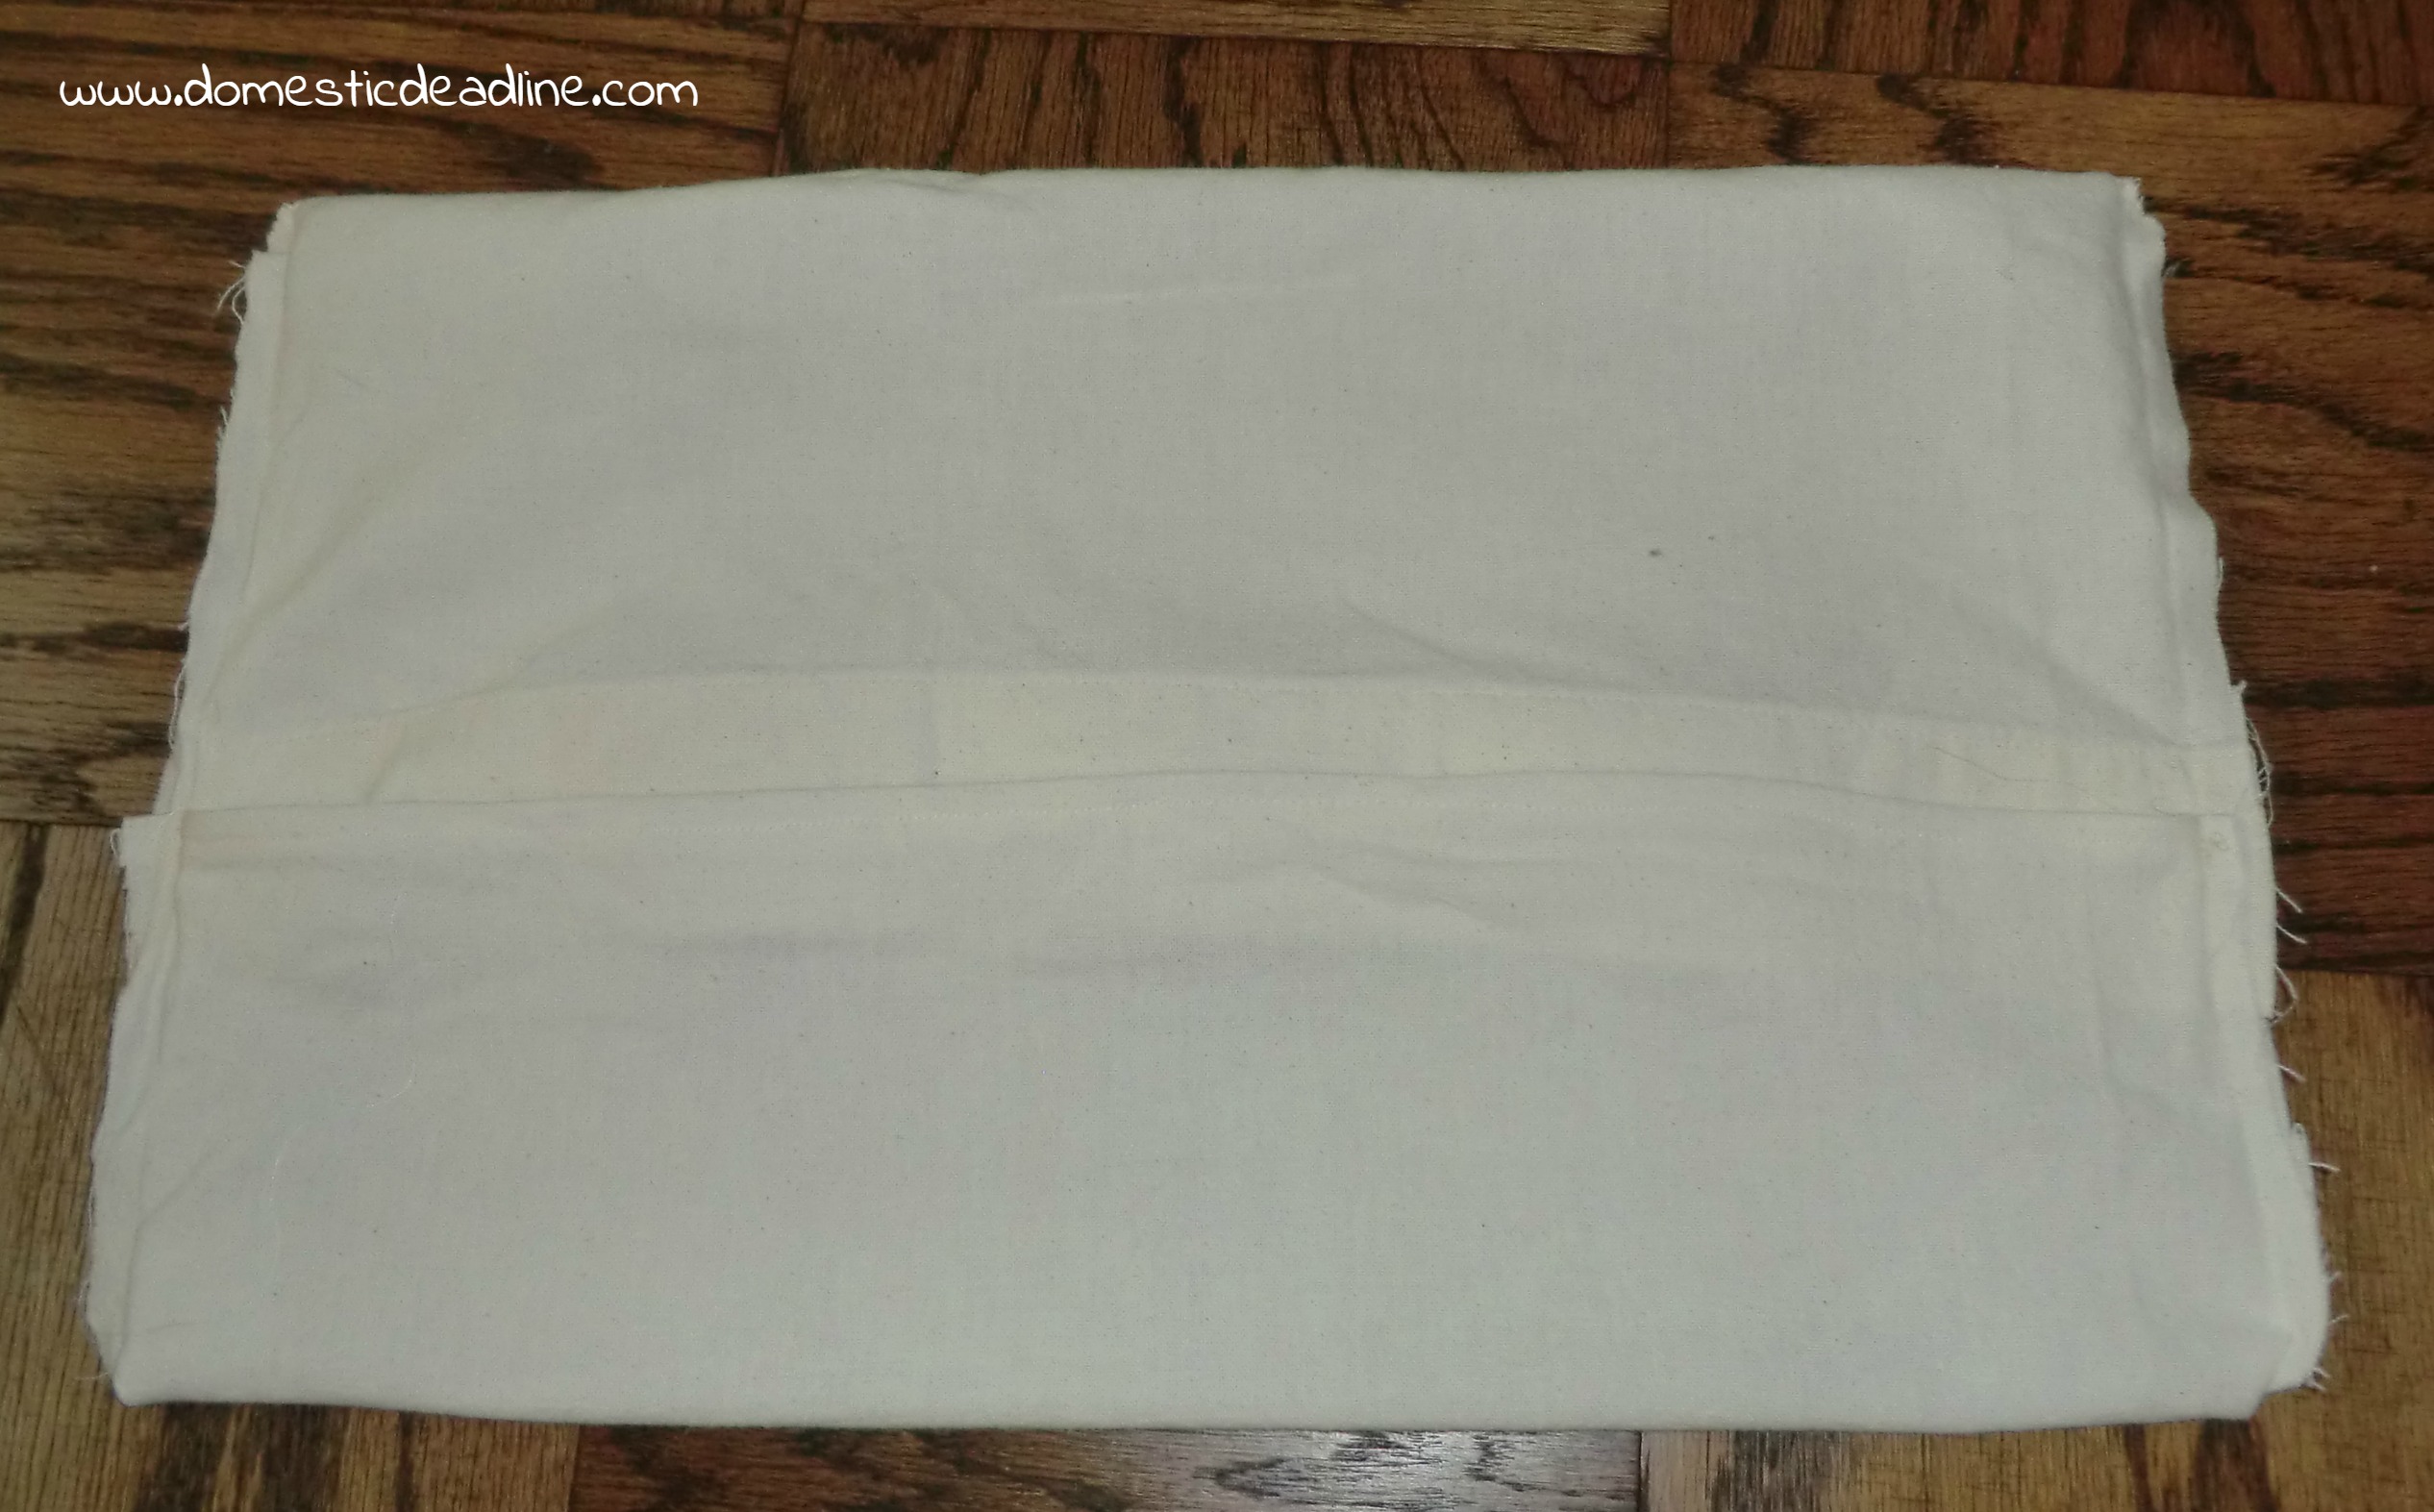
The cover, inside out and backward:
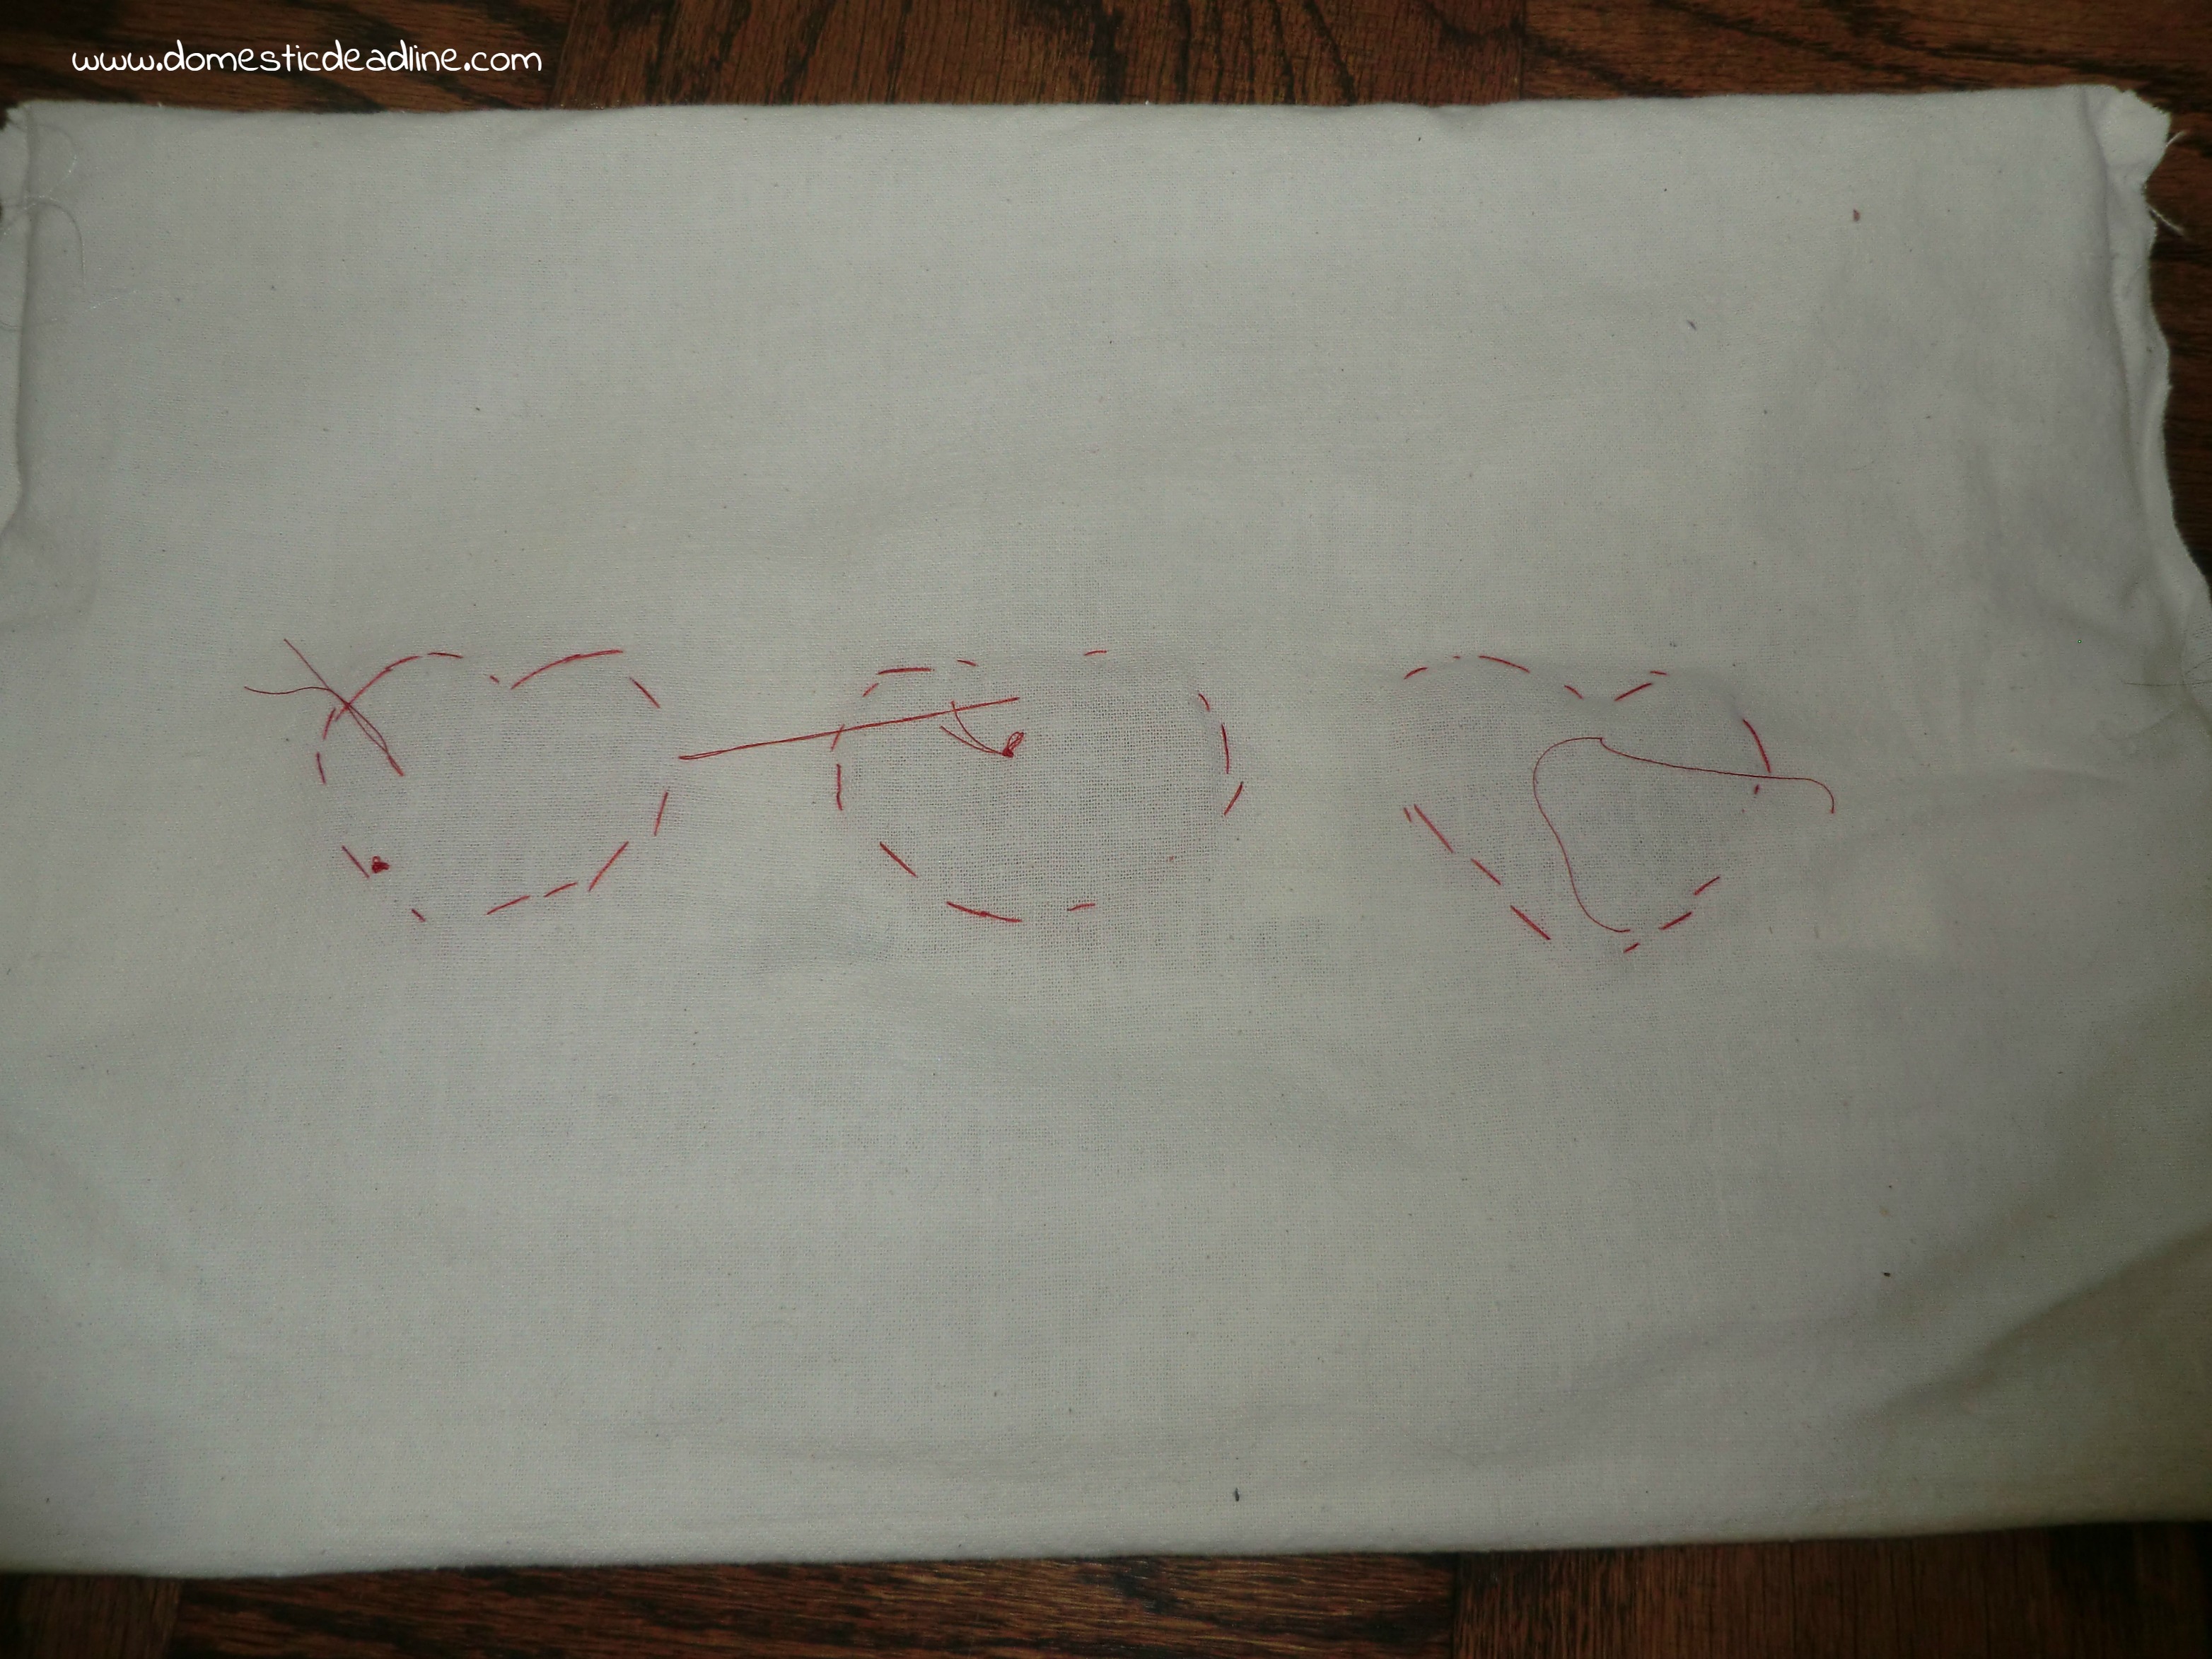
Inside out, you can see I just stitched where ever I needed to:
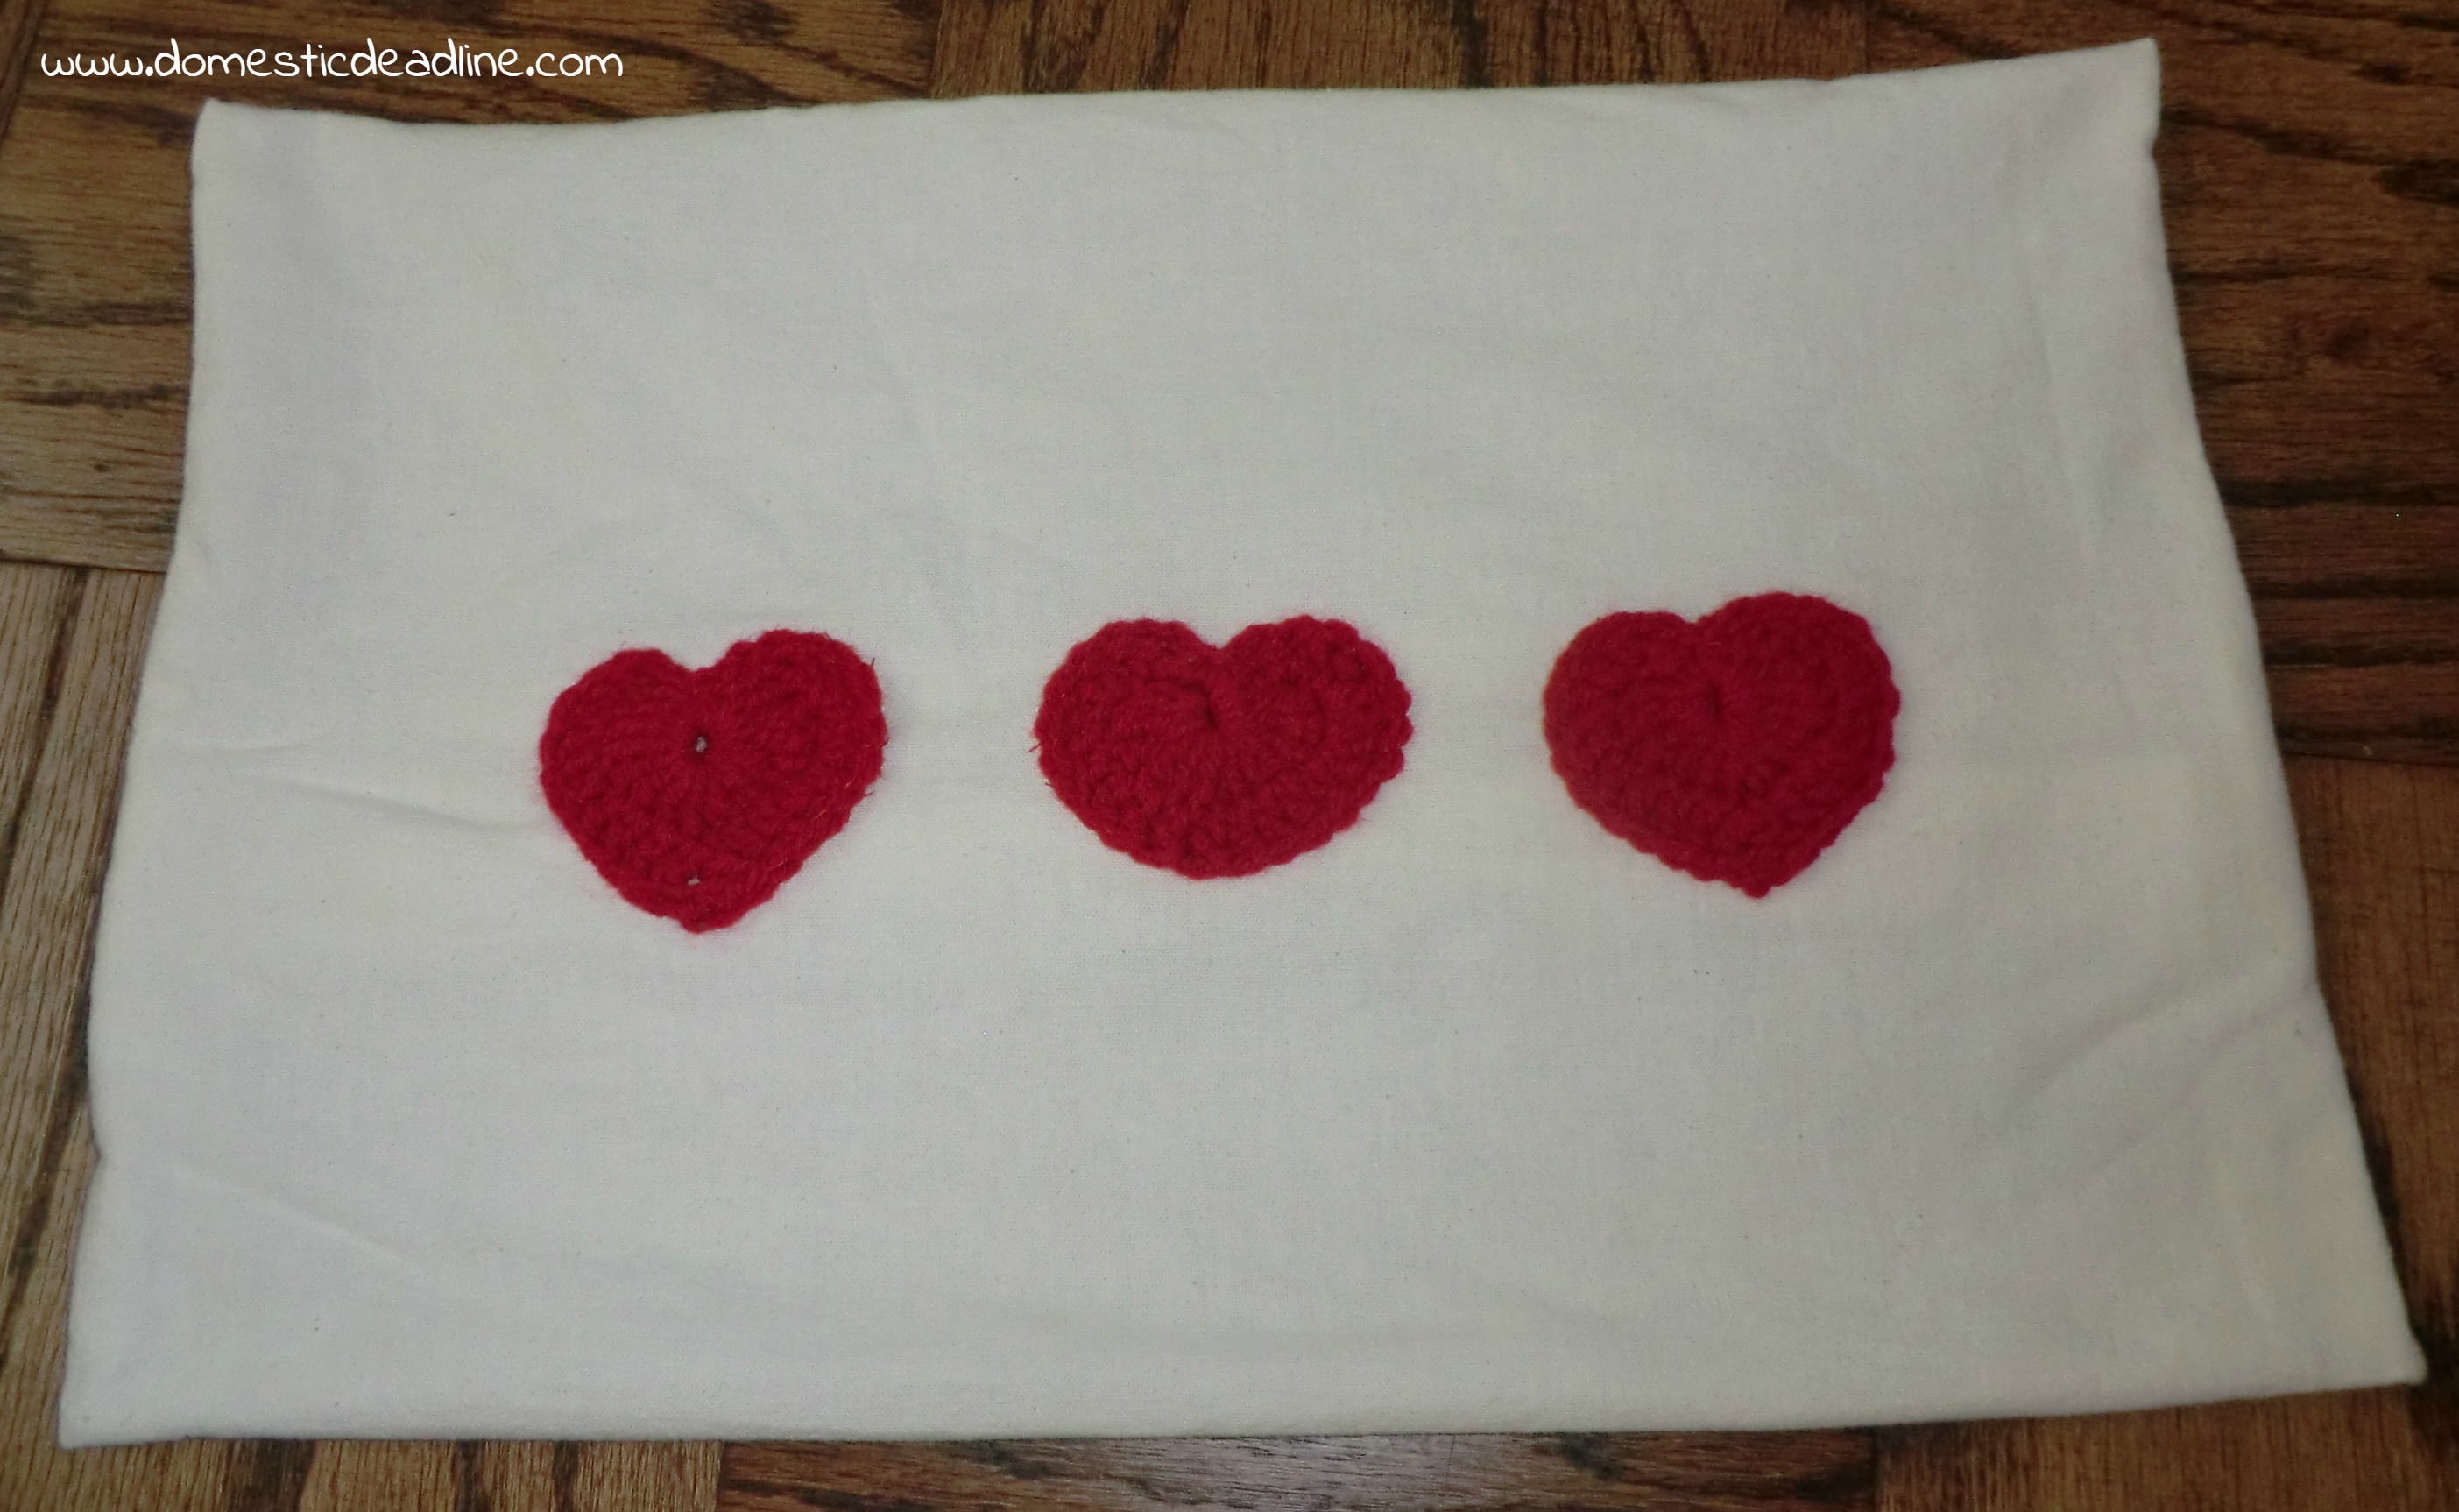
And all finished!
Stuff the old pillow inside and toss it on the chair!
What do you think? I’m pretty happy with it. Check back next week and I’ll share how I upholstered the chair. Better yet, subscribe to my newsletter! Not only will you get access to my free printables, but bi-weekly post round-ups and special offers.
Don’t forget to pin this project!






5 Comments