This month for #ProjectChallenge our material selection is doors. IronFish and I spent a year looking for antique doors to incorporate into our house. I’ve anxiously been awaiting this month’s challenge. Alas, the project ended up being considerably larger than we initially anticipated. So, I’m going to share part one of this project today. How we are stripping and restoring antique doors.
Lots of Doors
Doors were a big topic for IronFish and me before the ink was dry on our offer for our current house.
In our old house, we had 1970s hollow core slab doors. We changed those out over time and put in 6-panel doors. Between this change and updating the molding around each door, the overall look and feel of the house changed.
We knew we needed to change the doors along with all the molding in the new house too.
There were 4 styles of doors, 4 styles of knobs, and 11 styles of trim throughout the house! And we’re only talking about the interior. The exterior doors were all different too.
We decided to give our house some Craftsman style. A style we both love.
Except for the Office
The office (or den, or family room, whatever you want to call it) was designed without doors. And while we like some openness in the floor plan, IronFish needs to be able to work from home sometimes. Doors would come in handy for conference calls and concentration.
Not wanting to restrict light flow in the house, we wanted the doors to have glass.
So, yes, after making all the doors inside the house match, we were looking for something different for ONE room!
We knew we wanted the doors for this room to make a statement.
Nothing accidental or anything that would cause someone to wonder why the doors didn’t match the rest of the house.
We began regularly searching a local barn sale. I joined several FB yard sale groups. We attempted to search for salvage stores within a reasonable driving distance.

And Then One Day
We hit pay dirt!
I came across a listing in a Facebook group for a Philly vintage store with several doors available. The doors were really rough. Missing or broken glass. Painted over and in need of repair. But salvaged from an 1800s church in downtown Philadelphia, and pure gold in my eyes!
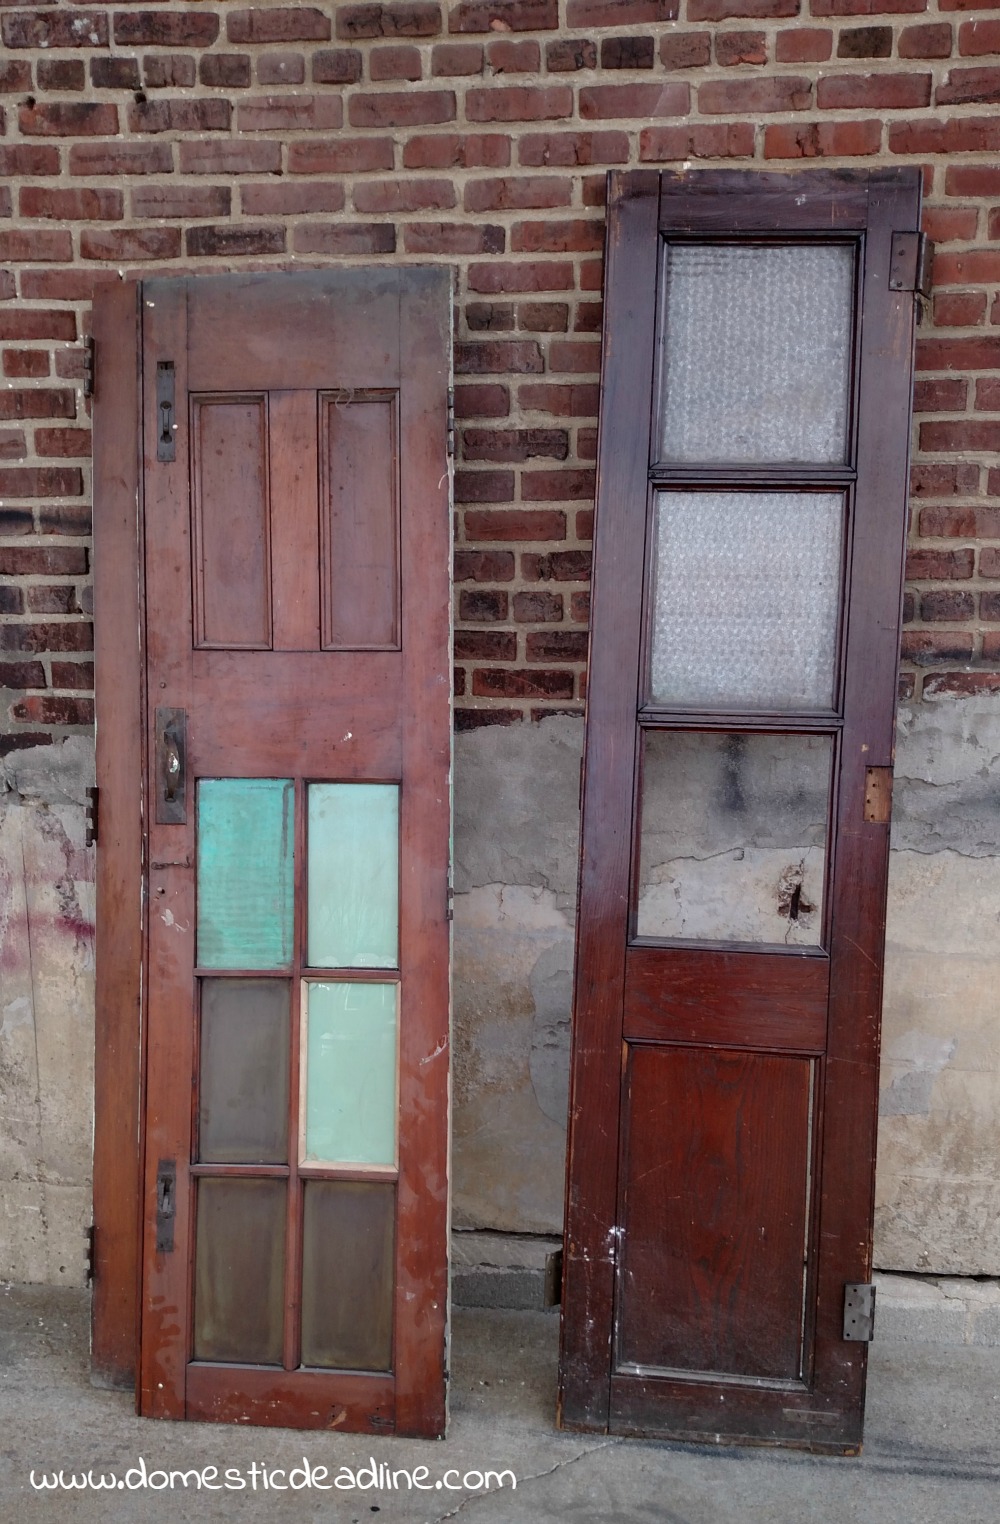
Personally, I would have been fine with repairing and cleaning them up. Replacing the glass and trimming to fit our needs. I was fine with the layers of old paint and bubbling stain.
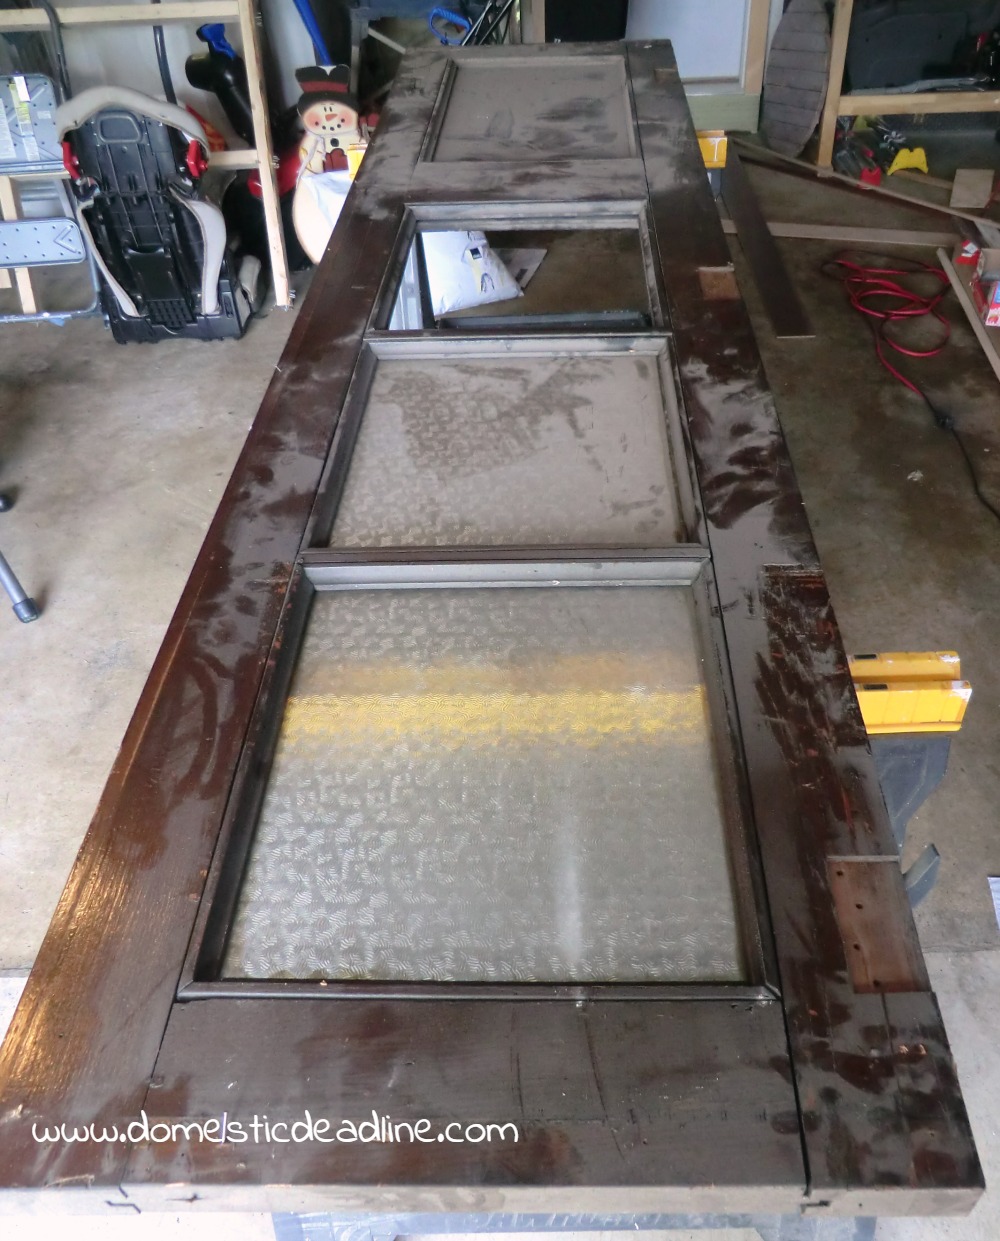
But they were too rough for IronFish.
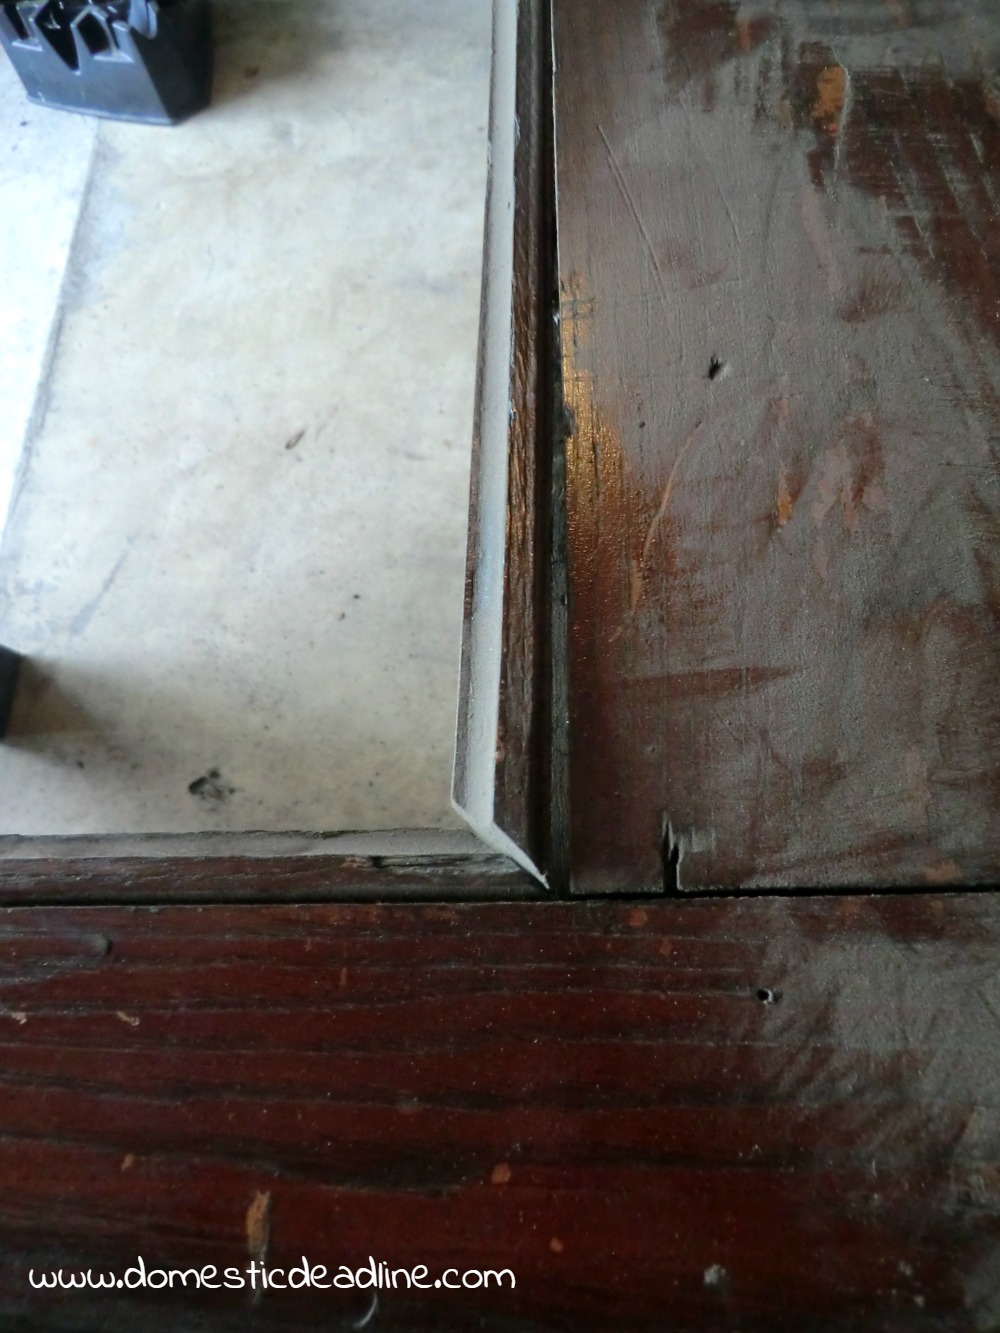
He was concerned with led paint and other old chemicals. Besides, the doors were going to be for his office.
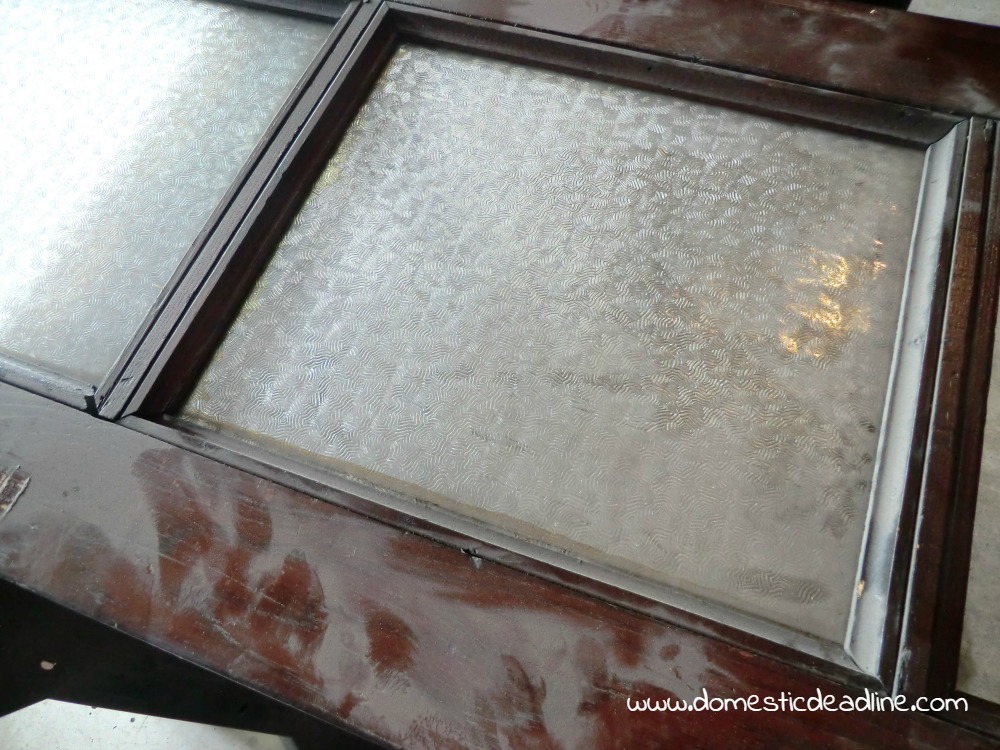
Turns out, stripping old layers off of wood is kinda fun!
Initially, I began to look into eco-friendly ways to remove the paint and stain layers. IronFish went out and bought a good strong chemical stripper. As he said, we aren’t going to be using it every day for the rest of our lives. Besides, we would be working in the garage, with the door open. Plenty of ventilation and time before the doors actually come into the house.
We Got To Work
We did the first side of the first door together. Armed with gloves, plastic scrapers, and chip brushes, we painted a coat of the stripper on.
Ok, first we poured some into a bowl to work from.
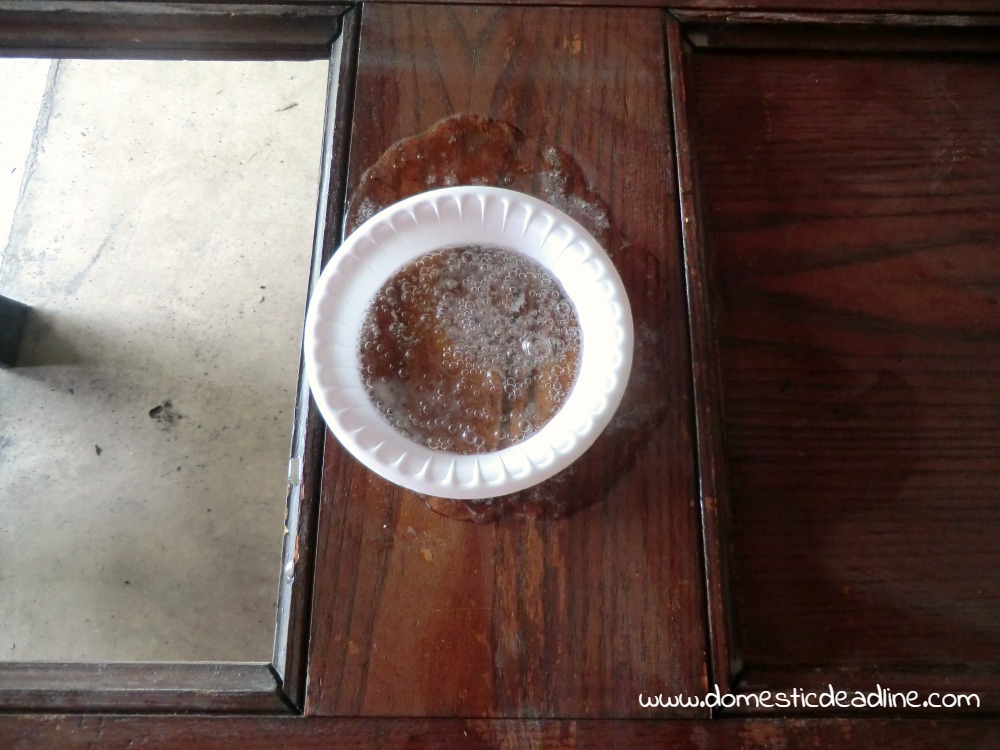
But it melted! I had grabbed some Styrofoam bowls we had hanging around. It hadn’t occurred to either of us they wouldn’t hold up to the chemicals.
Then we just started pouring and brushing.
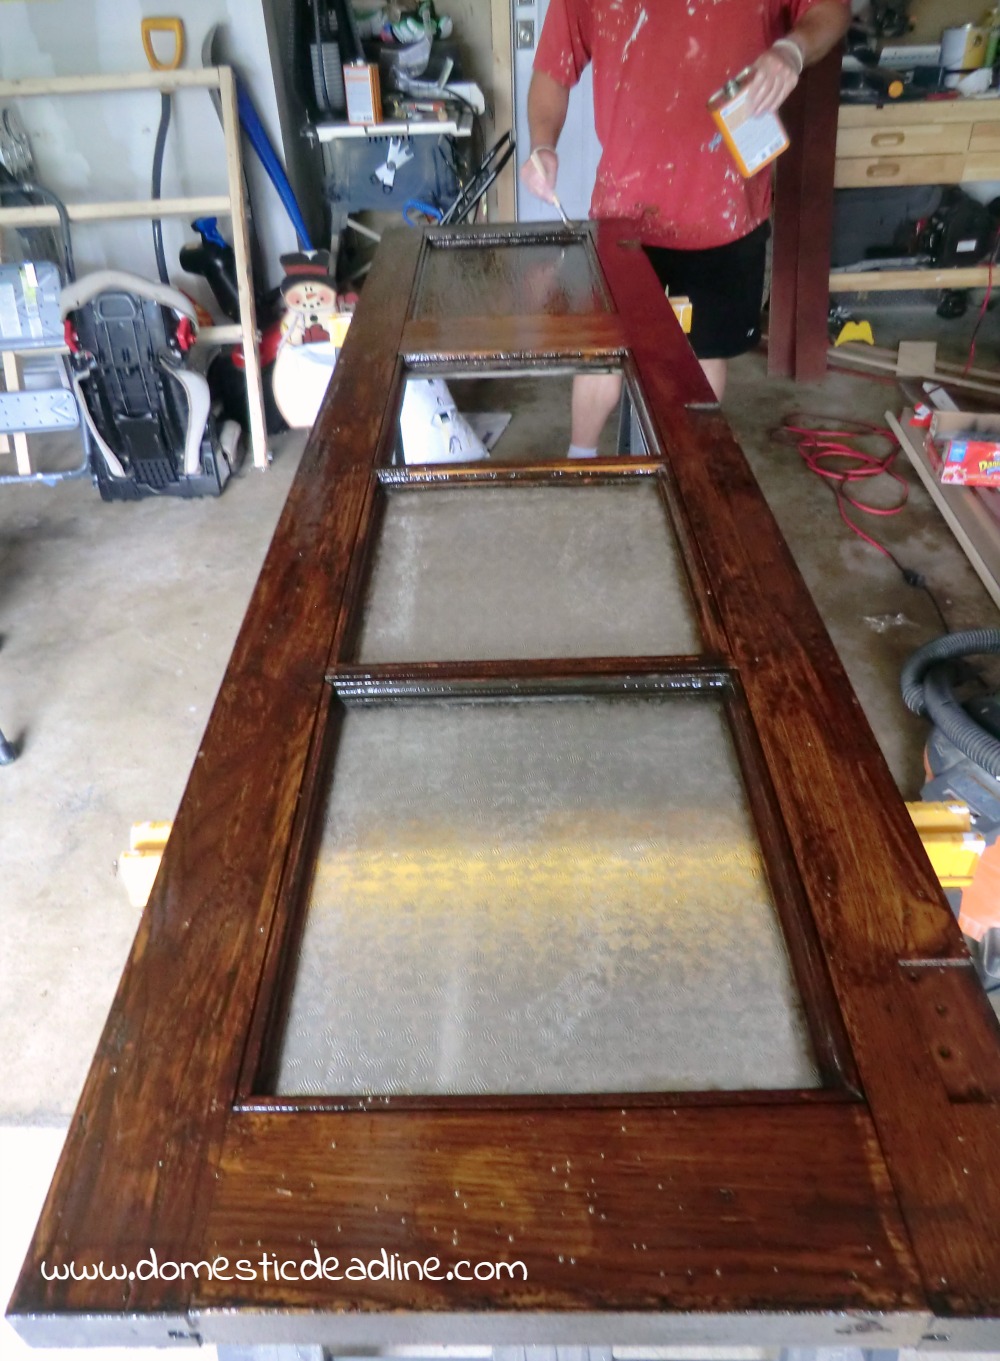
After a few minutes, the finish was bubbling and cracking.
We Began to Scrape
Which was kinda fun to see layers just peel off.
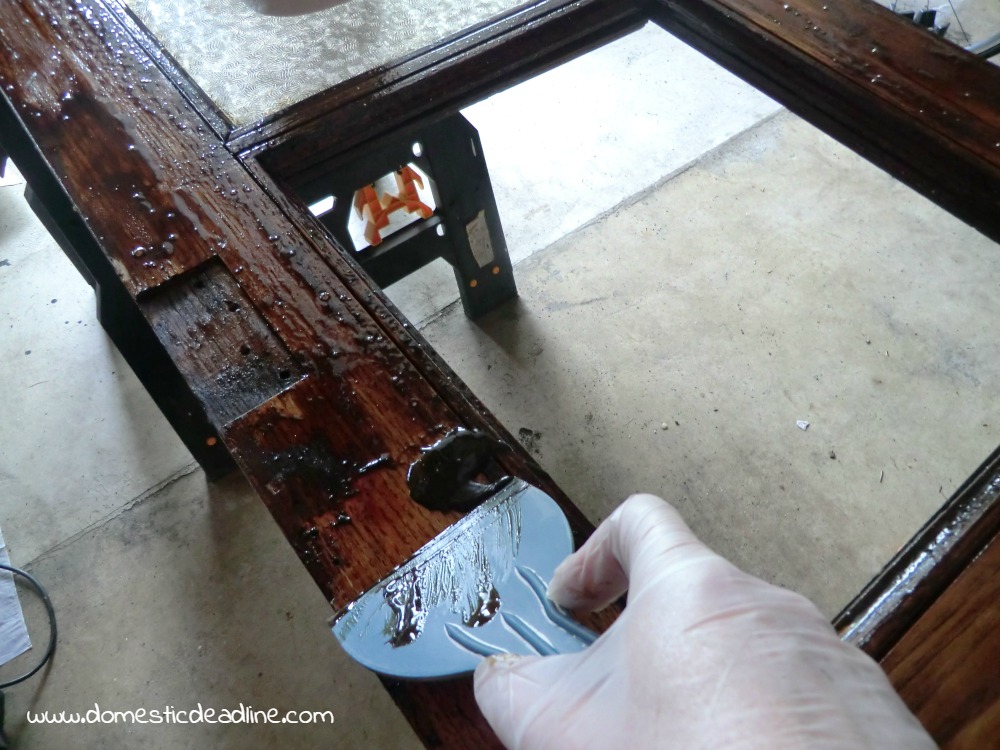
Ultimately, we had to use the stripper 2-3 times per side of the door. Each time washing it down with “After Wash.”
Again, I would have just left the doors in the stripped state, but IronFish wanted to take them a bit further. Sanding the doors became his project.
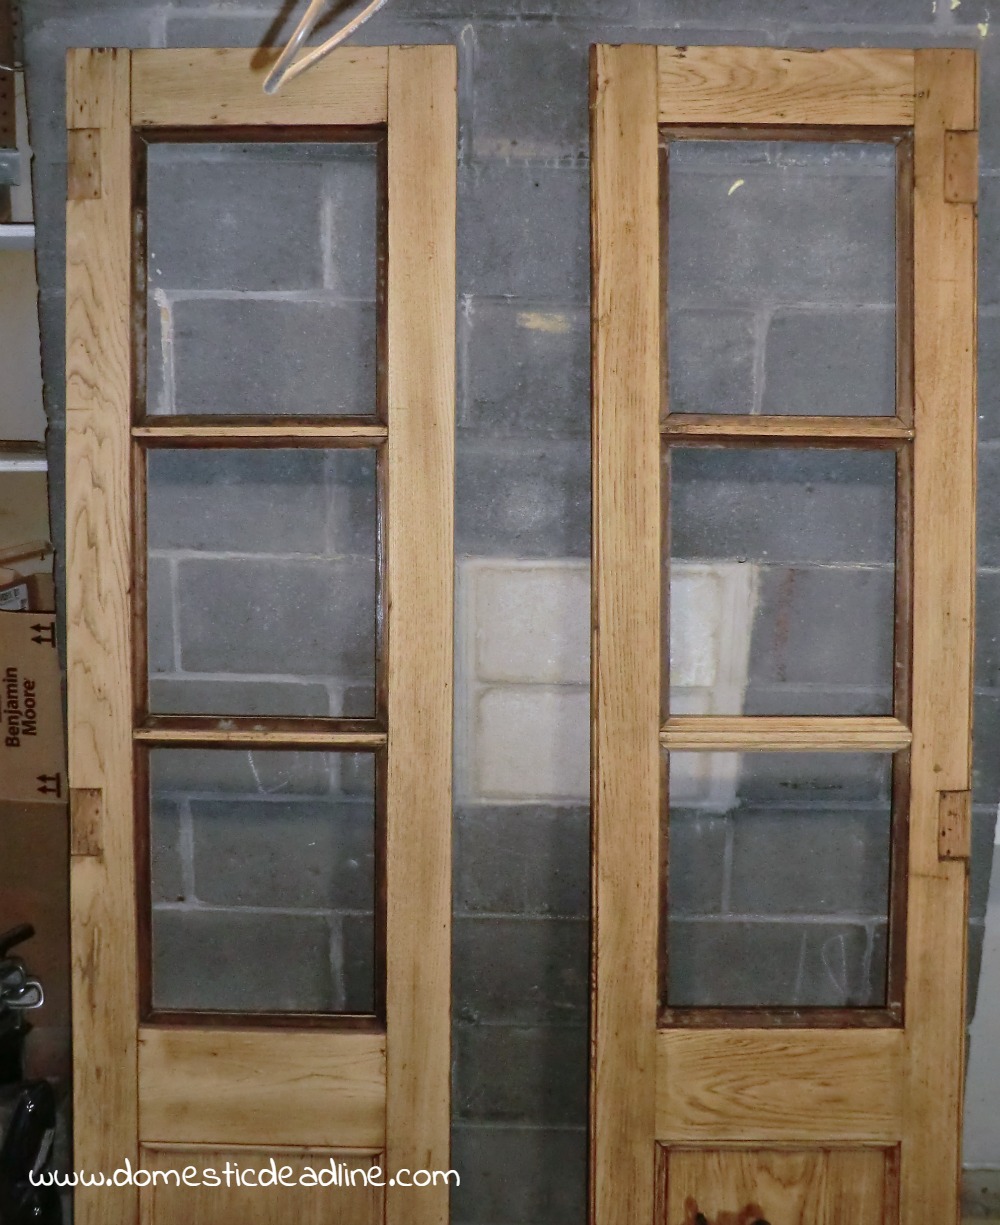
After the initial door, we worked out a system.
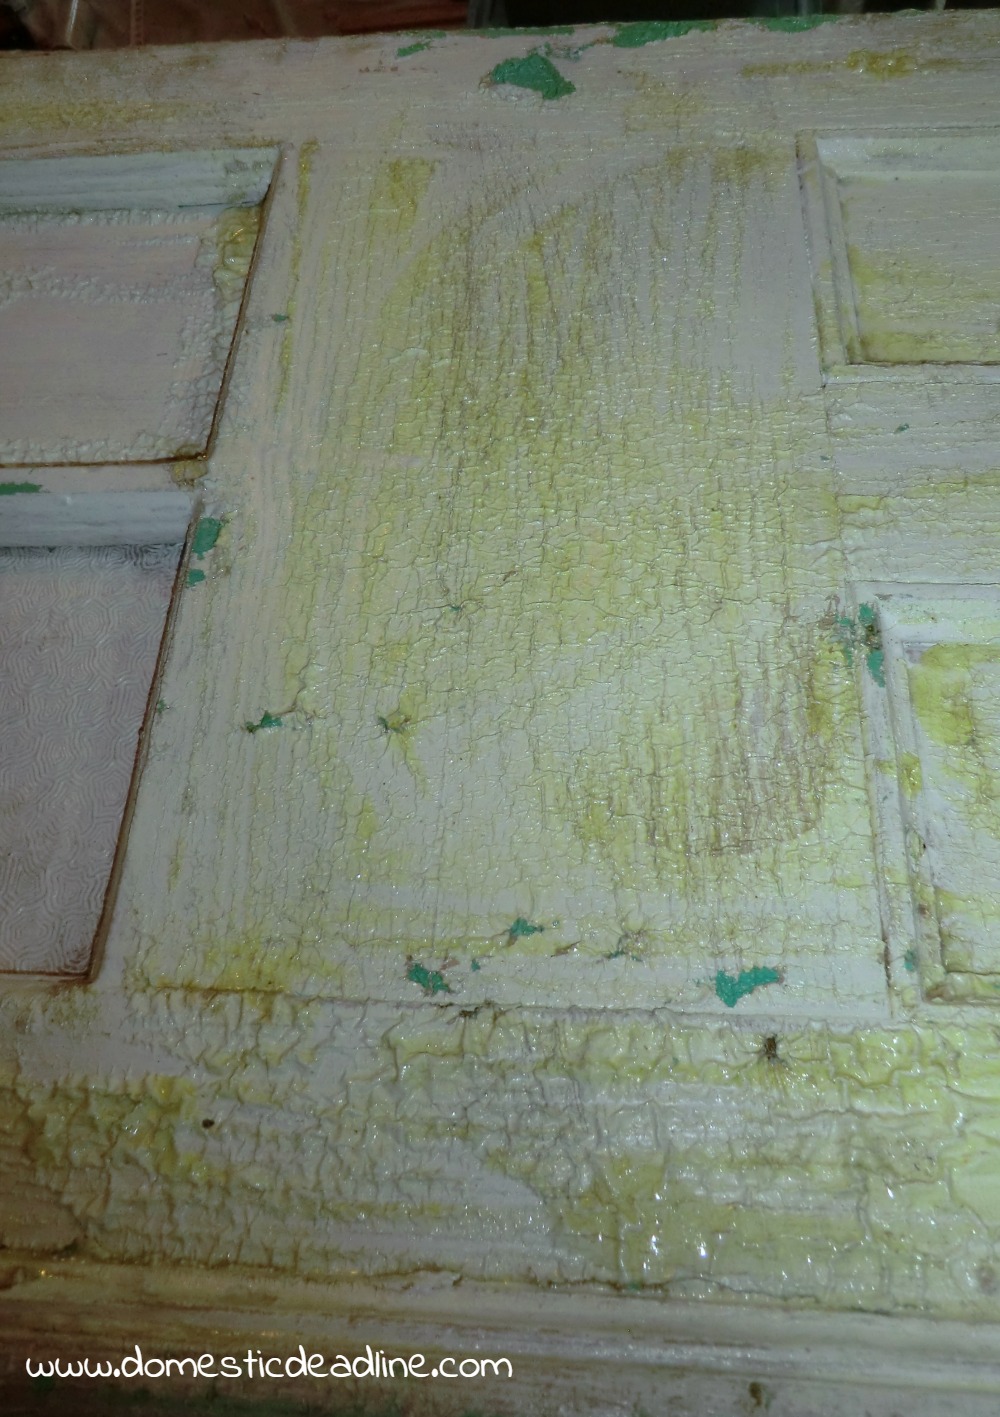
I work on removing a layer from one side of a door after work. Due to the space and the size of the doors, we work on one at a time.
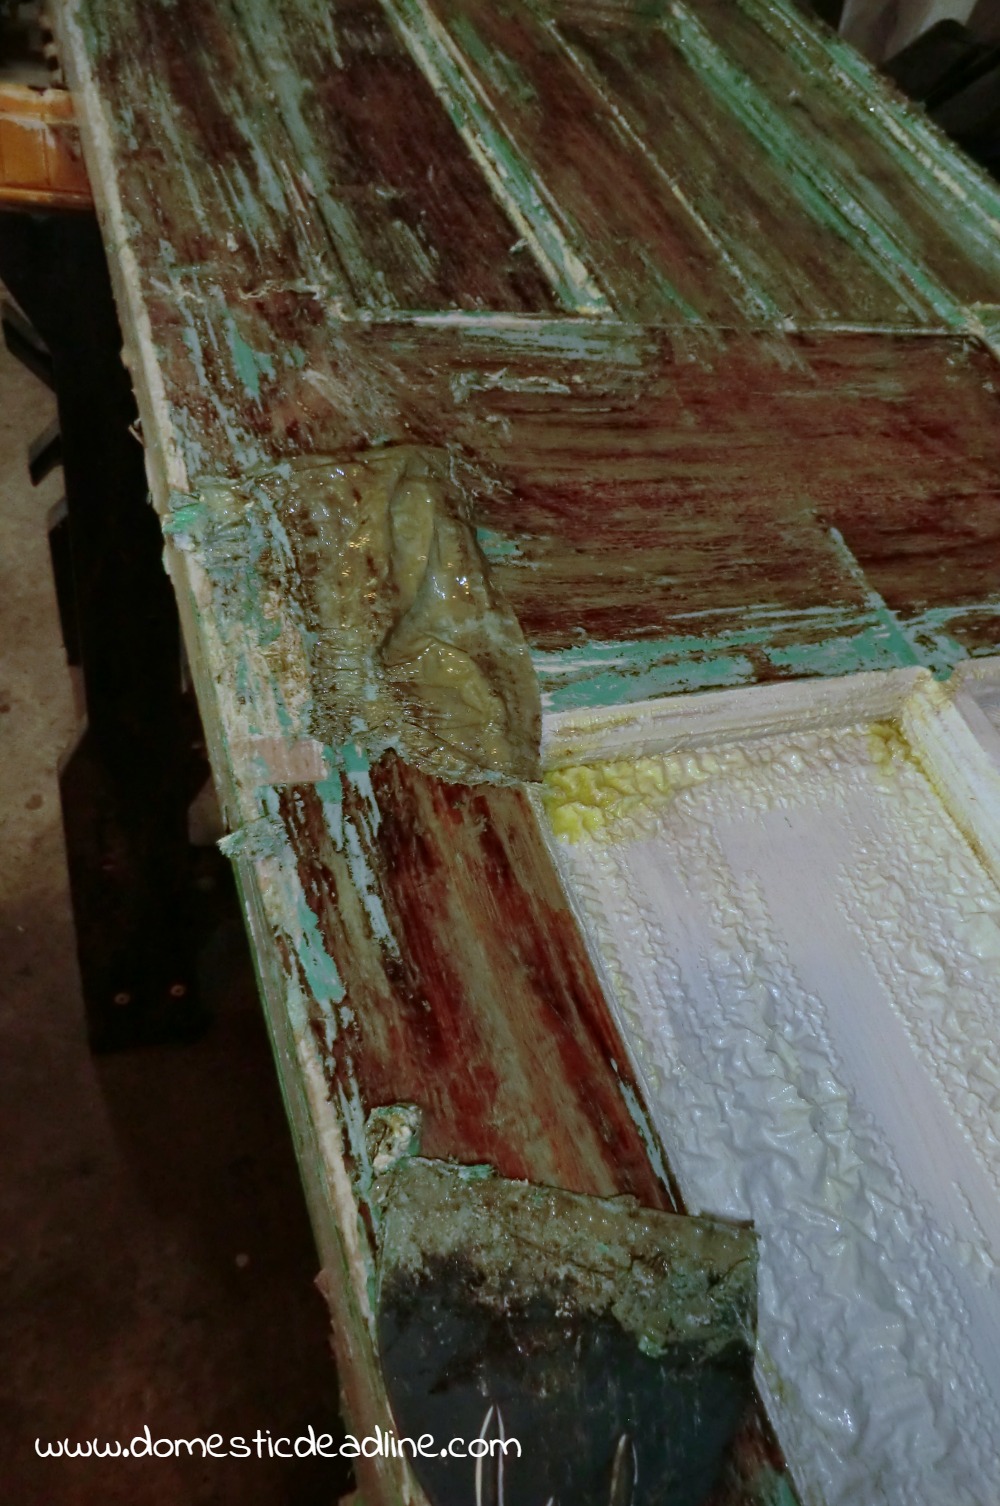
Then some evenings and on weekends, he sands; getting into all the nooks and crannies to remove any residual finish.
Repairing
We removed the splines from the glass panes on one side of each door. Some were broken or missing already. We plan to reuse the ones we can and replace the ones we can’t.
All 4 doors will get clear glass.
We will also be trimming down all the edges of each door. Everyone is ragged; has nails or something else sharp sticking out of it. Not only do I not want people to get hurt, but I don’t want to mess up my refinished floors!
Fixer Upper Style
Adding antique doors was something IronFish and I have wanted to do for a long time. He and I actually watch Fixer Upper on HGTV together. We’ve been so excited to see Chip and Joanna incorporate antique doors into their designs.

And since they are either using ones that were in phenomenal shape to begin with. Or had a lot of restoration, I guess IronFish has the right idea to sand them down.
But, let’s not let him know I said that!
Because this has become a much bigger project than I originally allocated time for, I’ll be sharing more about these doors in the near future.
In the meantime, check out some of my blogging friends and their projects using doors.
Project Challenge
Each month a few of us team up and all come up with a project using the same starting material. We’ve done reclaimed wood, screens, and tile.
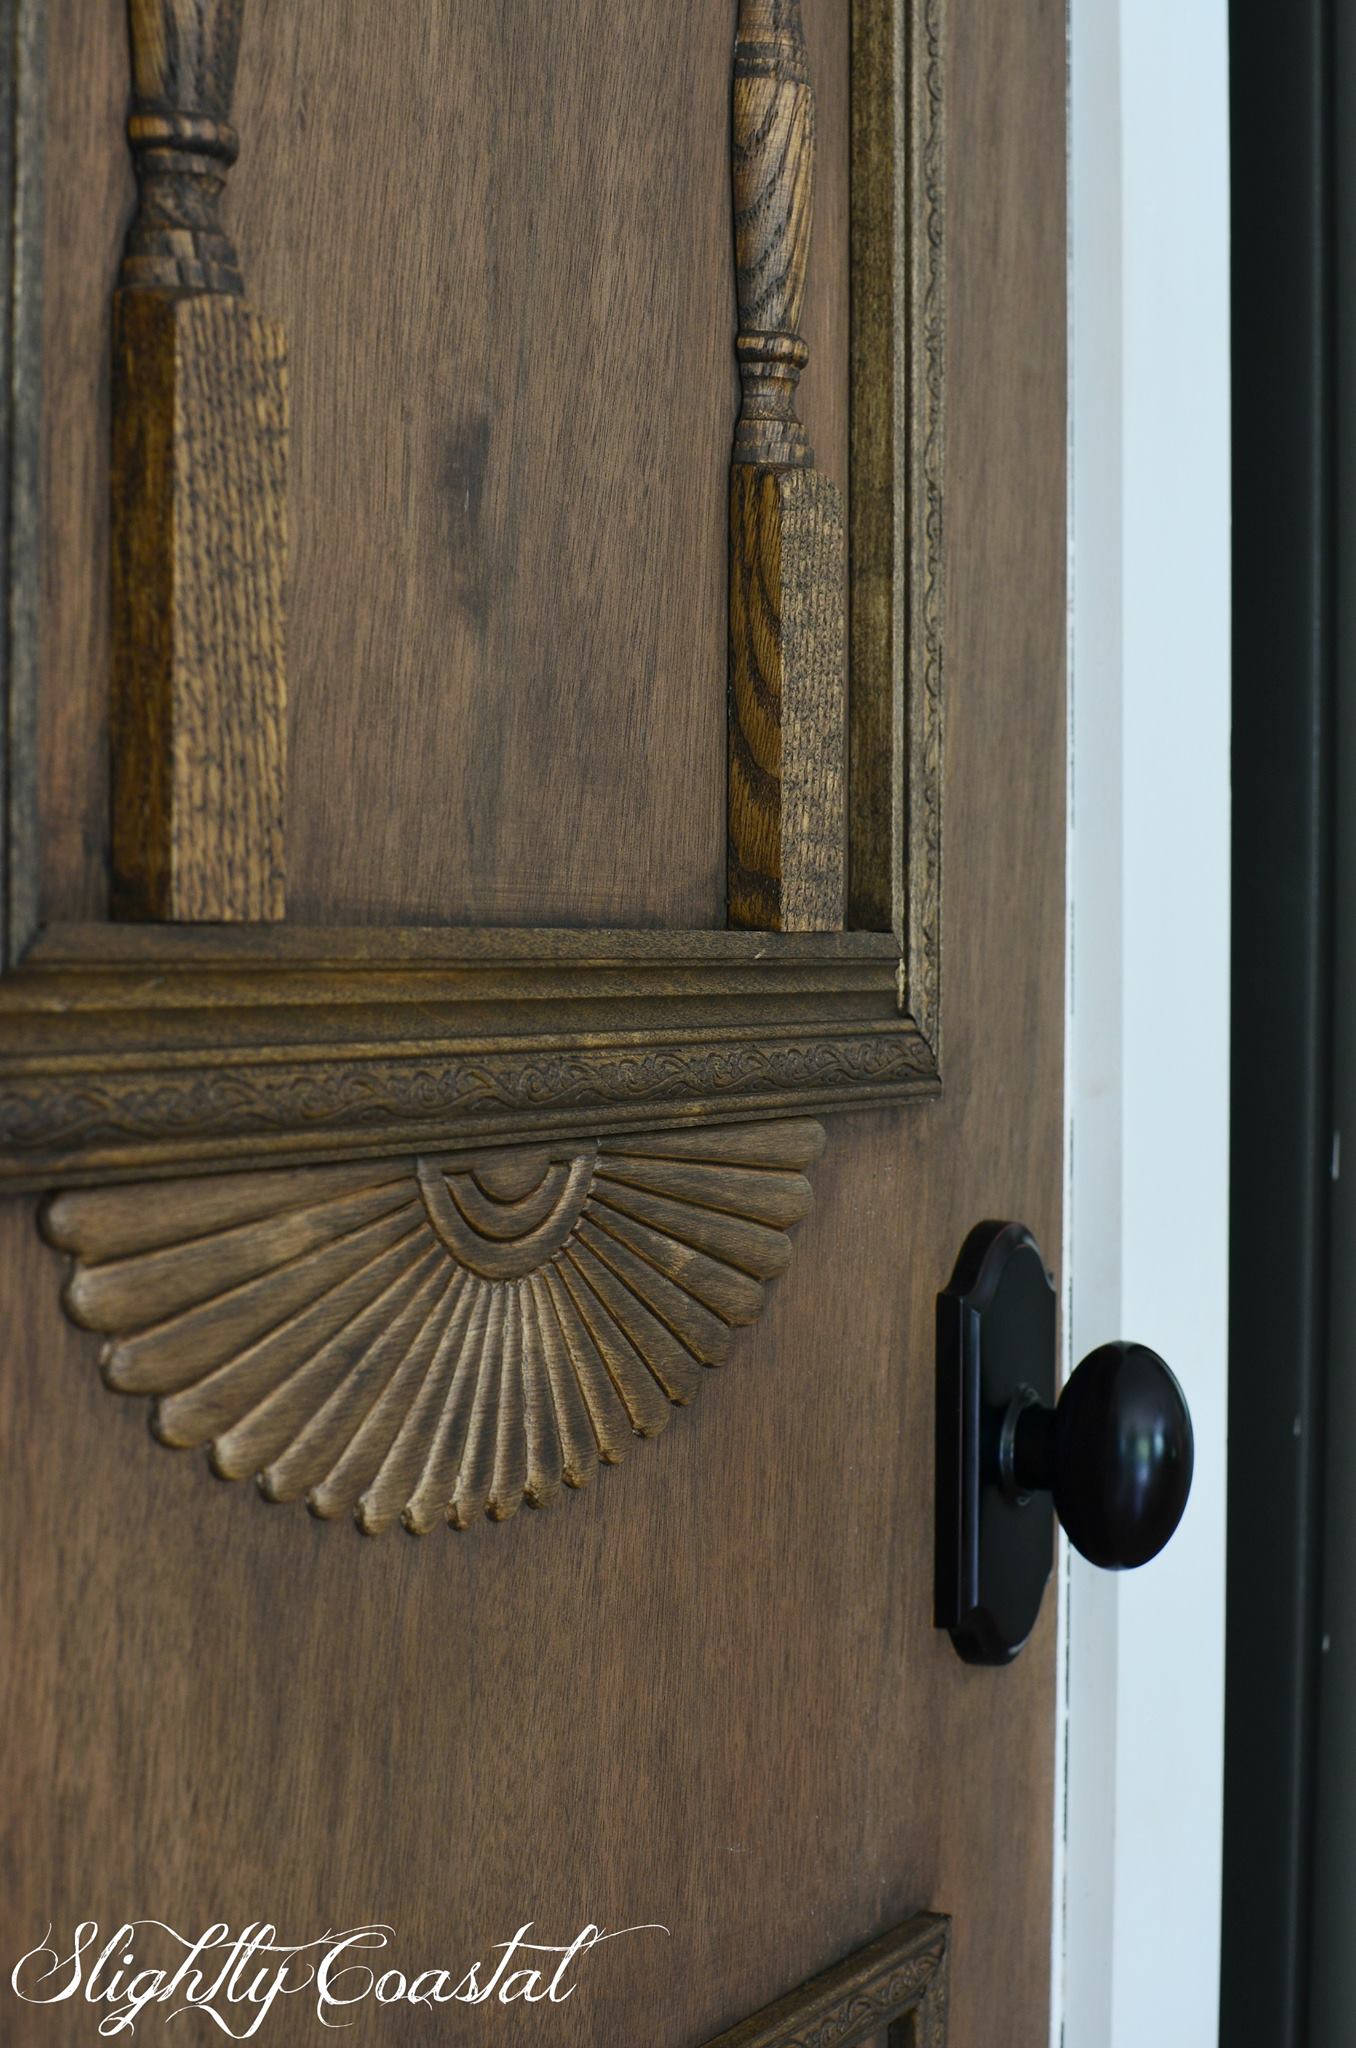
Nancy from Slightly Coastal made her own “antique” door
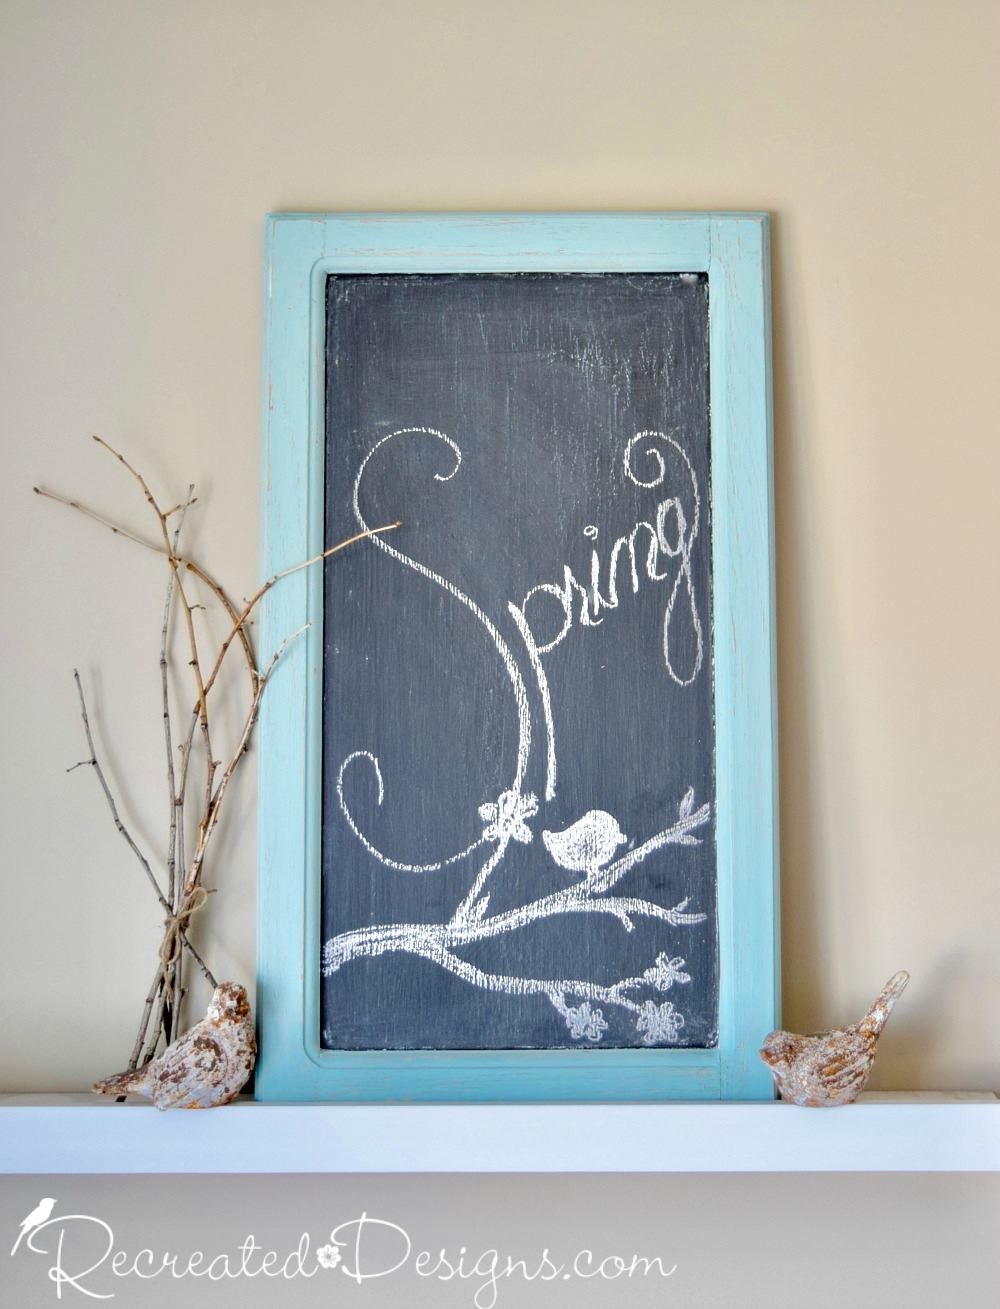
Lisa from Recreated Designs turned a door into a chalkboard
Michele from Shelstring is refinishing the doors in her house
And Karen from Somewhat Quirky Design‘s door turned potting shed
Check them out, pin, and share! Have you done any door projects?







12 Comments