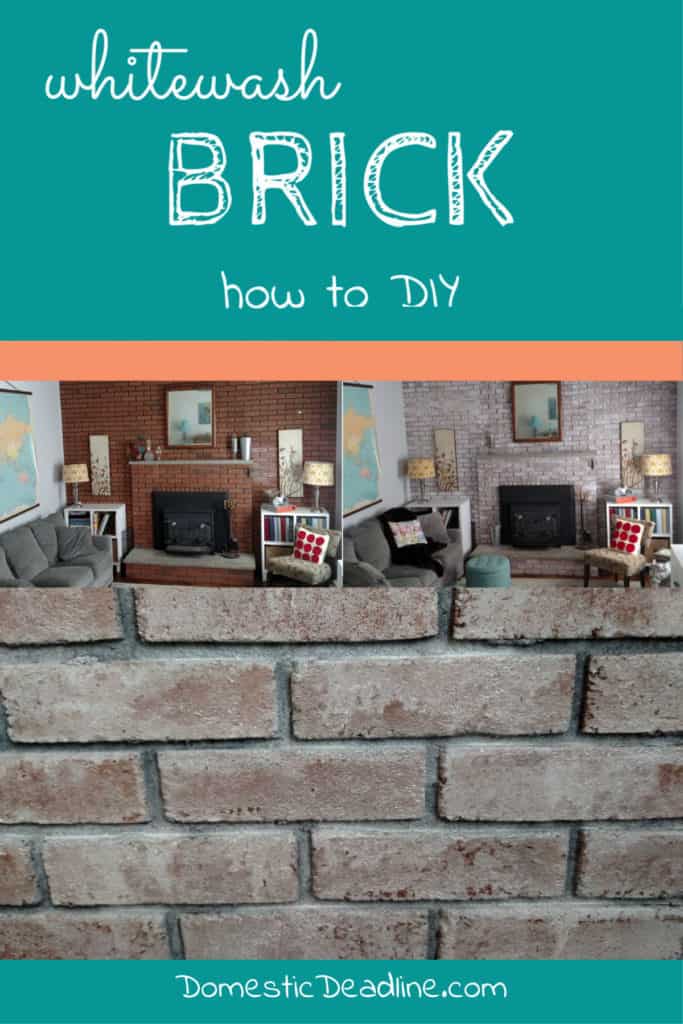
From the moment I saw the full wall of red brick, I wanted to whitewash it. Painting or whitewashing brick is serious business. Not easy to remove. But, a year of thinking about it regularly, it was finally time to just jump in. Learn how I whitewash brick and see how dramatic of an impact it makes in the room. (Updated on 1/12/2020)
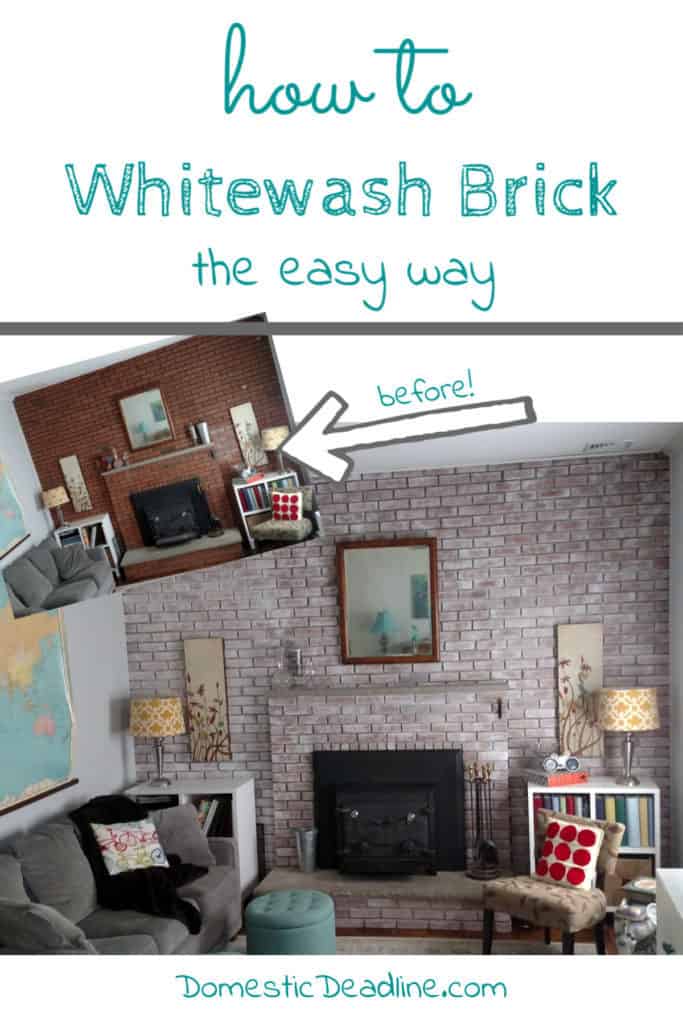
Before
One hundred and forty square feet of 1970’s red brick with black mortar. Maybe considered beautiful once but definitely not my style.
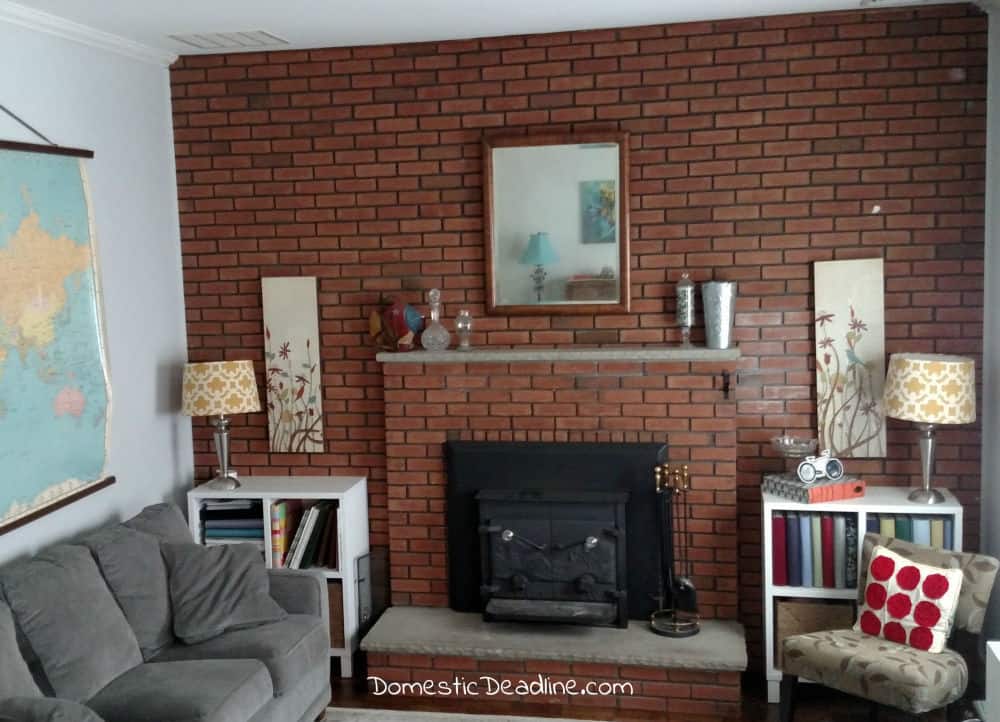
Creating an inviting home is always my goal. Rustic and architectural elements are often my favorite. But this much red brick just doesn’t cut it for me.
Advice
Whitewash isn’t the only option for this wall. I can completely paint it a solid color (white). Or I can completely reface it, but that’s the most costly and labor-intensive option.
Not only is whitewashing the brick the least expensive option, but it’s also the cheapest. And, a great place to start. I can always resort to plan B or C in the future!
Pinterest is full of how-tos for whitewashing bricks. After checking out several of them, jumping in is the way to go. Whitewash is basically watered down paint. Inexpensive Benjamin Moore Super Hide in untinted white is a perfect choice.
Before moving into the house, we had the floors refinished. Protecting them is important so I use plenty of drop cloths.
Knowing the paint to water ratio can always be increased, a 1 to 2 ratio is a good place to start. Using an empty plastic bucket, I mix 1/3 paint with 2/3 water. The paint stir stays in my bucket, every few minutes of working, I stir again as the paint and water can separate.
Investing in good brushes and caring for them is key to a great paint job. That being said, I spent $3.00 on a pair of chip brushes, the cheapest I could find! Brick is rough and porous. Chip brushes are cheap and therefore not meant to last long. The roughness of the brick will destroy a good brush. Over the course of the whole wall, I used both brushes. Bonus, no cleanup, just throw them out when finished!
Disappearing Ink
O-Man sat back and watched the progress for a while. He informed me it was a bit like magic… I’d run my brush over the bricks and it would just look wet, no color change. On the second pass, the white started to appear. Ultimately he decided it was backward magic; kinda like when a fog begins to appear on the stage and the magician disappears. Or like when you heat a paper and the ink begins to appear… someone has been watching a lot of magic trick videos on you-tube!
Mortar
Black grout or mortar is not how I visualize a great brick wall. Especially not against bright, red brick. Alas, this was popular in the early 1970s when our house was built. Starting with the grout, I make two passes with the paint. Brushing and dabbing it in as I go.
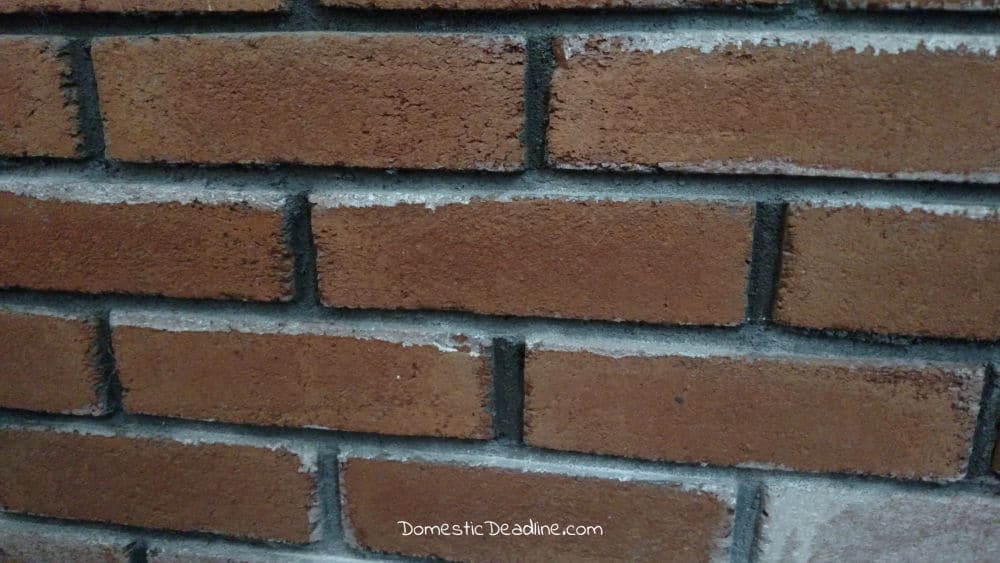
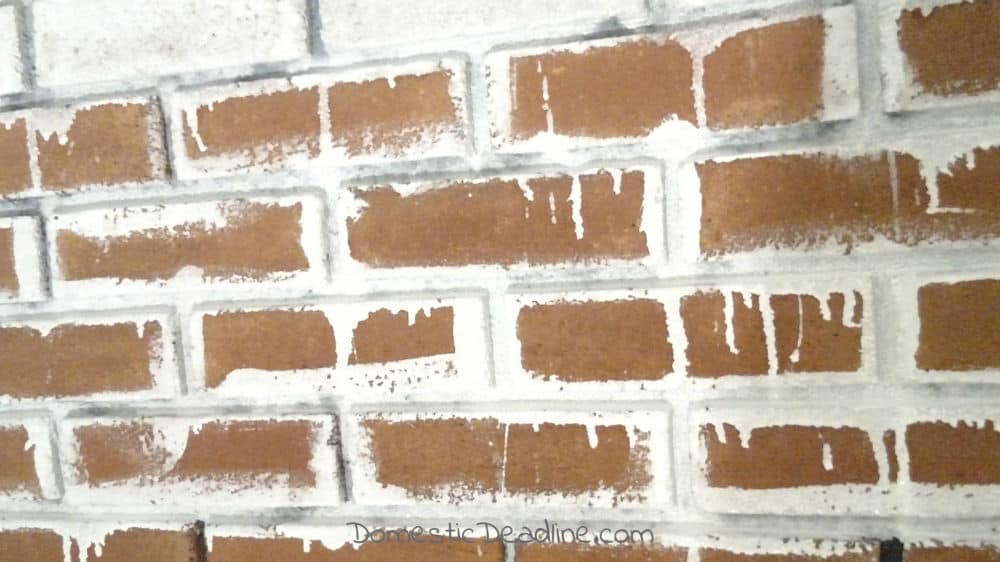
Three to five rows of bricks is a good working space. With the floors protected, drips and runs just do their thing to add character to the brick. This works in my favor because I don’t want every brick to look the same.
Brick Face
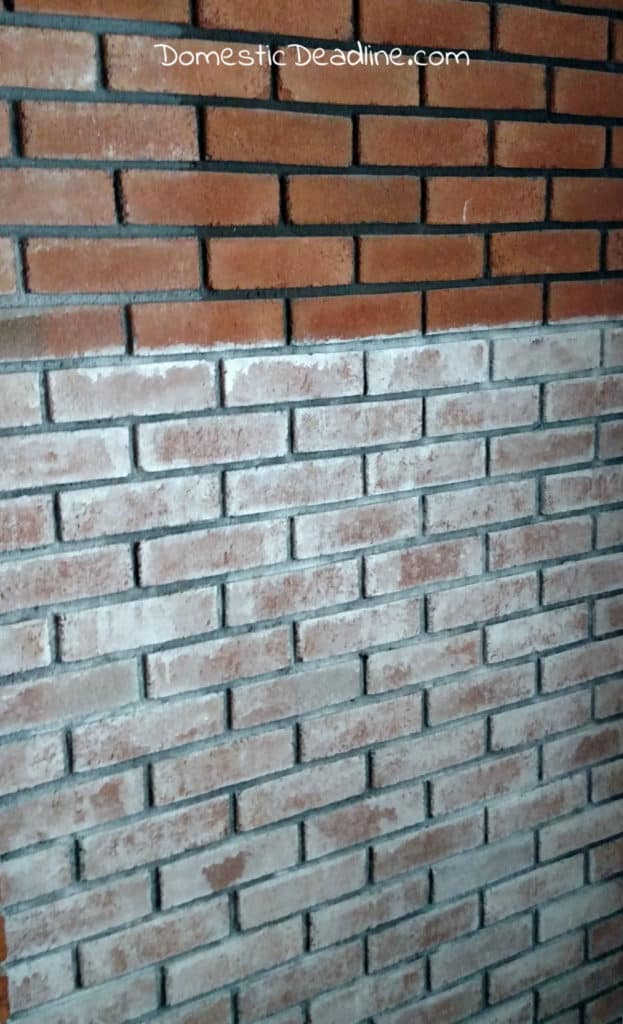
Gray grout and white drips down the red brick are a huge improvement. Next, I soften the red. The full wall of brick will never be visible. Starting at the bottom of the wall, where I know furniture will hide, I test a few “techniques.”
Character, not identical bricks, is my goal.
A few rows in and I had a system that provided me with the results I was going for! Working two passes of the brush across each row, about five bricks wide. First from the left, then from the right; reversing this on the next row. Simply brushing the paint on and watching it absorb. Zig-zagging up the wall let the paint absorb at different rates, resulting in a nice variation.
Highlight the Details
Once all the bricks in my section have 2 coats in the grout and 2 passes on the face, I step back and look at the big picture. Drips occasionally need to be softened or blended in.
Pouncing the brush straight on the brick works the paint further into the nooks and crannies. Some bricks really drink up the water and I want some spots where the white is a bit heavier. For those areas, I first dip my brush into the original paint can, undiluted. But, I still don’t use straight paint. Swirling the brush in my watered down paint bucket, I let the brush take on as much water as it would hold.
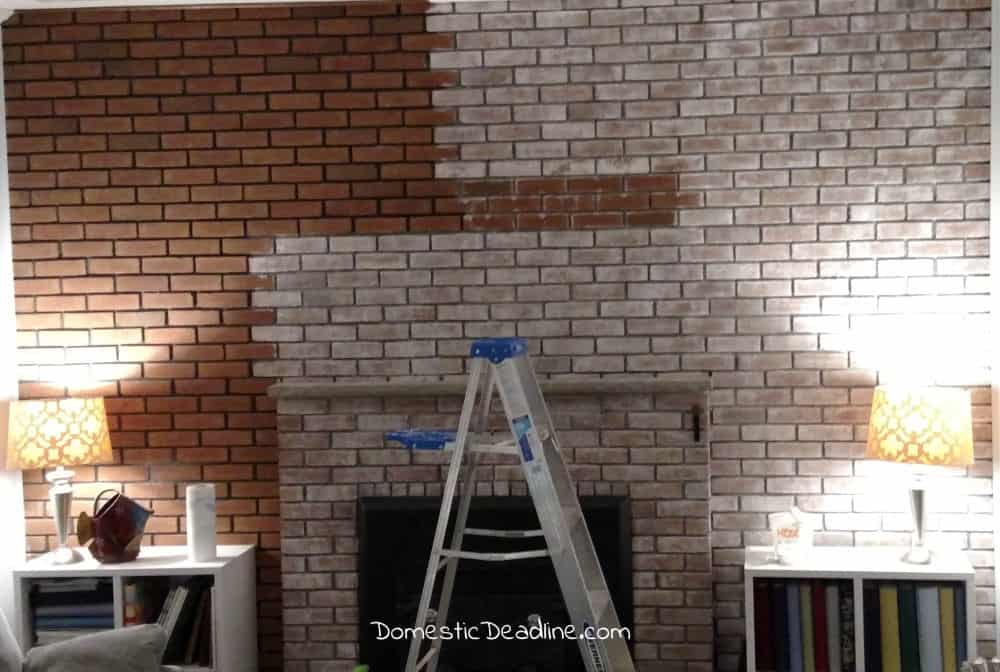
This technique, if you can call it that, really gives variation to the amount of paint and to the bricks overall.
Once the paint is dry, I take a rough grit piece of sandpaper over some of the whiter bricks. This helps a little if I feel there is an area that is just too intense.
The Big Picture
Halfway through the project, I started to wonder if I was doing it right!
Guess what… there really is no right or wrong way to whitewash brick. It’s really a matter of preference as to how much coverage you like.
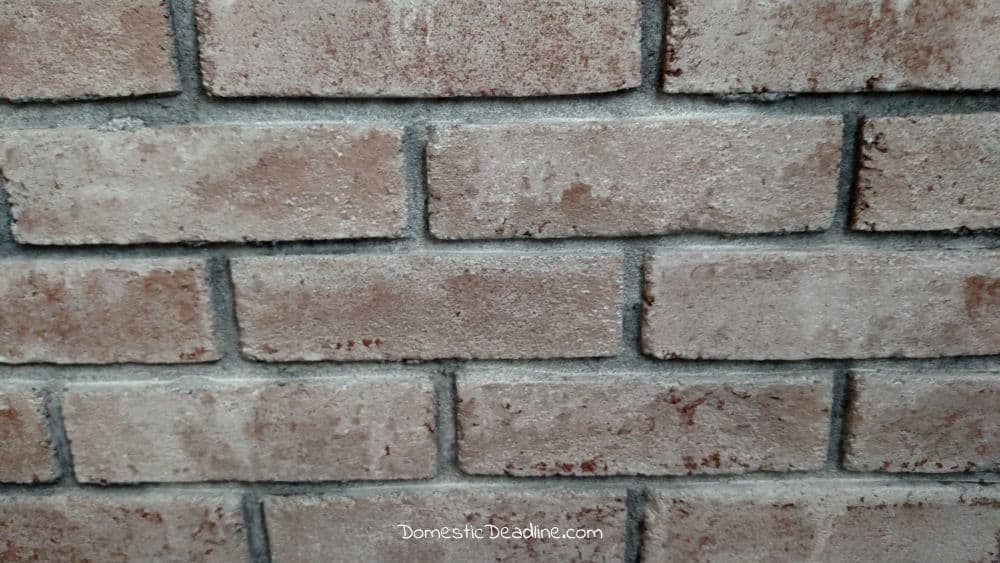
Take a break, step back and look at the space as a whole. Consult inspirational pictures. Remind myself I have Plan B and C. Now get back to work!
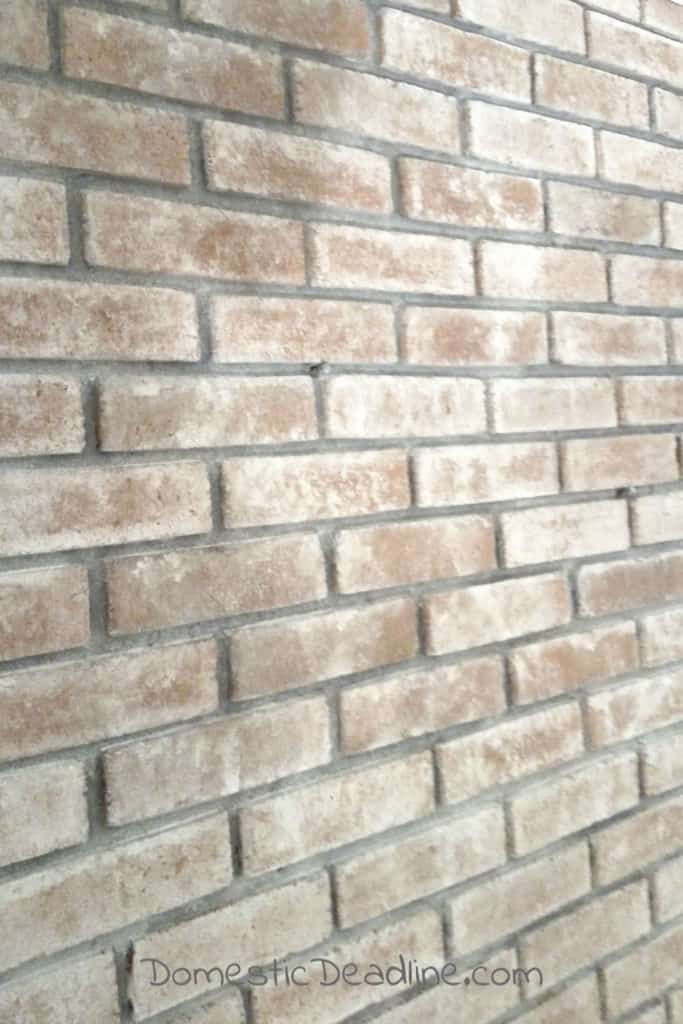
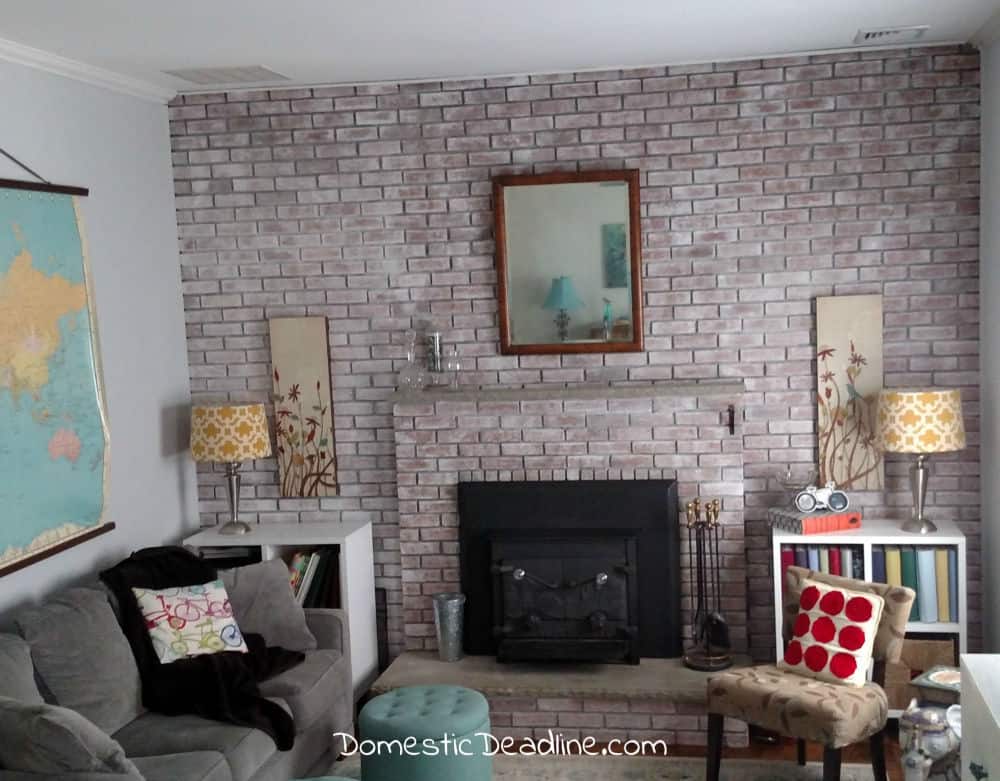
Ultimately, I absolutely love the final results. So much red brick is a bit harsh. Now that it’s toned down, I don’t think I’d want the wall any other way. Eclectic is the best description of my style. Mixing a variety of elements from various styles always appeals to me. Softened brick, original to the house makes it perfect for my style.
After
Remember, all brick is different, and every single one is going to absorb the watered down paint differently. Plus, they all age differently; some of mine have much rounder corners and look more worn than others, even before taking the paint brush to them. If you want a whitewashed look, go for it. I only wish I’d done this before we moved into the house!
Be sure to subscribe to my newsletter for more DIY home improvement projects like this!
WANT TO REMEMBER THIS? SAVE THE WHITEWASH BRICK TUTORIAL TO YOUR FAVORITE DIY PINTEREST BOARD!




19 Comments